
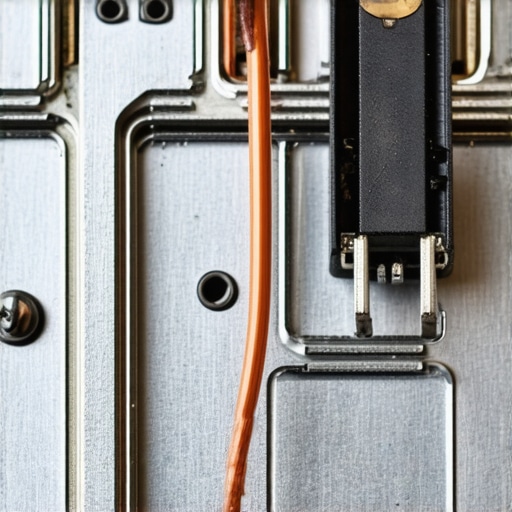
I was standing in my kitchen, staring at a blank digital display while the smell of a half-baked lasagna mocked me. My guests were arriving in less than an hour, and my expensive wall oven had decided to go on strike. It is a gut-wrenching feeling, especially when you realize that even a perfect reliable appliance installation won’t save you from the constant vibrations and heat cycles of daily cooking. I have been there, and I have made the expensive mistake of panic-buying a whole new unit when all I needed was a screwdriver and five minutes of patience. Today, I am going to show you how to find that one pesky wire that is likely the culprit behind your dead oven.
The Day My Kitchen Dreams Went Dark
We have all been taught to fear the control board. We think it is this fragile, magical brain that costs half the price of the oven to replace. Early in my DIY journey, I actually spent $400 on a replacement board because my display was flickering. I swapped the parts, hit the breaker, and… nothing. It was still dead. That is when I noticed a slightly charred plastic connector on the main power lead. The board was fine; the connection was just loose enough to arc and fail. If I had known about common stove control glitches earlier, I would have saved a week of eating takeout and a few hundred bucks.
Is poking around the control board actually safe for a beginner?
It is the question everyone asks, and the answer is a resounding yes—provided you cut the power at the breaker first. The fear of bricking your appliance often leads people to call for same-day service before they even look inside. While professional help is vital for complex circuit issues, checking for a loose wire is a basic maintenance task. Have you ever felt that surge of annoyance when an appliance quits right when you need it most?
Heat Cycles Are Your Ovens Secret Enemy
Your wall oven is a box of extreme temperatures. Every time you preheat to 450 degrees, the metal components inside expand. When it cools down, they contract. This breathing effect eventually works the spade connectors loose from the control board pins. Research from the Journal of Failure Analysis and Prevention indicates that thermal cycling is a primary driver for electrical contact degradation in high-wattage household devices. This is not just bad luck; it is physics. If you do not catch it early, that loose connection can lead to scorched terminals. Keeping a simple maintenance record of your checks can actually help you if you ever need to prove you have cared for the unit during a claim. Let us look at how to find the specific wire that is giving you trouble.
Dismantle the Control Panel Without Frustration
You need to get the control panel off to see the ‘nervous system’ of your appliance. Most wall ovens are held in place by just two to four screws located behind the oven door frame or along the side trim. I remember the first time I did this; I was so terrified of the glass shattering that I held my breath for the full five minutes while unscrewing the mounting brackets. If you are worried about the physical weight or the alignment of the unit, having a helper for a fast trustworthy appliance installation setup usually makes this easier, but for a simple wire check, you can usually do it solo. Use a magnetic bowl for those tiny screws—losing one into the floor vents is a rite of passage you definitely want to avoid. Once the panel is loose, don’t just yank it toward you. There is a ribbon cable connecting the display to the board that is as fragile as a spiderweb. Gently tilt the panel forward to expose the rear.
Look for the Tell-Tale Signs of Heat Damage
You are looking for the heavy-gauge wires—the ones that carry the actual juice to the heating elements. These are almost always connected via spade terminals. I once worked on a unit where everything looked pristine from the front, but when I used a mirror to see the back of the board, I saw a terminal that had turned a sickly rainbow color. That discoloration is a major red flag for a grounding error or a high-resistance connection. If the plastic housing around the wire is melted or brittle, the connection has been arcing for a long time. 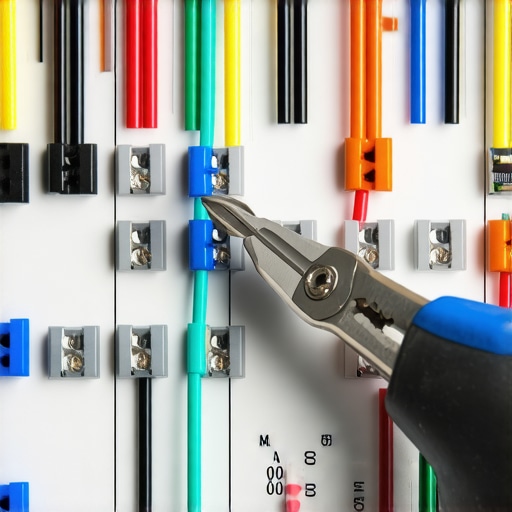
The Wiggle Test That Reveals Hidden Failures
Take your needle-nose pliers and give each wire a gentle tug. It should feel ‘locked’ onto the metal tab. If there is any side-to-side play, that is where your heat is escaping and your electricity is failing. While you are in there, it’s a great time to check if the door mechanics are smooth; sometimes a little bit of specific lubricant for hinges can prevent the excessive vibration that loosens these wires in the first place. When I was fixing an old Kenmore, I found a wire that actually felt tight but was only holding on by a single strand of copper inside the insulation. It was a ‘phantom’ connection that would drop out every time the oven reached 350 degrees.
Tighten the Connection with Precision
If you find a loose wire, pull the connector off entirely to inspect the male tab on the board. Is it burnt or pitted? If it is just a little dirty, clean it with a bit of fine-grit sandpaper or a contact cleaner. If the female connector (the one on the wire) is stretched out, use your pliers to gently squeeze the ‘curls’ of the metal closer together until it provides a snug, ‘clicky’ fit when reattached. This is a common part of an expert guide to appliance repair that saves you from a $500 board replacement. If you find yourself in over your head with scorched plastic or melted circuit traces, that is the moment to look for warranty-backed appliance services to ensure the repair is up to safety codes. Before you button everything back up, ensure no wires are touching the sharp edges of the metal chassis. If the oven was previously locked or glitching, you might need to know the one button to reset a locked door before the display will acknowledge your fix and resume normal operation.But here is the real kicker: even if you fix that loose wire perfectly, you might be accidentally setting yourself up for a fight with your warranty provider later. Most people assume that the moment they unscrew a back panel, their warranty is legally void. This is a massive misconception. In the United States, the Magnuson-Moss Warranty Act generally prevents manufacturers from voiding your entire warranty just because you performed your own maintenance or used a third-party part. However—and this is a big however—the manufacturer can deny a specific claim if they can prove your DIY ‘fix’ actually caused the damage. This is why understanding the hidden costs of DIY repairs on warranty-covered items is vital before you grab your toolbox. I have seen homeowners get burned by not knowing the difference between a manufacturer warranty and a service contract. One covers factory defects; the other is essentially an insurance policy you bought at the register. If you call for same-day service without checking which one is active, you might end up paying a $150 diagnostic fee out of pocket for a part that was actually covered by the manufacturer for five years. Have you ever fallen into this trap? Let me know in the comments. 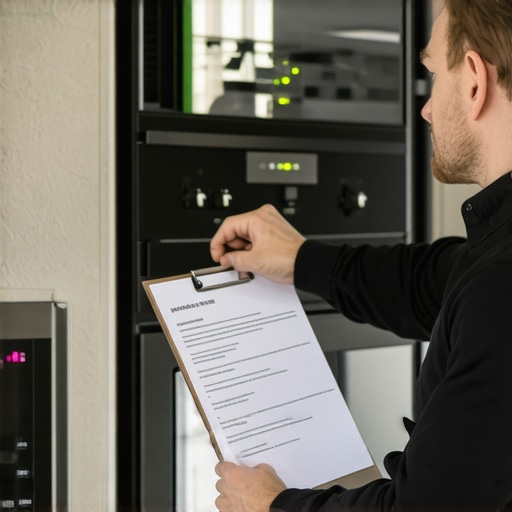
Stop Paying for Redundant Diagnostic Fees
One of the biggest ‘oops’ factors I see involves the expectation of what to expect from same-day appliance repair experts. People think ‘same-day’ means ‘fixed today.’ In reality, with the supply chain complexities of 2025, it often means ‘diagnosed today.’ You are paying for the priority slot. If your oven needs a specific OEM control board, no amount of urgency will manifest that part if it is stuck in a warehouse three states away. To save yourself some grief, always ask if they carry ‘universal’ stock or if they have a local parts runner before they arrive.
Should you really disclose your DIY attempts to a technician?
It is a common dilemma. If you have already tried to tighten that spade connector, should you tell the pro? My advice: be honest about what you touched but firm about what you didn’t. Technicians are trained to look for ‘witness marks’—scratches on screws or disturbed dust—that indicate someone has been inside. According to the National Association of Service Managers, transparency actually speeds up the diagnostic process, which is critical when you are paying by the hour. If you hide a mistake, the tech might spend three hours looking for a ‘ghost’ electrical issue you created, leading to a massive bill. Instead, use an expert guide to appliance repair to document your steps so you can show the pro exactly what you verified.
Protect Your Wallet from the Deductible Trap
You also need to keep an eye out for the deductible trap in most third-party appliance protection plans where the service fee is higher than the actual cost of a simple wire repair. Sometimes, knowing how to avoid paying the service fee for a denied warranty claim is the most valuable skill a homeowner can have. For example, many plans deny claims if they find ‘lack of maintenance,’ like failing to clean the cooling fans behind the oven. Always verify the ‘no-fault’ clauses before the van even pulls into your driveway. By combining your own physical checks with a smart approach to service contracts, you ensure your oven gets back to baking without draining your savings.I have realized over the years that having the right tools is the difference between a ten-minute fix and a three-hundred-dollar service call. I do not mean a dusty toolbox from the garage; I mean a high-quality digital multimeter. I personally use the Klein Tools MM400 because it handles the high-voltage testing needed for ovens without flinching. If you can read the error codes on your high-end induction cooktop or wall oven, you are already halfway to a solution. But the tool I recommend most isn’t even a tool—it is dielectric grease. I apply a tiny dab to every spade connector I tighten. It prevents the moisture and oxidation that leads to those smart stove control glitches we talked about earlier. By sealing the connection, you ensure the resistance stays low and the board stays cool.
How do I maintain my oven electronics for the long haul?
The secret is airflow and heat management. Most people push their units flush against the wall, but technical bulletins from the Appliance Service Training Institute (ASTI) emphasize that excessive heat is the number one killer of control boards. Keeping those rear vents clear and occasionally vacuuming the dust from the cooling fans can double the lifespan of your circuitry. If you are already inside the unit for a repair, this is the perfect time for an expert guide to appliance repair style deep clean. Remove the grease film from the fan blades to keep them balanced and quiet. 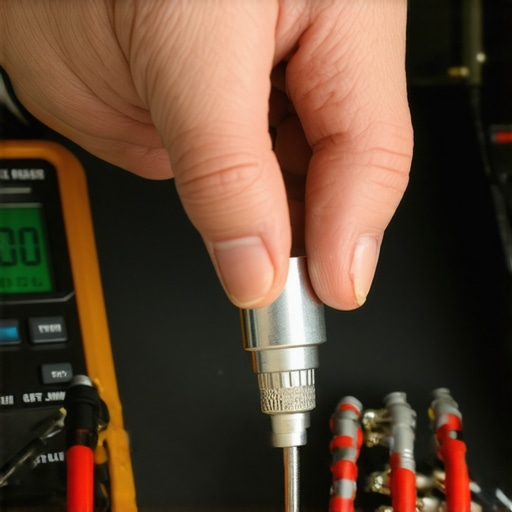
The Maintenance Contract Clause That Saves Your Wallet
If you find that your repairs are becoming more frequent, it might be time to look into a professional service plan. However, you have to read the fine print. There is often a specific maintenance contract clause that saves you on labor only if you have proof of annual inspections. I have seen homeowners save thousands by simply keeping a folder of their own DIY logs and professional receipts. This documentation is your shield when you need to maximize your appliance warranty during emergency repairs. Without it, the company might claim the failure was due to neglect.
What the Future of Smart Ovens Looks Like
We are rapidly moving toward a world where your oven will likely text you when a connection is getting hot before it even fails. Predictive maintenance is the next frontier in home appliances. Sensors will monitor the amperage draw of your heating elements and alert you to a failing relay before you ever smell smoke. Until that tech is standard, you need to be the one listening for the clicks and watching for the flickers. If you are dealing with a sudden failure right now, same-day appliance repair quick solutions are your best bet, but only if you have already checked your breaker and connections first. My challenge to you: The next time you have the power off, check the age of your thermal fuse—if it is over five years old and you are already in there, replace it proactively for less than twenty bucks to avoid a weekend lockout.I’ve spent years getting my hands dirty inside various wall ovens, and if I could go back in time, I’d tell myself that the control board is rarely the ‘evil’ part people make it out to be. First, always assume the vibration from even a perfectly reliable appliance installation is eventually going to challenge your connectors. Second, take a photo of the wiring before you unplug a single thing; your future self will thank you when you aren’t guessing where the blue wire goes at 9 PM on a Sunday. Lastly, don’t let a service tech rush you—if you’ve done your homework with an expert guide to appliance repair, you have the right to ask specifically what failed and why.
The Gear That Actually Saves You Money
If you are serious about DIY, you need a ‘go-bag’ that lives in your kitchen drawer. Beyond the digital multimeter and dielectric grease, the most powerful tool I own is a simple accordion folder. This is where I keep every receipt and the one maintenance record that saves your appliance warranty. When you can show a technician or a warranty adjuster that you’ve been proactive, the conversation changes from ‘how much can we charge’ to ‘how can we help.’ I also recommend joining the Appliance Repair Forum; it is a goldmine of shared knowledge from pros who see these specific units every day and can tell you exactly which screw is stripped before you even touch it.
Taking Control of Your Kitchens Future
You do not have to be a master electrician to take charge of your kitchen. Every time you successfully tighten a wire or troubleshoot a glitch, you are building the confidence needed to maximize your appliance warranty during emergency repairs. Your oven is the heart of your home, and with a little patience and the right mindset, you can keep it beating for a long time without breaking the bank. Have you ever opened up your oven control panel only to find something completely unexpected? Let me know about your DIY discoveries in the comments below!