
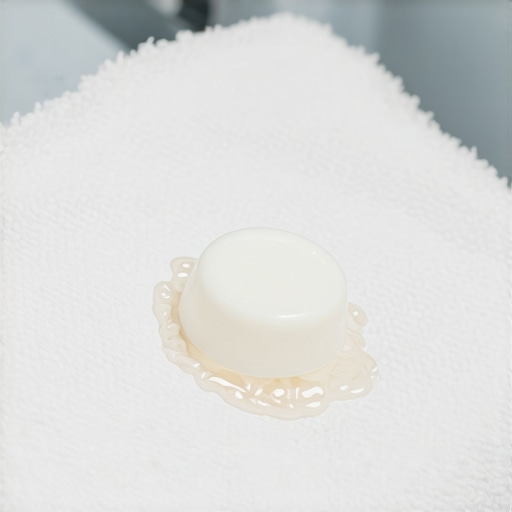
I stood there, staring at a damp, blue-streaked mess on my favorite cotton hoodie, wondering if I’d forgotten how to do basic chores. There is nothing more frustrating than trying to be eco-conscious with a cold-wash cycle, only to pull out clothes covered in undissolved plastic and sticky detergent. I used to think my washer was dying, but it turns out, I was just making a few classic mistakes that most of us neighbors fall into. If you’ve ever had to re-wash a load because of a ‘pod ghost,’ you are definitely in the right place. Today, I’m going to share the simple tweaks that saved my laundry days and kept my machine running smoothly. I’ll be honest, when I first switched to pods, I thought they were the greatest invention since sliced bread—no measuring, no spills, no heavy jugs. But that convenience quickly turned into a headache when I started finding ‘jelly blobs’ on my bedsheets.
The Day I Realized Cold Water Is the Enemy of Modern Pods
I’ll be the first to admit it: for the longest time, I was just tossing the pod on top of the pile and hitting ‘start.’ Big mistake. That little error meant the pod stayed dry too long or got caught in the folds of a heavy jeans pocket, never getting the water exposure it needed to melt away. It’s similar to how front-load washers trap water in the gasket; if the environment isn’t perfect, things start to get messy and buildup occurs where you least expect it. You see, the outer membrane of a laundry pod is made of Polyvinyl Alcohol (PVA), which is designed to dissolve upon contact with water. However, according to experts at the American Cleaning Institute, if your water is consistently below 60 degrees Fahrenheit, that chemical reaction slows down to a crawl. This is why your laundry might come out smelling like… well, nothing, while the pod is still half-intact. I once spent an entire Saturday thinking I needed same-day appliance repair just because my clothes weren’t getting clean, but the fix was much simpler than a service call. It’s all about the chemistry and the mechanical flow.
Are these ‘Cold-Water Specialized’ pods actually worth the extra cash?
You might be skeptical—I certainly was. I thought it was just a marketing ploy to get me to spend three dollars more on a fancy tub of detergent that promised to work in icy conditions. But after a few weeks of testing different brands during a particularly cold February, I realized that regular pods just aren’t designed for the ‘tap cold’ settings we have in many modern homes. If you’ve been finding those slimy remnants, have you noticed if it happens more often during the colder months? Let me know in the comments if your winter laundry is a bigger headache than your summer loads! Sometimes, the issue isn’t even the soap, but a mechanical hiccup, like when a pressure switch fault leaves your washer drum full of stagnant water that never reaches the right agitation level. I’ve learned the hard way that understanding how your machine breathes and moves water is half the battle. If your washer is struggling to drain properly or fill to the right level, it won’t matter how premium your detergent is; the pod simply won’t have the space or the flow to break down. This realization changed everything for me, and it’s the first step in ensuring you never have to peel a glob of soap off your work shirts again. Stick with me, and we’ll get your laundry routine back on track.
Put the Pod in First or Prepare for a Mess
I learned the hard way that ‘last in, first out’ is a terrible rule for laundry pods. I once threw a pod into a load of white towels right at the end of the loading process. Because it sat on top of a dry bath sheet, the water only hit the bottom of the pod while the top remained stuck to the dry fabric. By the time the cycle ended, I had a localized patch of sticky blue goo that looked like a Smurf had met a tragic end on my favorite towel. To avoid this, you must place the pod at the very bottom of the drum—directly on the metal—before you add a single piece of clothing. This ensures the water hitting the bottom of the tub engages the PVA membrane immediately. If you have a front-loader, toss it in the back of the drum. This prevents the pod from getting stuck in the door seal, which is a common reason why front-load washers trap water in the gasket and leave behind undissolved plastic remnants on your sleeves. 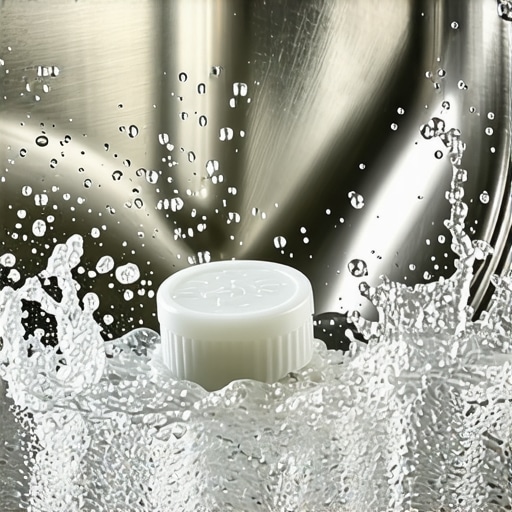
Stop Stuffing the Drum to the Brim
If you pack your machine like a suitcase for a two-week vacation, the pod will get trapped. It needs ‘slosh room’ to interact with the water. Without vigorous agitation, the soap stays concentrated in one spot and won’t disperse through the fibers. This is often where people see errors similar to the soap suds error that shuts down modern dishwashers, where sensors detect a thick, undiluted concentrate and halt the cycle prematurely. Think of it like a crowded elevator; if nobody can move, nobody can get to their floor. Your clothes need to tumble freely to pull the dissolved detergent through the weave of the fabric. If you have just dealt with the shipping bolt error that ruins new washing machines, you already know how sensitive these drums are to balance and movement. Overloading ruins the mechanical action required to break down that plastic film.
Look for Hidden Clogs in Your Water Lines
Sometimes the problem isn’t your technique; it’s a lack of ‘fuel’ for the chemical reaction. If the water flow into your machine is weak, the pod simply won’t have enough pressure or volume to melt away. You should check the secret screen filter in your washer water inlet valve. These tiny mesh screens catch sediment and sand from your pipes, and when they clog, your washer fills at a snail’s pace, leaving the pod high and dry for the first half of the cycle. If you recently had fast-trustworthy-appliance-installation-near-you, double-check that the intake hoses weren’t accidentally kinked during the move. A restricted flow is the silent killer of the ‘quick wash’ cycle.
Test Your Water Temperature with a Simple Trick
Even if you select ‘Warm,’ your machine might be giving you ‘Cold’ for the first few minutes. If your water heater is far from the laundry room, the first few gallons entering the machine are often room temperature. I now run the nearest sink faucet until the water is hot before I hit ‘start’ on my washer. This ensures the very first splash hitting that pod is warm enough to trigger the dissolving process. It is a bit like checking an expert-guide-to-appliance-repair-and-installation-today for maintenance tips; small preemptive steps prevent massive headaches later. If the water stays icy, the membrane becomes like a piece of chewing gum—stretchy, sticky, and nearly impossible to remove without a second wash.
Don’t Be Fooled by the ‘Same-Day’ Promise
Most of us, in a panic over a leaking fridge or a dead washer, grab our phones and search for the fastest help available. But here is a contrarian truth: ‘Same-day’ doesn’t always mean your machine is fixed by dinner time. In my experience, and backed by data from the Service Council showing that first-time fix rates often hover around 75%, many technicians use the initial visit solely for diagnosis. While same-day appliance repair is a fantastic service, it’s only as good as the technician’s van stock. If they don’t have your specific control board on hand, you’re still looking at a multi-day wait. This is why it is vital to provide your model number upfront during the call to scheduling your appliance repair for same-day service in 2025. Have you ever fallen into this trap where a ‘same-day’ repair turned into a two-week wait for parts? Let me know in the comments!
Will Your Service Contract Secretly Void After a Single Fix?
This is a nuance many homeowners miss until it is too late. There is a massive distinction between what your manufacturer covers and what a third-party plan provides. I’ve seen people lose hundreds because they didn’t know the difference between a manufacturer warranty and a service contract. Some ‘protection plans’ have a ‘limit of liability’ clause—once the cost of repairs reaches the original purchase price of the appliance, the contract is considered fulfilled and is cancelled. This means one major compressor replacement could leave your fridge unprotected for the remaining three years of your plan. 
The Paperwork Trap That Could Cost You Thousands
If you think a receipt is enough to keep your coverage valid, think again. I recently learned that many modern warranties require ‘proof of professional maintenance’ to honor a claim. If your dishwasher pump fails and there’s evidence of heavy calcium buildup, the provider might reject the claim if you can’t prove you’ve used a descaler or had a professional checkup. This is where how to prove periodic maintenance to keep your warranty valid becomes the most important tool in your kitchen drawer. Keeping the one maintenance record that saves your appliance warranty claim can be the difference between a free fix and a $400 bill.
Why Professional Installation Is Your Best Insurance Policy
We all love a good DIY project, but when it comes to high-end units, doing it yourself might be the most expensive mistake you ever make. Many people forget that fast-trustworthy-appliance-installation-near-you isn’t just about moving heavy boxes; it’s about the certification. If you install a gas range yourself and it later suffers a failure, the manufacturer might point to the correct way to ground a gas range during a new install as a reason to deny your claim, arguing that an uncertified install caused the electrical surge. It is far better to rely on warranty-backed appliance services you can rely on from the very start. Always check what to expect from same-day appliance repair experts before they arrive to ensure they are authorized for your specific brand.I realized a few years ago that the secret to avoiding those panicked 7 AM calls for emergency service isn’t just about luck—it is about having a system that tracks what your machines are actually doing. While I’ve talked about the importance of the one maintenance record that saves your appliance warranty claim, I want to get into the nitty-gritty of the tools I personally use. I don’t just wait for a ‘check filter’ light to pop up. I’ve started using a simple digital vault—just a shared cloud folder—where I upload a photo of the serial number and the receipt the moment an appliance enters my house. This might seem like overkill until you are trying to negotiate for affordable same-day appliance fixes with warranty benefits and the technician asks for the exact manufacture date to see if a specific part is still covered.
How do I keep my appliance fleet running for a decade?
It comes down to proactive monitoring. I’ve added a recurring alert in my calendar to check for common failure points every six months. For my washer, that means checking for sediment in the hoses; for the dryer, it’s about inspecting the exhaust. According to the Association of Home Appliance Manufacturers (AHAM), the average life of a major appliance is around 10 to 13 years, but that lifespan can be cut by nearly 30% if filters and coils are ignored. If you want to scale your home maintenance, you have to stop thinking of it as a chore and start viewing it as asset management. This is especially true if you have a the maintenance contract clause that saves you on labor costs, as these often require you to prove you haven’t been negligent.
The One Tool That Tells You Exactly What Is Broken
If you are tired of guessing why your oven isn’t heating or your dryer won’t start, buy a digital multimeter. I am not kidding. This $20 tool is the most powerful weapon in my DIY arsenal. I use it to test for ‘continuity’—basically checking if electricity can still flow through a part. If your dryer stops heating, it is usually just a $10 thermal fuse that has popped. By testing it myself, I can decide if I need to call for scheduling your appliance repair for same-day service in 2025 or if I can just swap the part myself. Having this data makes the conversation with a pro much smoother. 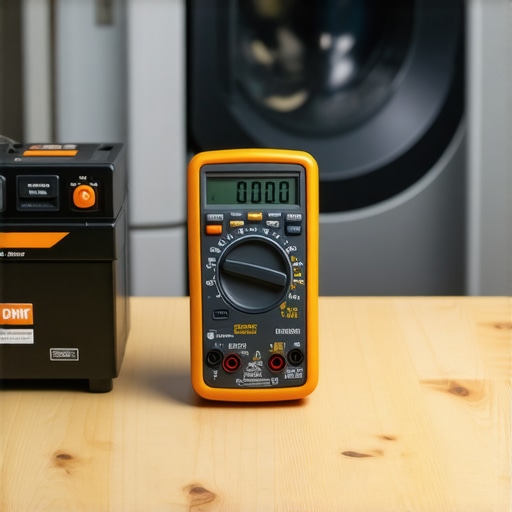 I predict that in the next few years, we won’t even need multimeters. We are moving toward a future where appliances feature ‘localized diagnostics’ powered by small AI chips that can predict a pump failure weeks before it happens by analyzing vibration patterns. But until your fridge can text you its own repair list, you need to be the one keeping track. If you’ve never used a multimeter before, I highly recommend checking out an expert-guide-to-appliance-repair-and-installation-today to learn the basics of component testing. My big tip for today? Go to your laundry room right now, pull out the washer, and take a clear photo of the model and serial tag. Save it to your phone’s ‘Favorites’ album. It takes ten seconds, and it is the first thing every repair expert will ask for.
What Pros Actually Think When You Call for a Same-Day Fix
After years of managing home repairs, I’ve realized that the stress of a broken washer often comes from a lack of communication. When you’re looking for top tips for same-day service warranty coverage, the best thing you can do is be the technician’s eyes and ears before they arrive. They don’t want you to be a master mechanic; they just want you to have the model number ready and a clear description of the noise or leak. One major lightbulb moment for me was discovering that “same-day” is a partnership—if I don’t give them the right info, they can’t bring the right parts. I also learned to never assume a fix is covered without checking affordable same-day appliance fixes with warranty benefits first; knowing your policy’s fine print saves you from that awkward “bill shock” at the end of the visit.
The Three Tools Every Homeowner Needs in Their Utility Drawer
If you want to stop feeling helpless when a machine beeps at you, you need more than just a screwdriver. Here is what I personally trust to keep my home running:
- The Digital Multimeter: As I mentioned earlier, this is non-negotiable for testing electrical continuity in components like thermal fuses or heating elements.
- An Inspection Mirror: This is my secret weapon for checking hidden spots, like ensuring the critical drain hose loop you’re missing in your dishwasher setup is correctly installed to prevent backflow.
- The Digital Vault: A simple cloud folder for every manual, serial number photo, and receipt. It is the backbone of how I handle any expert guide to appliance repair and installation today.
Take Back Control of Your Home Maintenance
Managing a modern home can feel like a full-time job, but it doesn’t have to be a source of constant anxiety. By shifting from a reactive mindset—waiting for things to break—to a proactive one, you’re not just saving money; you’re buying yourself peace of mind. Whether it’s placing a pod correctly or documenting your maintenance to keep a warranty valid, these small habits compound into a home that works for you, rather than against you. Always aim for warranty-backed appliance services you can rely on when the job is too big, and don’t be afraid to get your hands a little dirty on the small stuff. Have you ever had a “same-day” repair turn into a long-term headache because of a missing part or a bad model number? Let me know in the comments below!