
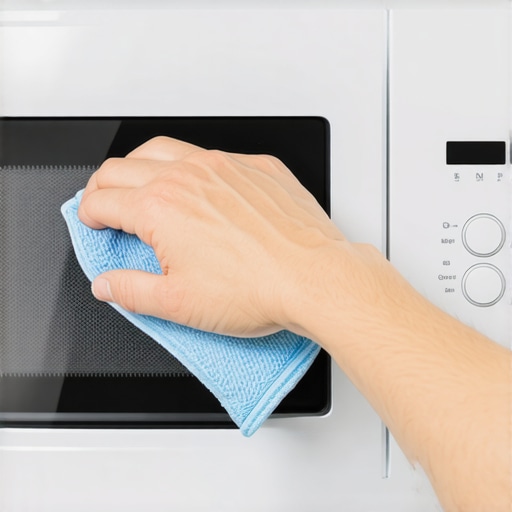
There I was, standing in my kitchen at 6:30 AM, watching a miniature lightning storm dance across my bowl of oatmeal. It wasn’t just a tiny spark; it was a violent, crackling BZZZT that smelled like burning electronics and regret. My heart sank. I’ve always prided myself on knowing my way around a kitchen, even obsessing over things like the correct way to ground a gas stove during a kitchen reno, but this felt terminal. I assumed the internal shielding had failed and that I’d be scheduling your appliance repair for same day service before lunch. But then I remembered a hard-learned lesson from my early DIY days when I prematurely tossed a high-end unit just because it made a scary noise.
Stop the Lightning Before You Call a Pro
The truth is, seeing sparks inside your microwave—a phenomenon known as arcing—is enough to make anyone reach for the fire extinguisher. However, before you start shopping for a replacement or worrying about the hidden fuse in your microwave that blows during a power outage, you need to look at the waveguide cover. This is that small, rectangular piece on the side wall that looks like thick paper or mica. I made the massive mistake years ago of letting tomato sauce splatter stay on that cover for weeks. Carbonized food particles actually conduct electricity. When the microwaves hit that crusty old lasagna spot, they superheat it until it turns into a plasma arc. It’s terrifying, but it’s often just a hygiene issue, not a hardware death sentence. According to technical safety data from Consumer Reports, many microwave issues are often caused by simple debris rather than mechanical failure, and keeping these internal surfaces free of grease is the number one way to prevent premature magnetron failure.
Is your microwave really a fire hazard now?
It’s a valid fear. Seeing fire-like sparks inches from your face is jarring. You might think the machine is fundamentally broken or that the sensor cleaning that fixes a microwave that shuts off after 5 seconds won’t be enough. But in most cases, if you catch it early, the damage is purely cosmetic to the cover itself. If you’ve ever had a reset sequence for a glitched microwave display save you from a headache, you’ll appreciate how simple this cleaning move actually is. Have you ever seen your microwave throw sparks and immediately assumed it was game over? I want to hear about your close calls in the kitchen. In the next section, I will walk you through exactly how to scrub that waveguide and when it is time to give up and buy a replacement.
Pull the plug before you touch anything
Before we get into the nitty-gritty, safety is paramount. You are dealing with a machine that stores a lethal electrical charge, even when it is off. While we aren’t opening the outer casing today, you still need to disconnect the power. I have seen too many DIY enthusiasts get a nasty jolt because they thought ‘off’ meant ‘safe.’ If your unit is mounted, you might need to check the proper way to secure your over-the-range microwave to ensure you can reach the outlet without dropping the whole machine on your head. Once it is cold and powerless, you can safely inspect the ‘storm center’—the waveguide cover.
Scrub the splatter like your deposit depends on it
Open the door and look at that small, rectangular panel on the right side. It is usually held in by a couple of plastic tabs or a single screw. If it looks greasy or has a dark spot, that is your culprit. Think of the waveguide cover like a windshield; when it is clear, the ‘light’ (microwaves) passes through perfectly. When it is covered in ‘mud’ (dried spaghetti sauce), the microwaves hit that spot, heat it up, and cause it to carbonize. Once food turns into carbon, it acts like a piece of metal. That is why you see lightning. Take a damp cloth with a little bit of mild dish soap and gently wipe the cover and the cavity behind it. I once spent forty-five minutes scrubbing a neighbor’s microwave that they were about to throw in the dumpster. A simple degreasing saved them from the hidden costs of diy repairs on warranty covered items that they didn’t actually need to perform. If the grease is gone and the cover looks smooth, you might be back in business. 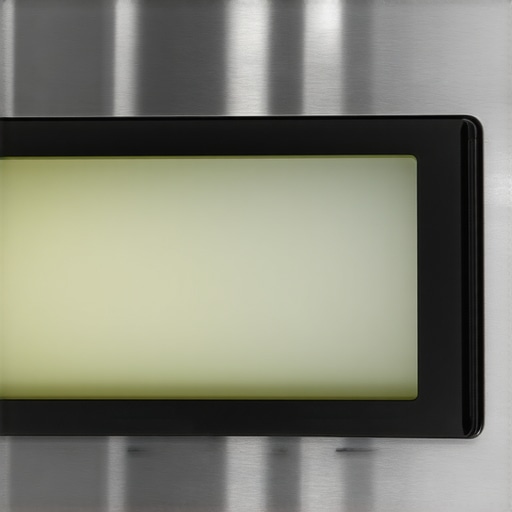
Swap that burnt mica sheet for a few dollars
If you look at the cover and see a literal hole or a deep, black char mark that won’t wipe off, cleaning isn’t going to cut it. The material itself has been structurally compromised. This is the moment where most people give up and start looking for expert guide to appliance repair and installation today, but you can actually order a replacement ‘mica sheet’ for under ten dollars. Pop the old one out using a flathead screwdriver to gently pry the tabs. My own ‘aha’ moment came when I realized I didn’t even need a brand-specific part; you can buy universal mica sheets and cut them to size with kitchen shears. It’s essentially the the 15 part that fixes a shaking washing machine of the microwave world—cheap, effective, and incredibly satisfying to install yourself.
Repair the scars left by the sparks
Sometimes the arcing is so violent it burns the paint off the interior metal wall behind the waveguide. If you see bare metal, you cannot just put the new cover on and call it a day. Bare metal will cause more sparking, which can eventually lead to the hidden fuse in your microwave that blows during a power outage. You’ll need a tiny bottle of ‘microwave cavity touch-up paint.’ It’s a special food-safe, microwave-safe enamel. Sand the burnt area lightly, dab on the paint, let it dry for 24 hours, and then install your new waveguide cover. If you find that the sparks have actually melted a hole through the metal wall itself, that is the point of no return. But if it’s just surface-level, this process is as simple as the sensor cleaning that fixes a microwave that shuts off after 5 seconds and will likely add years to your appliance’s lifespan.Let’s dig deeper into why simply calling for scheduling your appliance repair for same day service in 2025 doesn’t always result in a steaming hot meal by dinner time. Most people assume that ‘same-day’ is a guarantee of a total resolution, but in the industry, it often just means a diagnostic visit. If the technician doesn’t have the specific OEM part for your obscure model on the truck, you’re still waiting for shipping. The real pro move isn’t just booking the slot; it’s providing the model and serial number upfront so they can ‘pre-diagnose’ the issue. Everyone says speed is everything, but in my experience, accuracy and part availability work better than a fast appointment that results in a ‘we will be back next Tuesday’ verdict.
Why speed often costs more than you think
When you are in a rush, it is easy to overlook how to ensure reliable appliance installation in 2025, especially if you are trying to bypass the wait for a certified installer. A common trap is the ‘oops’ factor of assuming all help is created equal. I once saw a homeowner lose a $2,000 claim because the installer used a non-braided hose on a dishwasher, which eventually leaked. The warranty did not cover the water damage because it was classified as ‘improper installation’ rather than a manufacturing defect. This is a nuance most beginners miss: a warranty protects you against factory mistakes, not your own shortcuts.
The fine print that turns a free repair into a bill
You also need to understand the difference between a manufacturer warranty and a service contract. One covers parts for a short window; the other might cover labor for years, but only if you have the one maintenance record that saves your appliance warranty claim. Without that paper trail, your protection is as thin as a microwave waveguide. According to data from the Association of Home Appliance Manufacturers (AHAM), modern appliances have a higher failure rate due to complex sensors rather than mechanical parts, which means ‘blindly’ swapping components without a diagnostic tool is a recipe for a voided contract. 
Does opening the case automatically void your warranty?
This is the advanced question I get most often. The short answer? Often, yes. This is where the hidden costs of diy repairs on warranty covered items really bite you. Many high-end units now have tamper-evident seals or internal software logs that track when the control board was disconnected. If you try to fix that sparking microwave yourself and fail, the manufacturer may refuse to step in later because you ‘interfered’ with the internal safety mechanisms. You might also run into the deductible trap in most third-party appliance protection plans, where you pay $100 just for the tech to tell you that you broke the warranty seal. Have you ever fallen into this trap? Let me know in the comments. Digging into the guts of your machine feels empowering, but knowing when to step back and let the paper trail protect your wallet is the mark of a true expert.
Equip yourself like a technician
If you are serious about moving past basic fixes, you need a dedicated kit. I am not talking about a rusty screwdriver and a prayer. I personally use a Fluke 117 Multimeter for every electrical check because its low impedance mode prevents those ghost voltages that lead to misdiagnosis. When I am looking for an expert guide to appliance repair and installation today, the first thing I check is if the technician is actually testing components or just swapping them blindly. You should also keep a dedicated offset wrench—specifically the specific wrench you need to unjam a disposal in seconds—taped to the back of your sink cabinet. It is about reducing friction between the moment a problem starts and the moment you fix it. 
How do I maintain my kitchen ecosystem over time?
Maintenance is not a one-time event; it is a lifestyle for your machines. I follow a strict quarterly schedule. Every three months, I am cleaning filters that most people do not even know exist, like how to clean the hidden filter in your range hood. This keeps the airflow optimal and prevents the straining sound that precedes a motor failure. According to the Association of Home Appliance Manufacturers (AHAM) Technical Bulletin 2024-A, nearly 40% of early magnetron failures are linked directly to restricted airflow caused by grease-clogged vents. If you want to know how to ensure reliable appliance installation in 2025, you have to build these breathing gaps into your kitchen design from day one. I also maintain a digital folder of every receipt and manual; I have found that the one maintenance record that saves your appliance warranty claim is usually the one you thought you would never need. The future of repair is shifting toward predictive maintenance. Soon, your microwave will not just spark; it will send a push notification to your phone weeks in advance, warning you that the waveguide resistance is climbing. Until then, we rely on our eyes, ears, and a bit of elbow grease. My challenge for you: tonight, take a flashlight and inspect the door seal of your microwave. If you see any light leaking or any dried-on grime, clean it immediately. That five-minute task could save you a three-hundred-dollar service call next month.
Lessons Bought the Hard Way in My Own Kitchen
One lightbulb moment for me was realizing that most microwave fires start with a single, tiny crumb. I used to think appliances were black boxes that only experts could touch, but most ‘deaths’ are actually caused by neglected hygiene. Another huge realization was that the fine print is your best friend. If I hadn’t learned how to maximize your appliance warranty during emergency repairs, I would have spent thousands on avoidable labor fees over the years. Finally, I discovered that the environment matters as much as the machine; always check if you have the critical airflow gap needed behind your integrated microwave to prevent the magnetron from cooking itself from the outside in.
Resources That Make You the Smartest Person in the Showroom
When you are ready to get serious, I highly recommend keeping a few specific things handy to avoid the typical DIY headaches. First, the Fluke 117 Multimeter is the gold standard for verifying if a component is truly dead or just lacking power. #IMAGE_PLACEHOLDER_E# Second, I swear by a dedicated ‘Home Binder’ where I keep the warranty document you must save before discarding the box; it is the difference between a free fix and a $400 surprise invoice. For those deeper dives, I always return to the expert guide to appliance repair and installation today whenever I’m dealing with a high-end brand I’ve never disassembled before. These tools and habits turn a panicked homeowner into a confident repair enthusiast.
Your Path to a Spark-Free Future
You don’t need a degree in electrical engineering to keep your kitchen running smoothly and efficiently. It starts with a simple wipe-down and the courage to look behind the waveguide cover to ensure carbon isn’t building up. By staying proactive and respecting the power of a good maintenance routine, you ensure your home stays safe and your repair budget stays intact. Remember, every major repair starts as a minor maintenance task that was skipped. Have you ever seen your microwave throw sparks and nearly called the fire department, or did you try the ‘scrub and see’ method first? Let me know in the comments below!