
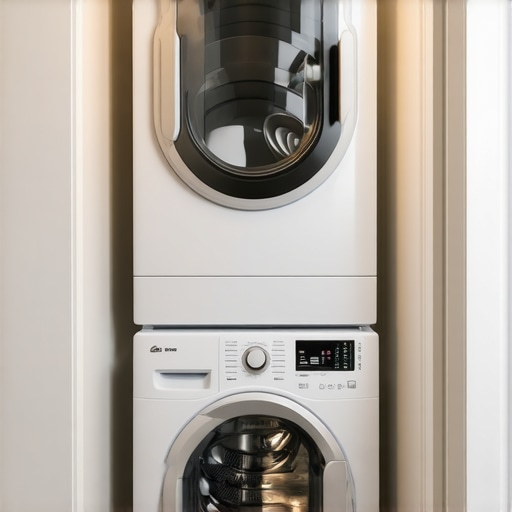
I remember standing in my hallway, staring at a closet that was exactly 28 inches wide, holding a tape measure like it was a magic wand. My new stackable washer and dryer were sitting in the living room, looking like two monoliths from a sci-fi movie. I’d told my wife, “No problem, I’ll have it running by dinner.” Fast forward three hours: I was wedged between the wall and a 200-pound dryer, unable to reach the vent, and seriously questioning my life choices. I’d made the classic amateur move of forgetting that machines need room to breathe—and room for your arms to actually connect the hoses.
The Day My Laundry Closet Nearly Won
If you’re reading this, you’re probably looking at a space that feels about three sizes too small for a modern appliance. It’s a common struggle. Whether you’re in a tight urban condo or trying to reclaim some mudroom real estate, installing a stackable pair is a game of inches. I learned the hard way that an expert guide to appliance repair and installation today is only as good as the preparation you put in before the heavy lifting starts. Today, I’m going to walk you through the exact steps I use now to ensure a seamless fit, from managing the tightest vent clearances to making sure your floor doesn’t vibrate into the next time zone.
Is This Stackable Setup Truly Worth the Trouble?
I get asked this all the time. Is it better to just stick with a tiny all-in-one unit? Honestly, for a family of more than one, the answer is a resounding yes—but only if you do it right. People fear the “stackable dance” where the machines vibrate so hard they try to walk out of the closet. But if you use anti-vibration pads that save your laundry room floor, that fear goes out the window. The real payoff is getting full-size cleaning power without sacrificing your entire floor plan.
Stop Making These Common Installation Blunders
The biggest mistake I made during my first attempt? I ignored the depth. I measured the front of the machine, but I didn’t account for the four inches of rigid ducting needed in the back. This led to the venting error that causes your dryer to take two cycles because the hose was crushed against the drywall. According to the National Fire Protection Association (NFPA), nearly 27% of home dryer fires are caused by a failure to clean or properly install vents, so this isn’t just about convenience—it’s about keeping your home safe. Before you even unbox those units, you need to verify your utilities. Are the faucets reachable? Is the drain pipe at the correct height? Have you considered fast trustworthy appliance installation near you if the gas line looks a bit corroded? Trust me, trying to fix a leak once the dryer is stacked on top of the washer is a nightmare you don’t want. Have you ever tried to shove a 400-pound tower into a closet only to realize the plug won’t reach? Let me know in the comments if you’ve had a close call with a delivery crew or a DIY project gone sideways!
Nail the Leveling to Prevent the Dreaded Walk
The absolute first thing you must do—before the dryer even thinks about sitting on top—is get that washer perfectly level. If the base isn’t solid, you’re basically building a house on a swamp. I remember a job in a tight Brooklyn apartment where I thought ‘close enough’ was good enough for the floor slope. Ten minutes into the first spin cycle, the entire 400-pound stack was vibrating toward the glass shower door like a slow-motion wrecking ball. I had to kill the power and start from scratch. Use a bubble level across the top of the washer from left to right and front to back. If it’s off, adjust the legs and lock them tight. If you’re dealing with an older machine or a tricky floor, the leveling secret for a top-load washer that never dances applies here too: precision is your best friend to prevent future mechanical failure.
Give the Venting System Some Room to Breathe
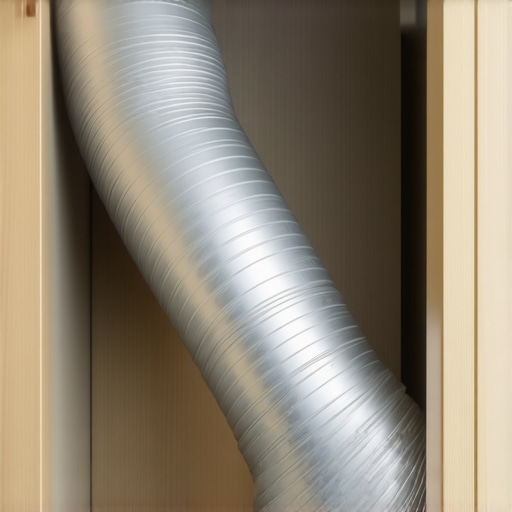
Once the washer is set, you have to tackle the dryer’s exhaust. This is where most DIY projects fail because they try to shove the unit flush against the back wall. You need at least four to six inches of clearance, or you’ll crush the ducting. A crushed vent leads to the venting error that causes your dryer to take two cycles to get your jeans dry, which wastes energy and kills your heating element. In my own home, I used a recessed dryer vent box—it’s like a little cubby hole in the wall that allows the duct to turn without getting squashed. It’s the difference between a machine that lasts ten years and one that burns out in three. Always check for lint buildup before the final push, as how to tell if your dryer vent is a fire hazard is a lesson you don’t want to learn the hard way.
Lock Everything Down with a Dedicated Stacking Kit
Don’t ever just stack a dryer on a washer and hope for the best. You need a manufacturer-approved stacking kit. These are usually just a couple of plastic or metal brackets, but they are the only thing keeping that dryer from sliding off during a heavy load of towels. I once saw a ‘handyman’ try to use double-sided mounting tape for a stackable pair; it lasted three days before the dryer shifted and cracked the water valves behind it. Using a kit is a non-negotiable part of how to ensure reliable appliance installation in 2025. 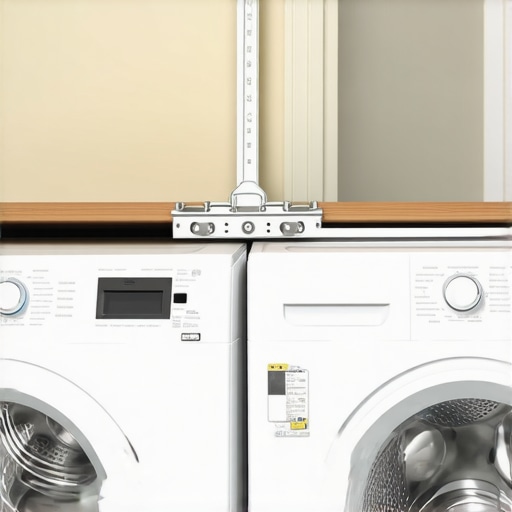
Route Your Hoses to Stop Backflow in Its Tracks
Finally, let’s talk about the plumbing. In a stacked setup, your drain hose and water lines are often stretched to their limit. You must ensure the drain hose has a ‘high loop’ or follows the drain hose height rule that prevents washer backflow. If the hose is too low, dirty water can actually siphoned back into your clean clothes. I learned this when a client called me complaining that their ‘clean’ laundry smelled like a pond; the drain hose had slipped down behind the unit. Secure the hose to the standpipe with a heavy-duty zip tie. If the setup feels too complex or you’re worried about the warranty, looking into warranty-backed appliance services you can rely on is a smart move to protect your investment.
Most homeowners assume that a warranty is a simple golden ticket to a free fix, but in reality, it’s a legal contract with fine print that can catch you off guard if you aren’t prepared. Let’s dig deeper into what actually happens after the machines are in place. You’ll often hear the common belief that a DIY installation automatically voids your manufacturer’s warranty. This is actually a bit of a myth. According to the Federal Trade Commission (FTC) and the Magnuson-Moss Warranty Act, manufacturers cannot legally void your entire warranty just because you did the work yourself or used a third-party service, unless they can prove your specific installation caused the failure. However, knowing the difference between a factory warranty and a service contract is vital because the rules for ‘user error’ vary wildly between the two.
The one document that saves your repair claim
The real ‘oops’ factor I see most often isn’t a bad installation—it’s a lack of paper. If your stacked unit fails six months in, the technician isn’t just going to take your word that it was leveled correctly. You need to know the document every technician needs to see for a valid warranty visit to avoid being handed a bill for the service fee. This includes keeping a log of when you cleaned the pump guard or checked the vent. Without this, many companies will claim ‘neglect’ and deny coverage. I always tell my clients to take a photo of the level sitting on top of the machine during the install—it’s the ultimate proof that you did it right from day one. Have you ever fallen into this trap and had a claim denied for a silly reason? Let me know in the comments!
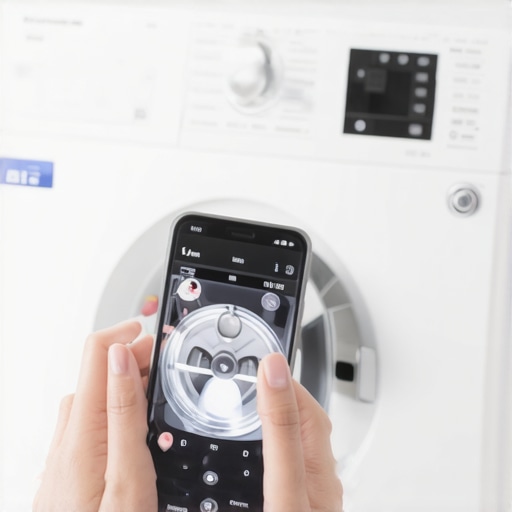
Can you really get a repair tech to your door by tonight?
When a stackable unit fails, it’s usually an emergency because you can’t just move a 400-pound tower to see what’s leaking. This is where the nuance of ‘same-day service’ comes in. Most people think they can just call any number, but scheduling your appliance repair for same-day service in 2025 requires you to have your model and serial numbers ready before you pick up the phone. A technician can’t provide a ‘quick fix’ if they don’t have the right parts for your specific stackable kit on the truck. To get the best results, look for top tips for same-day service warranty coverage so you aren’t paying premium emergency rates for something that should be covered. Before you sign off on any work, always how to verify your new appliance is covered under the original warranty to ensure the repair doesn’t cost more than the machine is worth. Remember, the goal of a great installation isn’t just to make it fit—it’s to make it last.
Moving from the legal side of warranties to the physical reality of your laundry room, I want to talk about the gear that actually keeps your machines from becoming expensive paperweights. After hundreds of installs, I’ve realized that the ‘standard’ tools aren’t enough when you’re working in a closet with three inches of clearance. I personally never start a job without a telescoping inspection mirror. It sounds like something out of a spy movie, but it’s the only way to verify that your dryer vent hasn’t slipped off the back while you were sliding the unit into place. If you can’t see the connection, you can’t guarantee safety.
The three tools I never walk into a laundry closet without
Beyond the mirror, I swear by a recessed dryer vent box. According to the International Residential Code (IRC) Section M1502, dryer exhaust ducts must be supported and have a smooth interior finish. A recessed box allows you to meet these standards even in tight spaces, preventing the venting error that causes your dryer to take two cycles by giving the transition duct a place to go without kinking. I also keep a bag of heavy-duty, UV-resistant zip ties. People laugh until they see how I use them to secure the drain hose to the standpipe, ensuring the drain hose height rule that prevents washer backflow is strictly followed. These small additions are the difference between a one-and-done setup and a flooded hallway at 2 AM.
How do I keep this stack running like new for a decade?
Maintenance on a stackable unit is notoriously difficult because you can’t easily reach the back. This is why you have to be religious about the things you can reach. Every three months, you need to perform the pump guard cleaning that fixes your washer drainage issues. On most front-loaders, there’s a tiny door at the bottom. If you don’t clear the coins and lint trapped there, the pump will burn out prematurely, and then you’re stuck looking for scheduling your appliance repair for same-day service in 2025 just to get your clothes out of the standing water. Additionally, I recommend a monthly wipe-down using the secret to deep-cleaning a front-load washer gasket to prevent that ‘swamp smell’ from taking over your closet.
Predictive tech is changing the repair game forever
Looking ahead, I see a major shift in how we handle these high-density installations. We are moving toward a world where ‘same-day service’ isn’t just about speed, but about data. Many of the 2025 models I’m installing now feature advanced vibration sensors and AI-driven thermal monitoring. These machines will literally email you—and sometimes your preferred technician—before a belt snaps or a vent clogs. This helps homeowners maximize your appliance warranty during emergency repairs because the machine provides a digital log of the failure. If you want to stay ahead of the curve, I challenge you to pull your machine out just six inches this weekend and check for lint buildup with a flashlight. It’s a five-minute task that could save you a $300 service call. Knowing how to ensure reliable appliance installation in 2025 starts with being an active participant in your home’s health.
Hard-Won Wisdom from the Laundry Trenches
I’ve spent years fixing mistakes that could have been avoided with five minutes of foresight. One ‘lightbulb’ moment for me was realizing that vibration isn’t just an annoyance—it’s a slow-motion earthquake for your plumbing. If you aren’t checking your level regularly, you’re asking for a leak. Another lesson? Never trust a factory-supplied drain hose to stay put without a zip tie; following the drain hose height rule that prevents washer backflow is the only way to sleep soundly at night. Lastly, always keep your service logs updated because knowing how to avoid paying the service fee for a denied warranty claim can save you hundreds when the unexpected happens.
The Three Must-Have Tools for Every Tight Closet
I recommend three specific items to ensure your project goes smoothly. First, a recessed dryer vent box; it’s the only way to get a flush fit without crushing the duct and causing a fire hazard. Second, a high-quality telescoping mirror to see behind the stack once it is pushed into place. Third, a digital folder of your manuals and receipts stored on your phone. This level of organization is key for anyone following an expert guide to appliance repair and installation today. I trust these tools because they eliminate the guesswork that leads to late-night emergency calls.
#IMAGE_PLACEHOLDER_E#
Launch Your New Setup with Confidence
You now have the blueprint to transform that cramped closet into a high-performance laundry hub. Don’t let the fear of a tight space stop you from upgrading your home’s efficiency. With the right prep and a bit of patience, you’ll have a system that lasts for years. Remember, a successful how to ensure reliable appliance installation in 2025 is built on the small details you handle today. You’ve got this! Have you ever had a stackable unit try to ‘walk’ out of the closet during a heavy load? Tell me your craziest laundry room story in the comments below!