
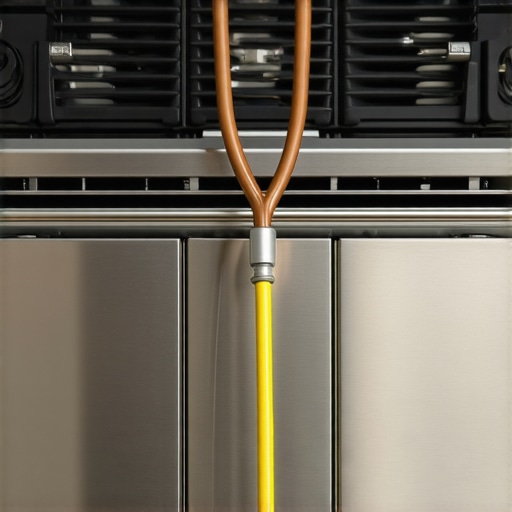
I will never forget the first time I installed a high-end gas range in my 1940s fixer-upper bungalow. I had spent all morning wrestling with the yellow flex line and checking for leaks with soapy water—proud of myself for getting those perfect blue flames to ignite. But later that evening, while wiping down the stainless steel stovetop with a damp cloth, I felt a sharp, metallic sting through my fingertips. My heart dropped. I had the gas right, but I had completely neglected the electrical side of the equation. It turns out, I had made the grounding error that makes smart stove controls glitch and, frankly, created a genuine safety hazard in my own kitchen. [image]
That Tiny Tingle is a Huge Red Flag
Most of us think that because a stove uses gas to cook, the plug is just a minor detail for the clock or the light bulb. That is a dangerous assumption to make. Modern ranges are packed with delicate circuit boards, touchscreens, and spark igniters that are incredibly sensitive to electrical noise. If you do not have a solid, dedicated path to ground, that electricity has nowhere to go except into the metal chassis of the appliance—and eventually, into you. It is why ensuring a reliable appliance installation means looking way beyond the gas valve and the Teflon tape. Early in my DIY journey, I mistakenly thought I could use a cheater plug because the house was old and lacked three-prong outlets. That shortcut almost cost me a very expensive motherboard and gave me a nasty jolt while I was just trying to boil pasta. It is a mistake I see people make constantly when they are rushing through a fast appliance installation.
Does the Gas Pipe Actually Count as a Ground?
This is the most common myth I hear from homeowners and even some old-school handymen. They assume the iron pipe buried in the earth provides enough of a ground to keep the system safe. It does not. In fact, relying on your gas line to bleed off electrical faults is a recipe for a disaster. According to the National Fire Protection Association (NFPA), electrical malfunctions are a leading cause of home fires, and improper grounding is a primary contributor to stray voltage issues in modern appliances. If you have noticed the loose igniter connection making your gas stove click incessantly even when the burner is off, it might not just be a bad part—it could be your electrical system screaming for a proper ground. Today, I am going to walk you through exactly how to verify your outlet is safe before you slide that heavy range into place. We are going to talk about the right way to test your setup so you do not end up with an orange flame or a fried control board. Tell me, have you ever felt that weird hum or a zip when touching a metal appliance, or are you starting a fresh install and want to make sure you stay safe?
Grab a Three-Prong Circuit Tester
Before you even think about connecting the gas line, you need to verify the electrical outlet. You do not need an engineering degree for this; you just need a $10 three-prong circuit tester from any hardware store. Think of this little device as a lie detector for your home’s wiring. You plug it in, and a series of lights tells you if the outlet is wired correctly, if the hot and neutral wires are swapped, or if you have an ‘open ground.’ If that ground light doesn’t shine, your stove’s chassis could become energized. I once visited a client who complained her touch panel would ‘ghost touch’—randomly selecting convection bake at 3 AM. Her husband thought the house was haunted. I pulled the range out, plugged in my tester, and found a completely dead ground. Once we followed an expert guide to appliance repair and installation today and fixed the house wiring, the ‘ghost’ vanished instantly. 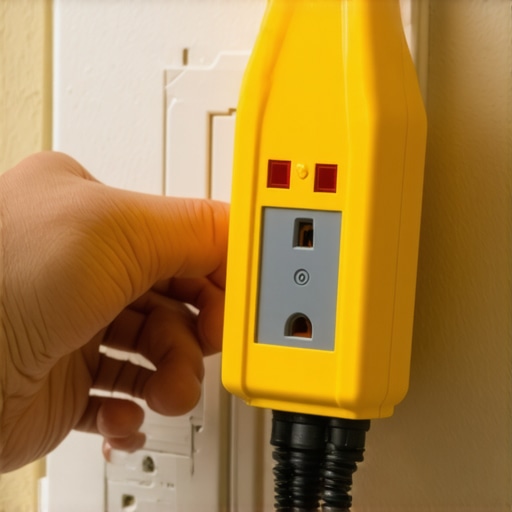
What Those Little Glowing Lights Actually Mean
When you plug that tester in, you are looking for two amber lights (usually). If you see a single red light or a different pattern, stop immediately. An ‘open ground’ means that even if you have a three-prong outlet, the third hole isn’t actually connected to anything. This is common in older homes where someone swapped a two-prong outlet for a three-prong version without actually running a ground wire. This is exactly the grounding error that makes your smart stove controls glitch. Without that path, static electricity and minor surges from the spark igniter build up on the control board until the software simply freezes or reboots. If you find this, you need a pro to pull a new wire or install a GFCI outlet labeled ‘No Equipment Ground,’ though the latter won’t help with electronic noise as well as a true ground.
Why Your Range Needs Its Own Electrical Lane
Most people assume that because a gas stove only uses a few hundred watts for the lights and clock, it can share a circuit with the toaster, the microwave, or the refrigerator. This is a mistake. When you are ensuring a reliable appliance installation in 2025, you want a dedicated circuit. If your refrigerator compressor kicks on while your stove is trying to run a self-clean cycle, the momentary voltage drop can cause the stove’s sensitive brain to trip. Think of it like trying to share a single straw with three people; eventually, someone isn’t getting enough air.
The Safety Step Everyone Skips
Once the electrical is verified, you must install the anti-tip bracket every range installation needs. I have seen too many DIYers slide the stove in and call it a day. But if a child stands on an open oven door, that heavy unit can pivot forward. If the gas line is rigid, it will snap. If it is a flex line, it might stretch and leak. When you are looking for fast trustworthy appliance installation near you, a real pro will never leave without bolting that bracket to the floor or wall stud. It is the literal anchor for your kitchen’s safety. Check your flooring—if you have tile, you’ll need a masonry bit. It’s a five-minute task that prevents a lifetime of regret.
I have seen it a hundred times: a homeowner panics because their fridge stopped cooling right before a dinner party and they scramble for the first person who promises to be there in an hour. But here is the contrarian truth that most ‘pros’ won’t tell you: speed is often the enemy of a long-term fix. Everyone says you need a technician who can arrive today, but in my experience, the quality of the diagnostic toolset they carry matters infinitely more than how fast they drive. When you are scheduling your appliance repair for same-day service in 2025, you aren’t just paying for a quick arrival; you are paying for someone who knows how to spot the difference between a failing compressor and a dusty condenser coil before they even touch a screwdriver.
The Same-Day Service Trap You Probably Haven’t Considered
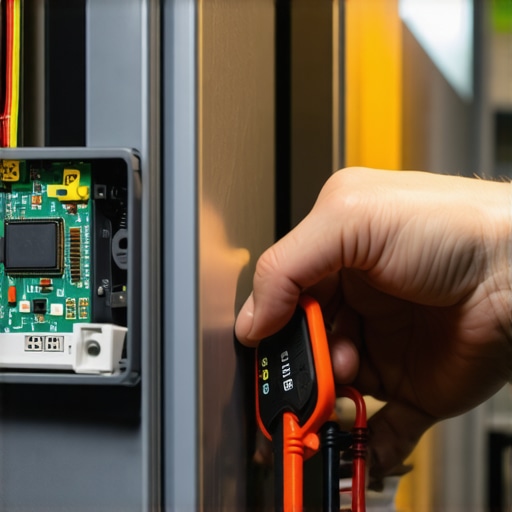
The biggest mistake I see homeowners make during an emergency is forgetting to document the ‘before.’ I once worked with a couple who had a technician come out for a quick fix on a washing machine. The tech was fast, but in his haste, he accidentally nicked the control board housing. Because they hadn’t taken photos of the unit beforehand, they couldn’t prove the damage happened during the visit. This is the ultimate ‘oops’ factor. If you don’t have the one maintenance record that saves your appliance warranty claim—which includes photos of the unit’s condition prior to any professional work—you are leaving yourself wide open for a rejected claim later. Always take a 30-second video of the appliance running (or failing to run) before the doorbell rings. It is your only real shield against a ‘he-said, she-said’ nightmare.
Does an Unofficial Repair Really Kill Your Manufacturer Protection?
This is where the nuance gets really thick. Many people believe that if they so much as tighten a screw themselves, their entire warranty is instantly voided. That is a myth. According to the Federal Trade Commission (FTC) and the Magnuson-Moss Warranty Act, manufacturers cannot legally deny a warranty claim just because you used an independent repair shop or performed basic maintenance yourself. They must prove that your specific DIY action caused the failure. However, knowing the hidden costs of DIY repairs on warranty covered items is still vital because, while they can’t void the whole thing, they can certainly deny the specific repair if you’ve accidentally shorted out a board while poking around. I always tell my clients to focus on warranty-backed appliance services you can rely on for the big stuff, while keeping their own logs for the small stuff like cleaning filters or leveling legs.
Why Speed Often Masks a Failed Warranty Claim
Another advanced mistake is confusing a ‘service contract’ with a ‘manufacturer warranty.’ I’ve had readers reach out asking why their ‘warranty’ didn’t cover a $400 labor charge. It turns out they had moved past the first year of ownership, and they didn’t realize the difference between a manufacturer warranty and a service contract. A manufacturer usually covers parts and labor for the first 12 months, but third-party service contracts often have hidden deductibles or ‘pro-rated’ coverage that drops as the appliance gets older. If you’re looking for affordable same-day appliance fixes with warranty benefits, you must read the fine print on who is actually paying the bill. Have you ever fallen into this trap where you thought you were covered only to get hit with a surprise bill? Let me know in the comments, because your experience might save someone else a few hundred bucks. For more complex setups, always refer back to an expert guide to appliance repair and installation today before you authorize a technician to start pulling apart your high-end smart range.
If you want to move from a frantic DIYer to a confident homeowner, you need to stop guessing and start measuring. I spent years trying to listen to the ‘click’ of a relay or sniffing for burnt plastic like a bloodhound. Now, I do not move a muscle without my digital multimeter. This isn’t just about gear-head luxury; it’s about survival for your electronics. When you follow an expert guide to appliance repair and installation today, the very first step is electrical verification. I personally use a Fluke 117 because it has a ‘LoZ’ mode that prevents ghost voltages from giving you a false reading—a common issue in older homes where wires run parallel to each other. According to UL Solutions and their UL 858 standard for household electric ranges, the integrity of grounding and thermal protection is non-negotiable for fire safety. If you are not testing your line voltage under load, you are essentially flying blind.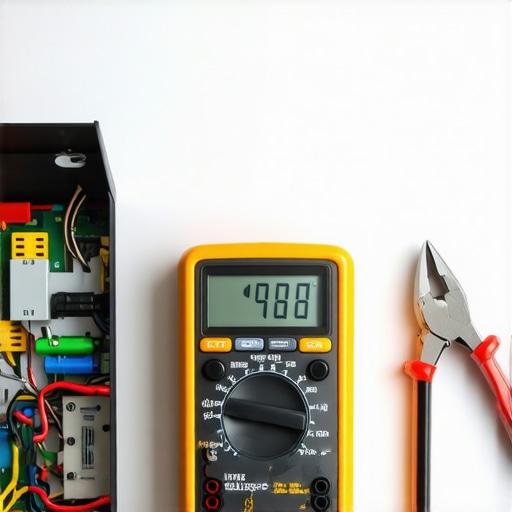
Why your toolbag needs a digital heartbeat
Most modern ranges and refrigerators are basically computers that cook or cool. You might think a multimeter is overkill for a simple appliance, but consider the cost of a control board. A single power surge on a line without a proper ground can fry a $400 microprocessor in a heartbeat. I’ve seen it happen during a reliable appliance installation in 2025 where the homeowner skipped the outlet test and paid for it with a dead-on-arrival display. Beyond the meter, I highly recommend a set of dedicated nut drivers. Most modern appliances are held together by 1/4-inch and 5/16-inch hex screws rather than Phillips heads. Stripping these with the wrong pliers is a one-way ticket to a permanent rattle that will drive you crazy every time the compressor kicks on.
How do I maintain my heavy-duty appliances over time?
Longevity is built on the things you can’t see. For example, the number one cause of dryer fires isn’t the lint trap—it is the internal ductwork. This is exactly why your dryer vent needs a hard pipe upgrade. Those flexible foil tubes create ridges that trap lint like a spiderweb, eventually choking the airflow and overheating the thermal fuse. I make it a point to vacuum out my entire vent line with a high-cfm shop vac every six months. It is a 15-minute job that adds years to the heating element’s life. Similarly, if you live in an area with hard water, you need to look into the hard water filter your dishwasher desperately needs. Calcium buildup on a pump seal will cause a leak long before the motor actually fails.
The future of DIY diagnostics
I predict that by 2030, the ‘diagnostic port’ on your fridge will be as accessible as the OBD-II port on your car. We are already seeing high-end brands move toward app-integrated error logs that tell you exactly which sensor is failing. However, technology won’t replace physical evidence. You still need the one maintenance record that saves your appliance warranty claim: a simple, dated log of every time you vacuumed the coils or swapped a filter. Manufacturers are getting stricter, and ‘I think I cleaned it’ won’t hold up in a dispute. My advanced tip for you? Buy a non-contact voltage tester—it’s a $20 tool that glows red when a wire is live. Use it every single time you open a service panel to ensure you stay safe while looking for fast trustworthy appliance installation near you.
The Hardest Lesson I Learned About Chasing Speed
If there is one thing I have learned after years of tinkering with everything from vintage ovens to modern smart fridges, it is that the ‘fastest’ solution is rarely the safest. I used to think that scheduling your appliance repair for same-day service in 2025 was just about getting the machine running again, but I missed the bigger picture. I once let a tech rush through a dryer install without checking the vent, and within a week, I was dealing with a burnt-out thermal fuse. Speed without a checklist is just a shortcut to another repair bill.
- Trust your documentation, not your memory. Always keep the one maintenance record that saves your appliance warranty claim in a digital folder. Manufacturers love to say ‘lack of maintenance’ to avoid a payout.
- Know the ‘Open Ground’ trap. Just because an outlet has three holes doesn’t mean it is safe. A $10 tester is the only way to avoid the grounding error that makes your smart stove controls glitch.
- DIY has invisible price tags. I am a huge advocate for doing it yourself, but you must recognize the hidden costs of DIY repairs on warranty covered items. One slipped screwdriver can void a $500 control board replacement.
The Three Tools That Saved My Sanity
I do not go into any kitchen without these three items. First, a high-quality digital multimeter like the Fluke 117. It prevents ‘ghost readings’ that can lead you to replace parts that aren’t actually broken. Second, a dedicated set of hex-head nut drivers; using pliers on a range’s internal screws is a recipe for stripped metal and permanent rattles. Finally, I always keep a copy of the expert guide to appliance repair and installation today bookmarked on my phone. Even pros need a reference when facing a weird error code at midnight. These tools turn a panicked situation into a controlled project.
Your Path to Professional-Level Home Safety
At the end of the day, you are the final inspector of your own home. Whether you are doing the heavy lifting yourself or hiring out for fast trustworthy appliance installation near you, your knowledge is what keeps the lights on and the gas inside the pipes. Do not be afraid to ask a technician for their credentials or to see their grounding test results. You have worked hard for your home, and you deserve a kitchen that is both high-tech and high-safety. By focusing on how to ensure reliable appliance installation in 2025, you are not just fixing a stove; you are protecting your family. Have you ever been blindsided by a repair bill that you thought was covered by warranty? Let me know your experience in the comments below!