
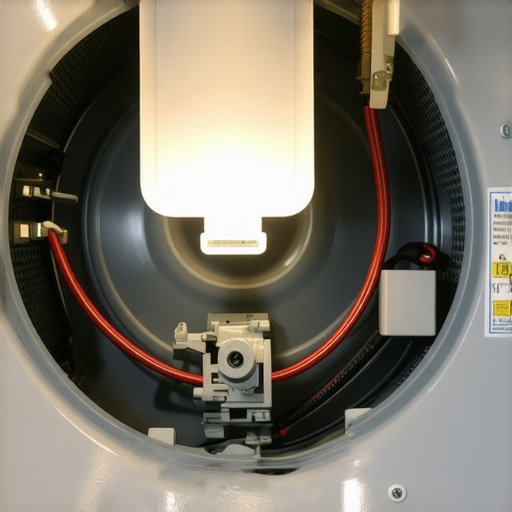
I stood in my laundry room last Tuesday, staring at a heap of soggy towels and feeling that familiar spike of annoyance. My dryer was humming, the drum was spinning, but the heat was absolutely non-existent. I’d already checked the breaker and cleaned the lint screen, but the air inside was as cold as a basement floor. It’s a frustrating spot to be in, especially when you’re already behind on chores and the kids need their uniforms for tomorrow. If you’ve ever felt like your appliance is gaslighting you—performing all the motions but failing at its one actual job—you aren’t alone. Most people assume the expensive heating element is dead, but more often than not, it’s a tiny, inexpensive safety device that has simply done its job too well.
Stop Tearing the Front Panel Off Just Yet
I remember the first time I tried to fix this myself. I spent two hours dismantling the door and the front shroud, skinning my knuckles in the process, only to realize the part I needed was accessible through a simple rectangular panel on the back. It was a classic ‘me’ move—overcomplicating a straightforward problem because I didn’t take five minutes to research the layout. Today, I’m going to show you exactly how to locate that thermal fuse so you can get back to your life without waiting for a technician or overpaying for parts you don’t need. Sometimes, understanding the real reason your dryer takes forever starts with checking this one little component. If you’re not the DIY type and the thought of a screwdriver makes you break out in a sweat, you might consider scheduling your appliance repair for same-day service to get it handled before the laundry mountain grows any higher.
Is This Tiny Plastic Part Really Worth the Effort?
It might seem like a lot of work for a component that costs less than a fancy latte, but that fuse is your home’s last line of defense. According to the National Fire Protection Association (NFPA), clothes dryers are responsible for nearly 16,000 structure fires every year, and the thermal fuse is specifically designed to kill the power to the heater if things get dangerously hot. It’s a literal lifesaver. But once it blows, it’s a ‘one and done’ deal; it won’t reset itself like a breaker. Have you ever spent a whole afternoon taking something apart only to find the solution was right under your nose? Tell me I’m not the only one who has done that! Finding the fuse is usually the hardest part, but once you know where to look, it’s a 10-minute fix that saves you a fortune in service fees. Let’s get into the nitty-gritty of where your specific model is likely hiding its secrets.
Cut the Power Before You Touch a Tool
Before you even grab a screwdriver, you have to kill the power. This isn’t just about avoiding a zap; it’s about protecting the control board from accidental shorts. I usually pull the unit about two feet from the wall to give myself breathing room. While you’re back there, take a look at the duct. If it’s crushed or kinked, that’s likely why your fuse blew in the first place. High heat needs an exit, and if it can’t find one, the fuse takes the hit to save your house.
Find the Blower Housing Behind the Back Panel
Most modern dryers house the thermal fuse on the blower fan cover. You’ll need to remove the series of 1/4-inch hex head screws holding that large rear panel in place. I remember a particularly frustrating Saturday where I didn’t use a magnetic tray and dropped the specific screw that fixes a rattling dryer drum deep into the cabinet. I spent more time fishing that screw out with a magnet on a string than I did actually replacing the fuse. Don’t be like me—keep your hardware organized in a small bowl or a magnetic dish. 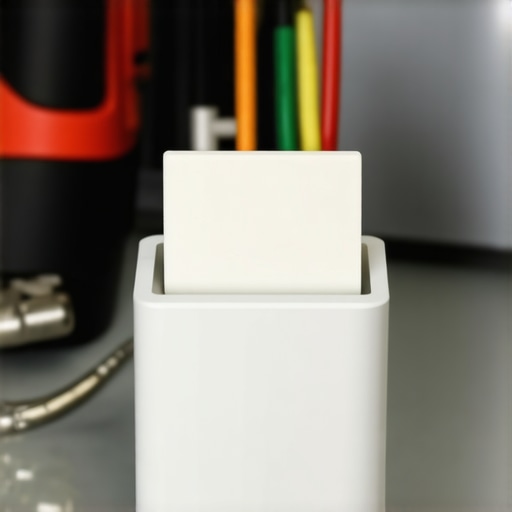
Test for Continuity Without Being an Engineer
Once the panel is off, look for a small, white plastic strip about two inches long with two wires plugged into it. That’s your target. To be 100% sure it’s dead, you’ll need a basic multimeter set to the lowest ohms of resistance (or the continuity setting that beeps). Pull one of the wires off—always pull by the metal connector, never the wire itself—and touch your probes to the two terminals. If the meter stays silent or shows ‘OL’, the fuse is blown. It’s like a drawbridge that’s been raised; the electricity simply can’t get across to the heating element. If you find that the fuse is fine but the dryer still won’t heat, you might be dealing with a more complex wiring issue or a failed igniter. In those cases, searching for fast trustworthy appliance installation near you or a repair pro is the smartest move to avoid turning a small fix into a total replacement.
Swap the Fuse and Seal it Up
When you install the new part, make sure the wire connections are tight. Loose terminals create heat, and heat is exactly what we’re trying to manage here. Slide the new fuse into place, tighten the screw, and reattach the wires. Before you button everything back up, check if your unit is still under any kind of protection plan. Having the document every technician needs to see for a valid warranty visit handy is vital if you decide to go the professional route instead of the DIY path. Proper how to ensure reliable appliance installation in 2025 practices dictate that you should also vacuum out the interior of the cabinet while it’s open. Dust and lint are fuel, and a clean dryer is a safe dryer.
The Warranty Trap You Probably Didn’t See Coming
Many DIY enthusiasts believe that as long as they fix the machine themselves, they are saving money. But here is a contrarian take: sometimes a ‘free’ DIY fix costs you the entire machine’s protection. If you don’t use warranty-backed appliance services you can rely on, you might inadvertently void your coverage for much more expensive components like the motor or the control board. I’ve seen homeowners save $10 on a fuse only to lose a $400 warranty claim because they left tool marks on the housing. If you’re unsure, scheduling your appliance repair for same-day service in 2025 is often the safer financial bet than risking your long-term coverage.
The One Cleaning Step Most DIYers Forget
Most people think a clean lint screen is enough, but that is a dangerous myth. There is a specific type of dangerous lint build-up your dryer filter always misses inside the internal blower housing. If you only clean the silver pipe behind the dryer, you’re only doing half the job. According to a study by the Association of Home Appliance Manufacturers (AHAM), restricted airflow is the leading cause of premature component failure. If the internal paths are choked, your new fuse will last about three cycles before it pops again. 
Why is your brand-new dryer still blowing fuses?
This is the question I get from people who just bought a top-of-the-line unit and can’t understand why it’s failing. The nuance here is ‘static pressure.’ If your laundry room is in the middle of the house and the vent run is longer than 25 feet, or has more than three 90-degree elbows, your dryer is working too hard to push air. This heat back-up triggers the safety switch regardless of how new the machine is. In these cases, you need an expert guide to appliance repair and installation today to calculate if your ducting actually meets the manufacturer’s specs. Have you ever fallen into this trap where you fixed the part but didn’t find the ‘why’ behind the failure? Let me know in the comments. If you’re tired of the guesswork, looking for fast trustworthy appliance installation near you can ensure your machine is actually set up for success from day one. To protect your investment further, make sure you know how to avoid paying the service fee for a denied warranty claim before the professional arrives.Beyond just swapping out a fuse, I’ve learned that the secret to a machine that actually lasts a decade is the kit you keep in your utility drawer. I used to rely on a cheap, multi-bit screwdriver I found in a junk drawer, but it stripped more screws than it turned. Now, I never touch a dryer without my 1/4-inch and 5/16-inch nut drivers. These are the gold standard for appliance work because they provide a grip that prevents you from rounding off those soft metal heads. If you’ve ever had a screw stuck halfway in the blower housing, you know that frustration is real. I also keep a flexible 24-inch vent brush on hand—not just for the wall, but for the internal chute where the lint filter sits.
Stop Guessing and Start Measuring with a Multimeter
One tool I cannot recommend enough is a digital multimeter. I personally use a Klein Tools model because it survives the inevitable drops onto a concrete laundry room floor. Without it, you are just throwing parts at a problem and hoping something sticks. Testing for continuity is the only way to be certain your repair is based on facts rather than a hunch. If your meter shows the fuse is fine, you might actually need the sensor adjustment for a dryer that thinks the clothes are dry when it’s still damp inside. This level of precision is what separates a successful DIYer from someone who ends up calling for affordable same-day appliance fixes with warranty benefits after three hours of fruitless labor.
How do I maintain dryer efficiency over time?
The biggest factor in long-term health is managing the ‘internal’ environment of the machine. Most people focus on the vent pipe, but you need to check the dryer vent seal that keeps hot air from escaping into your laundry room. If that seal is cracked, your dryer is pulling in its own humid exhaust, making it work twice as hard and shortening the life of the heating element. Also, cross-training your maintenance habits helps; for instance, applying the maintenance step that extends the life of your high efficiency washer ensures your clothes come out with less excess water, which directly reduces the load on your dryer. 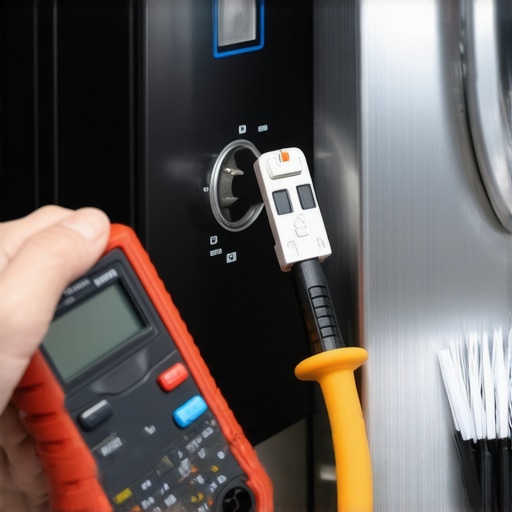
Your Future Dryer Might Fix Itself
Looking ahead to 2026 and beyond, we are seeing a massive shift toward predictive diagnostics. Smart dryers are beginning to monitor the exact amperage draw of the heating element and will soon send a notification to your phone saying, ‘Your airflow is 30% restricted; clean your vent now to avoid a fuse blow.’ This trend toward preventative AI will make the ’emergency’ repair a thing of the past for those who embrace how to ensure reliable appliance installation in 2025. Even the International Residential Code (IRC) Section M1502 is becoming stricter about duct lengths, forcing manufacturers to build smarter sensors into every unit.
Don’t Ignore the Warning Signs
If you notice your laundry room getting unusually humid or a ‘musty’ smell during a cycle, how to tell if your dryer vent is a fire hazard should be your immediate next read. My advanced tip for today: Go outside while the dryer is running and check the exterior vent flap. If it isn’t blowing open at least 45 degrees, you have a blockage that no new fuse can fix. Give that vent a thorough cleaning this weekend—it’s the single most effective thing you can do to protect your machine.
The Hardest Lessons from My Laundry Room Mistakes
Looking back at my first few attempts at appliance repair, I realize I focused way too much on the ‘how’ and not nearly enough on the ‘why’. Fixing a fuse is great, but if you don’t find the lint clog that caused it, you’re just throwing money away. One lightbulb moment for me was realizing that every successful repair starts with documentation. Always verify your new appliance is covered under the original warranty before you start a major teardown; sometimes the most expensive parts are actually covered even if the labor isn’t. I’ve also learned that why your extended warranty company keeps asking for service logs is to prove you’ve done your due diligence—keep a small notebook in your laundry room to track every time you vacuum that vent.
A Few Tools That Will Save Your Sanity
You don’t need a professional-grade shop to keep your machines running, but a few specific items are non-negotiable. Beyond the multimeter, a magnetic parts tray will prevent those tiny 1/4-inch screws from disappearing into the abyss. #IMAGE_PLACEHOLDER_E# If you’re expanding your DIY skills, knowing the specific wrench you need to unjam a disposal in seconds will save you from another common household headache. I also highly recommend a telescoping inspection mirror. It allows you to see inside the dryer’s internal blower housing without having to stick your head in a dark hole. For those with pets, the condenser coil cleaning hack for pet owners with hairy dogs is a must-read because pet hair is the silent killer of both fridges and dryers alike.
Ready to Beat the Heat and Get Back to Work?
Repairing your own dryer is about more than just saving a few bucks; it’s about the peace of mind that comes from knowing exactly how your home functions. However, if you find yourself over your head, there’s no shame in scheduling your appliance repair for same-day service in 2025 to get a professional’s perspective. There are plenty of affordable same-day appliance fixes with warranty benefits that protect your investment while getting your laundry mountain back under control. You’ve got the knowledge—now it’s time to get that dryer heating again!
Have you ever found a hidden sock or a strange object tucked away inside your dryer’s blower housing? Let me know your weirdest find in the comments below!