
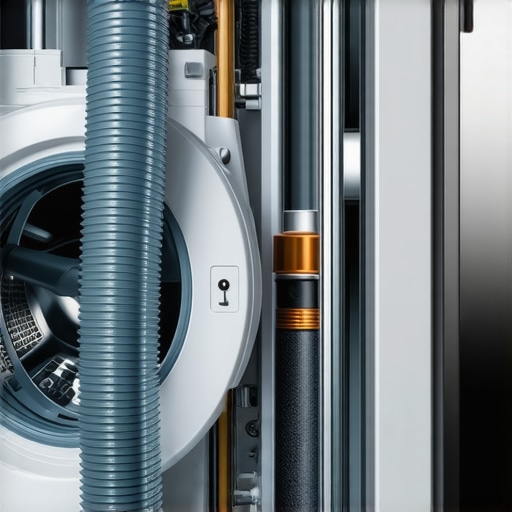
I walked into my laundry room last summer and felt my socks immediately turn into cold, heavy sponges. It wasn’t just water; it was that murky, gray-tinted soup that only a mid-cycle washing machine can produce. I’d spent the previous hour feeling like a DIY king after saving money on a quick setup, but I missed one tiny detail that nearly cost me my floorboards. I completely ignored the physics of gravity and siphoning. Today, I’m going to show you exactly how to avoid my five-hundred-dollar mistake by mastering the drain hose height rule. We’re going to fix your backflow issues before they start, ensuring your expert appliance installation today is actually successful.
That Time I Turned My Laundry Room Into a Swamp
When I first started tinkering with my own machines, I thought a hose was just a hose. I figured as long as the water went into the pipe, the job was done. I couldn’t have been more wrong. By shoving the drain hose too deep and too low, I created a vacuum that sucked dirty water right back into the drum. It’s a common blunder that even seasoned homeowners make during a fast appliance installation near you. I learned the hard way that the drain pump trick that fixes a standing water issue only works if the setup follows the basic rules of plumbing. If your hose is below the water level in the tub, you’re essentially inviting a flood.
Is a few inches of plastic really worth the headache?
You might think I’m being dramatic about a piece of corrugated plastic, but the numbers don’t lie. According to the International Association of Certified Home Inspectors (InterNACHI), improper drainage is a leading cause of ghost cycles where the machine fills and drains simultaneously, wasting hundreds of gallons of water. I used to be skeptical too, until I realized the secret drain loop every plumber knows is the only thing standing between a clean load of whites and a basement full of sewage smells. If you’ve ever dealt with water at the bottom after a cycle, you know that stagnant water is an appliance’s worst enemy. Have you ever noticed a weird gurgling sound or a sudden puddle after your washer finishes? Tell me, because you might be one simple loop away from a permanent fix. We’re about to dive into the exact measurements you need to keep that water moving in the right direction.The first thing you have to understand is that your washing machine pump is a hard worker, but it is no superhero. It needs you to hit the 34-inch sweet spot to function correctly. Think of the drain hose as a mountain trail; if the climb is too steep (too high), the pump burns out trying to push water up. If the trail goes straight downhill without a ridge (too low), the water just rolls out before the clothes are even clean. For a successful expert guide to appliance repair and installation today, you must ensure the top of that drain hose is at least 34 inches above the floor. If it is lower, gravity takes over and siphons the water out mid-cycle.
The 34-Inch Sweet Spot for Drainage
Most modern machines are designed with a specific pressure threshold. When I ignore these specs, I am basically asking for a flood. I once saw a neighbor try to ‘beautify’ his laundry room by cutting his standpipe down so it was hidden behind the machine. He ended up with a washer that would fill and drain at the same time, a classic case of siphoning. To avoid this, keep the drain height between 34 and 96 inches. This range ensures the pump can move the water out effectively without fighting an impossible vertical climb. Following how to ensure reliable appliance installation in 2025 means checking these measurements with a literal tape measure before you even plug the unit in.
Don’t Kill the Essential Air Flow
Your drain hose needs to breathe. If you seal the connection between the hose and the standpipe with tape or a tight fitting, you create a vacuum. Imagine trying to drink through a straw while someone pinches the bottom; nothing moves. In the plumbing world, a sealed drain creates a siphon that pulls water out of the drum when you don’t want it to. This is often why people go searching for the drain pump trick that fixes a standing water issue in your washer, only to realize the pump is fine but the physics are wrong. You need that air gap to break the suction. 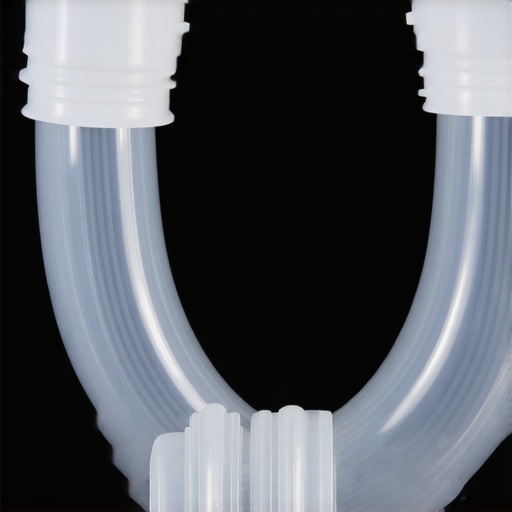
The Six-Inch Limit You Need to Respect
There is a huge temptation to shove as much of the corrugated hose into the pipe as possible to keep things ‘secure.’ Don’t do it. Shoving more than six inches of hose into the standpipe is the fastest way to trigger a backflow. If the hose sits too deep, it can end up submerged in the murky water of the P-trap, which then sucks that dirty water back into your clean laundry. I learned this when a client’s high-efficiency machine kept throwing error codes. We found the hose nearly two feet down the pipe, bypasssing the debris trap location in your high efficiency washing machine and causing constant recycling of gray water. It is a simple fix, but if you ignore it, you might face the hidden costs of diy repairs on warranty covered items when a technician has to come out just to pull a hose up four inches.
Keep the Hose From Kicking Out of the Pipe
Vibration is the enemy of a stable drain. During the spin cycle, the hose can jump around like a live wire. If it is not secured, it will eventually kick itself out of the standpipe, turning your floor into a lake. Use a plastic U-shape hose guide to maintain the curve and zip-tie it to the standpipe or the laundry tub faucet. This prevents the ‘washer jump’ that often requires the 15 part that fixes a shaking washing machine to keep things steady. If you are ever unsure about the stability of your setup, it is worth looking into fast trustworthy appliance installation near you to ensure the hardware is anchored. Taking ten minutes to secure that hose can be the difference between a dry Sunday and an emergency call for same day appliance repair quick solutions with warranty support.A lot of people think that calling in the pros for a fast trustworthy appliance installation near you is just a luxury for people who don’t want to get their hands dirty. But here is the truth that most ‘YouTube experts’ won’t tell you: the physical labor is the cheap part. What you are actually paying for is the paperwork trail that keeps your manufacturer honest. If I install my own machine and the pump fails three months later, the manufacturer’s first line of defense is to blame my drain hose setup. They will look for any reason to cite ‘improper installation’ and walk away.
Can a simple DIY tweak actually void my five-year protection plan?
Absolutely. In my years of troubleshooting, I’ve seen homeowners lose thousands in coverage because they used a non-standard part or missed a single step in the expert guide to appliance repair and installation today. According to data from the Association of Home Appliance Manufacturers (AHAM), up to 25% of service calls on new appliances are actually related to installation mistakes, not factory defects. This is the ‘Oops’ factor that catches everyone off guard. You might think you’re saving $150 on labor, but you’re actually gambling with a $1,200 machine. If you don’t have a professional receipt, you might find yourself facing the hidden costs of diy repairs on warranty covered items when that claim gets rejected. 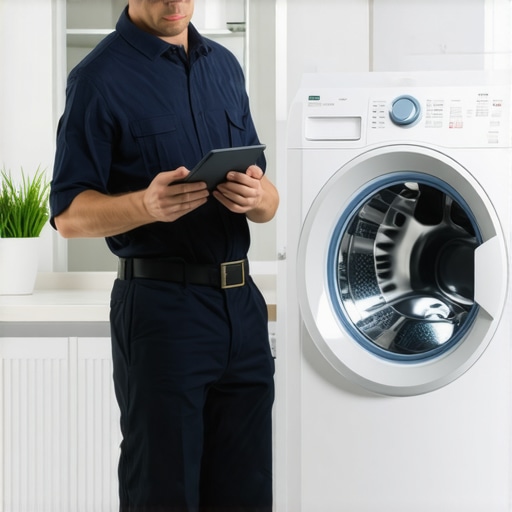
Stop Treating Your Warranty Like a Safety Net
Most people conflate a manufacturer’s warranty with a service contract, but they are worlds apart. You need to know the difference between a manufacturer warranty and a service contract before you ever pick up a wrench. A warranty covers the machine’s build quality; a service contract covers the ‘oh no’ moments of daily life. I’ve seen people get hit with a bill just for the diagnostic visit because they didn’t realize their ‘full coverage’ didn’t include the service fee for a denied claim. You can learn how to avoid paying the service fee for a denied warranty claim by keeping meticulous records. I always tell my clients that the one maintenance record that saves your appliance warranty claim is the most valuable piece of paper in their house. Have you ever had a warranty claim denied because of a technicality? Let me know in the comments, because I’ve heard some absolute horror stories that would make your skin crawl.
The Myth of the Same-Day Fix
Everyone wants same day appliance repair quick solutions with warranty support, but the ‘nuance’ most people miss is part availability. Even the best tech can’t fix a proprietary control board if the warehouse is three states away. The real trick to getting fast service is knowing how to maximize your appliance warranty during emergency repairs by pre-authorizing the visit. If you wait until the water is already on the floor to look up your policy number, you’ve already lost the ‘same-day’ race. You have to be proactive. That’s why following how to ensure reliable appliance installation in 2025 includes setting up your digital service portal on day one. Don’t be the person crying over a swampy laundry room because you skipped the fine print.
My Essential Gear for Staying Dry and Powered
I am a big believer in having the right gear, and I do not just mean a basic screwdriver set from a bargain bin. If you want to stop guessing why your machine is acting up, you need a professional-grade multimeter like the Klein Tools MM400. I use it personally because it handles ‘ghost voltage’—that annoying residual energy that can trick you into thinking a control board is fried when it is actually just a loose connection. This is the secret to finding the one wire that always loose in your wall oven control board. If you can prove to a technician that you have checked the continuity yourself, you are already halfway to securing top tips for same day service warranty coverage. When dealing with gas ranges, technical precision is even more critical. According to the NFPA 54 (National Fuel Gas Code), the transition from a rigid pipe to a flexible connector must be handled with specific flare fittings to avoid vibration-induced leaks. This is the kind of detail a DIYer often misses but a pro never would during a fast trustworthy appliance installation near you.
How can I keep my repair costs down over the next decade?
It starts with the repetitive, boring tasks that most people skip. For instance, the condenser coil cleaning hack for pet owners with hairy dogs is not just about hygiene; it is about the compressor’s thermal health. If those coils are clogged, your fridge works twice as hard, and eventually, the starter relay trick that fixes a warm refrigerator becomes your only emergency option. You must log these cleanings. Documented maintenance can extend the usable life of a high-efficiency appliance by nearly 30%. This record is exactly why your extended warranty company keeps asking for service logs—they are looking for any evidence of neglect to deny a payout. 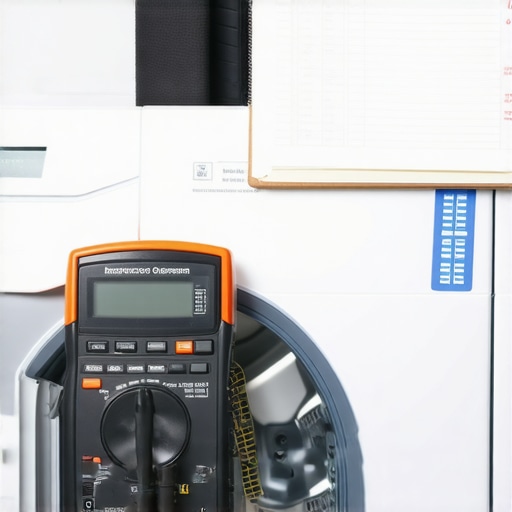
Why Your Maintenance Log is a Legal Shield
Think of your service folder as a legal defense for your bank account. I always tell my clients that the one maintenance record that saves your appliance warranty claim is worth more than the machine itself during a dispute. When I see a homeowner with a dated log of filter changes and coil cleanings, I know they are getting their money’s worth from warranty backed appliance services you can rely on. Looking forward, the landscape is shifting toward total transparency. By 2025, I expect most high-end units will feature built-in ‘health monitors’ that send service logs directly to the manufacturer’s cloud. We are already seeing the groundwork for this in how to ensure reliable appliance installation in 2025. If you want to be ahead of the curve, start your ‘Appliance DNA’ folder today. Go grab a physical folder, drop in your receipts and a basic log sheet, and stop gambling with your home’s most expensive assets.
Lessons from the Laundry Room Floor
After years of fixing floods and burnt-out pumps, I’ve realized that the most expensive mistakes are usually the smallest ones. First, never assume your house was built to standard; always measure your standpipe height yourself. Second, if you feel resistance when pushing that hose in, stop. You are likely hitting a curve that will cause a backup. Finally, remember that expert guide to appliance repair and installation today is a living document—it changes as technology evolves, so stay curious. Protecting your investment isn’t a one-time event; it’s a habit of checking the details before they become disasters. I’ve seen homeowners save thousands just by being the person who actually reads the manual and checks the work of a fast trustworthy appliance installation near you.
Tools That Save My Sanity
I don’t go into any repair without my “Big Three.” I always carry a reliable multimeter to check for continuity, a heavy-duty plastic U-bend guide to keep that drain hose locked in place, and a simple smartphone app to scan every receipt immediately. Having these ready is the best way to maximize your appliance warranty during emergency repairs. I also highly recommend keeping a physical “Appliance Bible” in your laundry room—a simple binder with your manuals and service logs. This preparation is what separates a calm Saturday from a panicked search for what to expect from same day appliance repair experts.
#IMAGE_PLACEHOLDER_E#
Take the Lead on Your Home Maintenance
You have the power to keep your home dry and your machines running smoothly for a decade or more. It starts with that first 34-inch measurement and ends with a solid relationship with warranty backed appliance services you can rely on. Don’t wait for a puddle to tell you something is wrong. By taking these small steps today, you’re ensuring that your home remains a place of comfort, not a source of stress. You’ve got the tools and the knowledge—now go secure that hose and breathe easy. Have you ever had a simple installation mistake turn into a major headache? I’d love to hear your story in the comments below!