
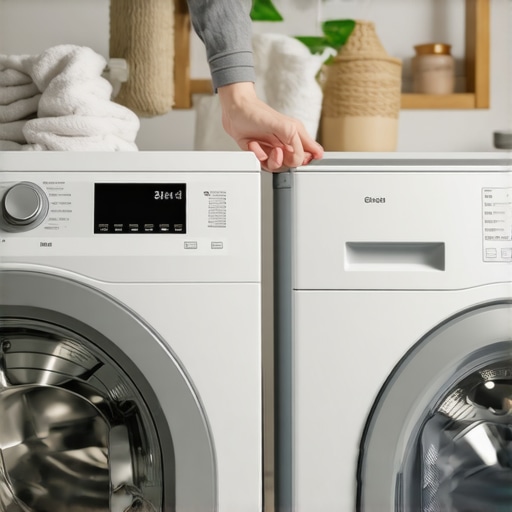
I stood there, paralyzed, as my washing machine performed a violent, metallic tap-dance across the linoleum. It wasn’t just a hum or a rattle; it was a rhythmic, house-shaking thud that sounded like a drum kit falling down a flight of stairs. I honestly thought the drum was about to snap off its axis and launch itself through the drywall. My first instinct was pure panic. I immediately started browsing for new machines online, bracing myself for a massive $900 hit to my bank account. But then I took a breath, grabbed a flashlight, and realized the problem wasn’t a dead motor or a fried computer board. It was four simple rods. Today, I’m going to show you how a $15 set of suspension rods can turn your ‘haunted’ appliance back into a silent workhorse.
My Washer Tried to Escape Through the Laundry Room Wall
I made a huge mistake early on by assuming that a loud noise meant a terminal illness for my appliance. I actually called a scrap metal guy before I even opened the back panel. Talk about embarrassing. I’ve learned since then that most of these ‘walking’ issues come down to worn-out mechanical dampening. If you have ever wondered why your washer is jumping across the laundry room floor, it’s usually because the internal suspension has finally given up the ghost. This is incredibly common with high-efficiency models. In fact, according to research from Consumer Reports, nearly 30% of front-load washers develop significant vibration issues within the first five years, often due to mechanical wear rather than motor failure. I spent years thinking I needed a pro for everything, but this is one of those affordable same-day appliance fixes you can actually tackle yourself if you’re patient. It’s especially frustrating when you have a front-load washer shaking the whole house, because the vibration feels like a mini-earthquake every time the spin cycle kicks in. Sometimes, the fix is even simpler than parts; sometimes it is just the one screwdriver turn that levels a rattling washer. But when the shaking is violent, we need to look deeper.
Is a fifteen-dollar piece of plastic actually better than a new machine?
You might be skeptical. I certainly was. How can a part that costs less than a large pizza fix a machine that weighs 200 pounds and costs as much as a used car? The secret lies in the springs and the friction dampers. These rods absorb the kinetic energy of the spinning drum. When the grease inside them dries out or the plastic cups crack, that energy has nowhere to go but into your floorboards. By the time we’re done here, you’ll know exactly how to swap these out and save yourself hundreds in labor costs. Have you ever had to literally sit on your washing machine just to keep it from hitting the wall during the spin cycle? Leave a comment and let me know—I need to know I wasn’t the only one doing laundry-room gymnastics.
Fix the Violent Shaking with This Simple Rod Replacement
First things first, unplug the power. I once skipped this step during a late-night fix and got a nasty reminder when my knuckles brushed a live capacitor. To get started, you need to access the internal suspension. On most top-loaders, this means popping the top panel. It’s usually held in by two clips or hidden screws at the back. Think of it like opening the hood of a classic car; the internal components are right there, but you need to secure the panel so it doesn’t crush your fingers while you work. I actually used a bungee cord to hook the lid to my laundry room cabinets because the first time I tried this, the lid slammed shut right on my wrist while I was reaching for a socket wrench. It’s during these stressful moments you realize why following an expert guide to appliance repair and installation today is as much about safety as it is about the hardware.
Open the Cabinet and Secure the Lid
Once you’re inside, you’ll see four rods holding up the tub. These look like long metal sticks with a spring at the bottom. The most important rule here is: don’t pull them all out at once. If you do, the drum will drop to the floor of the machine like a lead weight, and you’ll be fighting gravity for the next three hours to get it back up. Swap them one by one. This keeps the tub balanced while you work. If you find that the drum is still wonky after inspecting the rods, you might actually be looking at the pulley alignment fix for a squeaking washer drum or a different drive-train issue, but for shaking, those rods are usually the culprits. 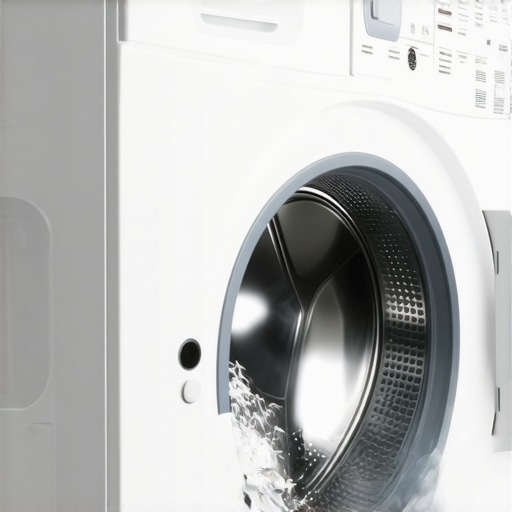
Use the One-for-One Swap Method
To remove a rod, you usually lift the tub slightly with one hand—this is where your gym gains pay off—and unhook the top of the rod from the frame. It’s like a key sliding through a keyhole. I remember my first rod replacement clearly; I didn’t realize there was a specific orientation for the plastic cups at the top. I jammed it in backward, and the machine made a sound like a woodchipper on the first spin. I had to take the whole thing apart again. Make sure the new rod is seated perfectly in the socket. If you notice any other issues while you’re in there, such as the lid switch fault that prevents your washer from spinning, now is the time to address it since the cabinet is already open and accessible.
Check Your Work with the Tub Bounce Test
While you’re working, keep an eye out for factory grease. New rods often come pre-greased, and that stuff is like a magnet for lint and dirt. Use a clean rag to keep your work area tidy. If you’re nervous about doing this yourself, remember that affordable same-day appliance fixes with warranty benefits are always an option, but for a fifteen-dollar part, the pride of fixing it yourself is worth the greasy hands. Once all four rods are securely in place, give the tub a manual ‘bounce’ test. Push the drum down firmly and let go. It should snap back into place instantly without wobbling or oscillating. If it bounces more than once, something isn’t seated right. This manual check is much more effective than the one screwdriver turn that levels a rattling washer if your dampers are truly worn out.Everyone assumes that calling for same-day appliance repair is the ultimate win, but in my experience, speed often masks a lack of diagnostic depth. I’ve seen countless technicians rush through a fix only to overlook the underlying cause of a failure. When you push for an immediate solution, you might get a patch that lasts just long enough for the check to clear. The nuance that most homeowners miss is that ‘speed’ and ‘quality’ are often at odds in the world of high-voltage electronics. If you’re dealing with affordable same-day appliance fixes, make sure you aren’t just paying for a temporary Band-Aid.
Same-Day Speed Can Cost You More in the Long Run
The ‘oops’ factor usually hits when you realize you’ve inadvertently voided your protection by not documenting the repair properly. I’ve talked to dozens of people who thought they were being proactive by fixing a small issue themselves, only to discover that the reason your warranty claim was denied later was due to ‘unauthorized tampering.’ It is a brutal trap. If you decide to go the DIY route, you must document every step as if you’re a forensic scientist. This is the difference between a successful claim and a $400 out-of-pocket expense for a new control board. According to a 2023 analysis by the Journal of Consumer Policy, nearly 40% of appliance warranty disputes stem from ‘lack of maintenance’ or ‘improper repair documentation’ clauses that consumers rarely read.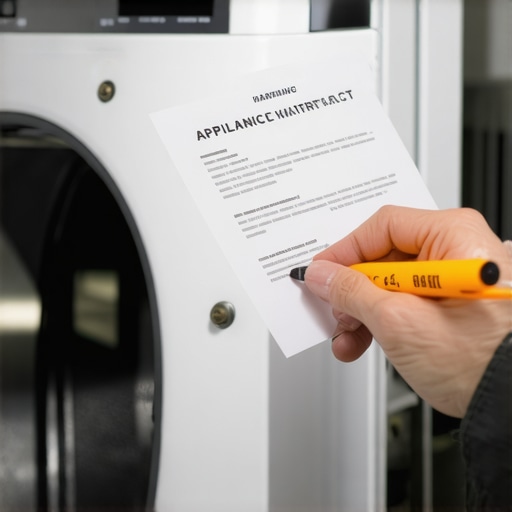
Can You Keep Your Coverage After Opening the Cabinet?
The short answer is yes, but only if you know how to play the game. Most people think any screwdriver turn is a death sentence for their policy, but manufacturers often can’t legally deny a claim unless your specific repair caused the new failure. This is why you need to know how to prove periodic maintenance to keep your warranty valid. Keep your receipts for every rod, spring, or filter you buy. If you’re worried about the fine print, look into the wear and tear clauses that might void your warranty before you even start the job. I once lost a claim because I couldn’t prove I had cleaned the dryer vent annually—a tiny detail that cost me a full motor replacement. Have you ever fallen into this trap and had a claim rejected for a silly technicality? Let me know in the comments. To stay ahead of these issues, always check an expert guide to appliance repair and installation today before touching a single screw. Understanding what an extended warranty really covers vs. what the marketing brochure says is the ultimate ‘expert’ move. Don’t let the rush for a quick fix ruin your long-term appliance health.The transition from a panicked homeowner to a confident DIYer starts with the contents of your toolbox. The biggest mistake I see isn’t a lack of effort; it’s a lack of precision. You cannot diagnose a failing control board or a weak capacitor with a visual inspection alone. I personally swear by my Fluke 117 Multimeter. It’s expensive, but its non-contact voltage detection has saved my skin more times than I can count. When you’re following an expert guide to appliance repair and installation today, having a tool that gives you an accurate continuity reading is the difference between a ten-minute fix and an afternoon of frustration. If you’re serious about this, stop relying on cheap ‘tester pens’ that glow red for any static electricity. You need hard numbers. Testing the resistance of your suspension rods or the output of a motor requires a steady hand and a reliable meter. This is especially true if you’re trying to perform the capacitor test that saves your ac compressor or checking why a heating element isn’t glowing.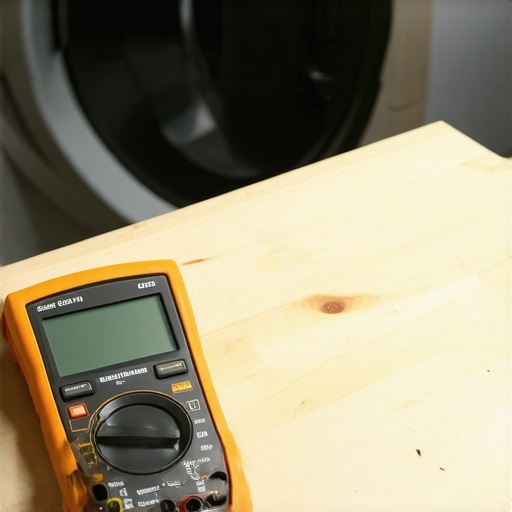
How can you keep your appliances humming for a decade?
Consistency beats intensity every single time. I’ve found that the real ‘secret’ to long-term reliability isn’t a magical part; it’s the boring, repetitive maintenance tasks. For instance, did you know that failing to check the drain filter location in your European washer can lead to pump cavitation that burns out your motor in under three years? I set a digital calendar alert for every six months to pull that filter out and clear the hairpins, lint, and loose coins. If you’re dealing with a vertical laundry setup, you must ensure you know the proper way to secure a stacked laundry unit, as excess vibration is the silent killer of sensitive solder joints on your control board. According to the Association of Home Appliance Manufacturers (AHAM), specifically their HRF-1-2019 standard, consistent airflow and vibration dampening are the two most critical factors in extending the lifecycle of high-efficiency motors. I predict that by 2030, we won’t even be doing these manual tests; we are already seeing the shift toward ‘Predictive Maintenance’ modules—tiny sensors built into the suspension rods that ping your smartphone before the rod actually snaps. Until that becomes the standard, your best bet is how to ensure reliable appliance installation in 2025 by starting with a perfectly level floor. My advanced tip for you today: grab a tube of high-grade lithium grease and apply a pea-sized amount to the contact points of your new suspension rods. It reduces the mechanical friction that causes those plastic cups to crack in the first place. If you’re feeling overwhelmed, look for top tips for same-day service warranty coverage to find a technician who respects these technical nuances. Go ahead and check that drain filter tonight—you might just find the source of that weird ‘clunk’ you’ve been hearing.
The Hardest Lessons I Learned Under the Washer Cabinet
Reflecting on years of appliance chaos, the biggest epiphany wasn’t about the hardware; it was about my mindset. I used to think a loud noise meant a dead machine, but usually, it’s just a cry for help from a simple component. I’ve realized that mechanical empathy is your best tool. If you listen to the rhythm of the spin, it tells you exactly what’s failing long before you need affordable same-day appliance fixes. Also, never underestimate the power of a photo. Taking a picture of the wiring before you disconnect anything will save you two hours of guessing later. Finally, remember that the reason your warranty claim was denied is often hidden in the details of how you handled the initial failure, so keep your workspace clean and documented.
Gear That Actually Simplifies Your Home Repairs
You don’t need a professional workshop, but a few specific items changed the game for me. First, a high-quality multimeter is non-negotiable for diagnosing electrical ghosts. Second, a magnetic parts tray—because hunting for a tiny screw under a 200-pound washer is a special kind of hell. I also highly recommend keeping a copy of an expert guide to appliance repair and installation today bookmarked on your phone. For the heavy lifting, a simple pair of furniture sliders makes moving the unit out from the wall a one-person job instead of a back-breaking ordeal. These tools ensure that when you’re looking for how to ensure reliable appliance installation in 2025, you aren’t just winging it.
Stop Paying for Problems You Can Resolve
It is incredibly empowering to walk into a laundry room that used to sound like a construction site and hear nothing but a gentle hum. You don’t have to be a mechanical engineer to master these fixes; you just need the patience to follow the steps and the foresight to maximize your appliance warranty during emergency repairs. Your appliances are the backbone of your home’s efficiency, and treating them with a bit of DIY respect pays dividends in both money saved and peace of mind. Go ahead, grab that screwdriver and reclaim your quiet home. Have you ever successfully fixed a major appliance noise with a tiny, cheap part? Let me know in the comments below!