
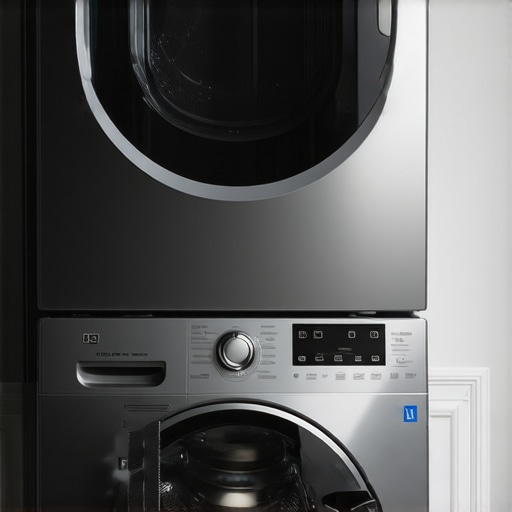
I still remember the night my laundry room tried to kill my peace and quiet. It was late, I was tired, and I’d just finished a DIY install that I was far too proud of at the time. I thought I’d saved a few bucks by skipping the official stacking kit. Fast forward to the final spin cycle, and the noise was deafening. My dryer wasn’t just vibrating; it was migrating. By the time I reached the door, the top unit was inches away from a catastrophic plunge onto the tile floor. It was a terrifying wake-up call that [reliable appliance installation](https://discountappliancehub.com/how-to-ensure-reliable-appliance-installation-in-2025) isn’t just a suggestion—it’s a safety requirement. If you’ve ever seen your heavy appliances ‘walking’ across the floor, you know that pit-in-your-stomach feeling. Today, I’m going to make sure you never have to deal with that stress. We’re going to walk through the exact steps to lock those units down so they stay put for years.
Stop the Shake Before Your Dryer Hits the Floor
If you live in a tight space or a modern apartment, stacking your laundry is a total game-changer for your floor plan. But here’s the reality: modern front-loaders spin at incredibly high speeds to get your clothes dry faster. That’s great for efficiency, but it creates a massive amount of centrifugal force. I learned the hard way that a couple of rubber pads and some wishful thinking aren’t enough to counteract that energy. In my early days as a homeowner, I made the classic mistake of using a ‘universal’ strap that didn’t actually fit my machine’s frame. It slipped during a heavy towel load, and I nearly lost a $900 dryer. Proper [warranty-backed appliance services](https://discountappliancehub.com/warranty-backed-appliance-services-you-can-rely-on) often emphasize that using the correct, manufacturer-approved hardware is non-negotiable. Without it, you’re not just risking a loud noise; you’re risking a major mechanical failure or a voided protection plan. According to the Association of Home Appliance Manufacturers (AHAM), improper installation is one of the leading causes of premature appliance failure and home damage.
Are those specialized stacking kits really worth the extra money?
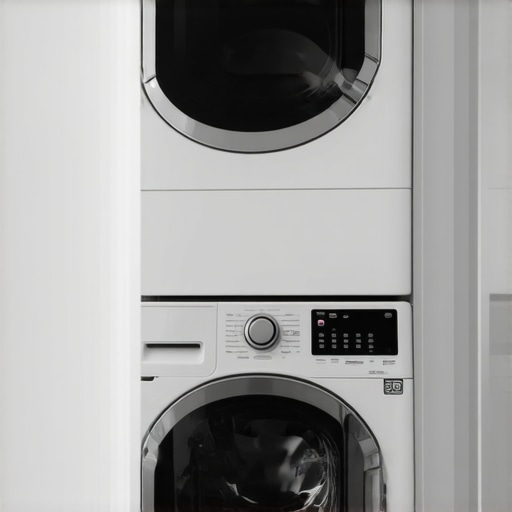
You might be looking at a $50 piece of metal and plastic and thinking it’s a scam. I get it. I used to think the same thing until I realized that [why your front load washer is shaking](https://discountappliancehub.com/why-your-front-load-washer-is-shaking-the-whole-house) often comes down to the lack of a rigid, unified structure between the two units. These kits are engineered to distribute the weight and vibrations of the dryer directly into the frame of the washer, which is built to handle the load. When you DIY a solution or skip the kit, the dryer’s feet can vibrate right off the top of the washer. Even [the one screwdriver turn that levels a rattling washer](https://discountappliancehub.com/the-one-screwdriver-turn-that-levels-a-rattling-washer) won’t save you if the top unit isn’t physically bolted to the bottom one. Have you ever had to physically hold your dryer in place during a spin cycle just to keep it from falling? It’s an exhausting way to live. We’re going to fix that today by looking at exactly how to anchor these beasts properly. [IMAGE_PLACEHOLDER]
Level Your Washer to Prevent the Death Wobble
Before you even think about lifting that dryer, your washing machine needs to be rock solid. If the base unit isn’t perfectly flat, the vibrations will amplify as they travel upward, leading to that terrifying ‘walking’ effect. I usually use a spirit level on the top and both sides of the washer. If it is off, the one screwdriver turn that levels a rattling washer is often all you need to stabilize the legs. I once skipped this step during a rush job for a friend, and within three days, the vibration had loosened the water intake valves. It was a soggy mess that could have been avoided with sixty seconds of patience.
Check the Floor Integrity
Modern machines are heavy, and when you stack them, you are doubling the weight concentrated on a small square footage of your flooring. If you are installing on a second floor or over a crawlspace, ensure the joists are reinforced. A bouncy floor will make even a perfectly leveled machine sound like a freight train. If you notice the floor flexing, you might need fast-trustworthy-appliance-installation-near-you to evaluate if a drain pan or a specialized vibration-dampening platform is required to protect your subfloor.
Secure the Brackets Before You Lift
This is where the actual ‘stacking’ happens. Every manufacturer has a specific kit designed for their chassis. These kits usually consist of two side brackets and sometimes a front or rear rail. You will need to remove the existing screws from the back of the washer top panel and replace them with the brackets from the kit. These act like the ‘seatbelt’ for your dryer, keeping it anchored during high-speed rotations.
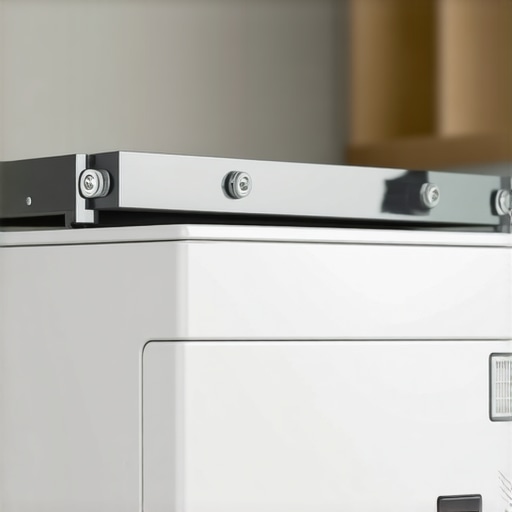
During one of my early DIY attempts, I tried to use heavy-duty industrial Velcro because I did not want to drill into the metal. That was a disaster. The heat from the dryer softened the adhesive, and the unit started to slide within a week. Always use the mechanical fasteners. If you are unsure about the technical specs, consulting an expert guide to appliance repair and installation today can prevent you from stripping the screw holes, which is a common mistake that ruins the frame structural integrity.
Don’t Forget the Adhesive Pads
Most kits come with small rubber or felt pads. These are not optional. They act as the ‘cartilage’ between your machines, preventing the metal-on-metal grinding that leads to rust and annoying squeaks. If you ignore these, you will likely end up searching for why your washing machine bangs loudly during the spin cycle just a few months down the road. These pads absorb the micro-vibrations that a bracket alone cannot catch.
Lifting the Dryer Without Ending Up in the ER
Dryers are awkward, not just heavy. You need two people, no exceptions. I remember trying to hoist a dryer onto a stack by myself by ‘walking’ it up a step ladder in a cramped laundry closet. I ended up pinning my shoulder against the door frame and nearly crushing my toes when the unit tipped. Now, I always recommend using a lifting strap or at least a second set of hands to guide the dryer feet into the bracket slots. If the dryer is not seated perfectly in those tracks, the first high-speed spin cycle will vibrate it loose, and you will find out the hard way about the reason your warranty claim was denied because of ‘improper installation’ clauses that many manufacturers enforce strictly.
Final Stability Check
Once the dryer is on top, give it a firm shake from the corners. It should feel like one solid piece of machinery, not two separate boxes. If it wobbles, check the leveling of the washer legs one last time. If the issue persists, you might need to look into what to expect from same-day appliance repair experts who can provide professional shimming or bracket adjustments before the vibrations cause internal damage to your dryer’s drum or heating elements.
Beyond the physical labor of stacking, there is a technical nuance that DIYers almost always miss. Most people think same-day service is just a convenience for busy schedules, but in my years of managing appliance lifecycles, I’ve seen it as a critical financial strategy. If you let a stacked unit vibrate slightly out of alignment for even a week, you aren’t just dealing with noise; you’re actively wearing down the drum bearings. This is where what to expect from same-day appliance repair experts becomes vital—they identify micro-movements that you’ll never notice until the machine suffers a catastrophic failure.
Here is the ‘Oops’ factor that bites most homeowners: the water inlet maintenance. While you have the machines moved out to stack them, 90% of people forget to check the secret screen filter in your washer water inlet valve. This tiny mesh catches sediment from your pipes. If it’s partially clogged when you stack the dryer on top, you’ll have to tear the whole heavy rig apart again in three months when your fill times become glacial. It is a nightmare scenario that is easily avoided during the initial install phase.
Can a simple leveling error really void my entire protection plan?
The short answer is a resounding yes. It is a common myth that warranty coverage is a ‘blanket’ protection regardless of how you treat the machine. Technical bulletins from major manufacturers like LG and Whirlpool suggest that ‘universal’ hardware often lacks the specific tensile strength required to handle the torque of modern 1,200+ RPM spin cycles. Using the wrong kit or improper leveling is a primary reason for the reason your warranty claim was denied. Most protection plans have a clause regarding unauthorized modifications or improper installation accessories. If a third-party bracket fails and the dryer falls, you are on the hook for the full cost of the replacement.
Don’t overlook the lint trap trap—why cleaning the screen is not enough once your dryer is positioned higher up. The increased height changes the angle of your venting, which can cause lint to settle in the elbows more quickly. This creates backpressure that overheats the heating element and can lead to a fire hazard. Have you ever fallen into this trap of thinking the job was done just because the machines were physically stacked? Let me know in the comments below.
I’ve seen too many homeowners treat a successful stack as the finish line, when it’s actually the starting blocks. Once those machines are up, the physics of your laundry room changes. If you want to avoid calling for affordable same-day appliance fixes with warranty benefits six months from now, you need a proactive toolkit. I don’t just mean a basic screwdriver; I’m talking about the gear that prevents the ‘migration’ we discussed earlier. Personally, I never perform an install without a digital angle finder. While a bubble level is fine for a shelf, a digital finder allows you to measure to the tenth of a degree. When you’re dealing with a 300-pound dryer vibrating at 1,200 RPMs on top of a washer, that 0.5-degree slope is the difference between a silent laundry room and a structural nightmare.
Get the Right Gear to Avoid a Weekend Disaster
Beyond the level, I always keep a set of stainless steel braided hoses in my bag. I’ve seen enough floods to know that why your washing machine hose is a ticking-time-bomb often comes down to the high-pressure surges that occur during a cycle. When machines are stacked, reaching those hoses is a massive pain, so you want the most durable option available from day one. I also recommend a telescopic inspection mirror. This little tool lets you check the brackets and the lint duct behind the stack without having to move the entire rig. If you spot a loose screw early, you can tighten it before the vibration shears it off entirely. This is the kind of detail that warranty-backed appliance services you can rely on usually look for during a preventative maintenance visit.
How do I keep my laundry stack running smoothly for ten years?
Maintenance for a stack is all about monitoring the ‘settle.’ Over the first 50 loads, the weight of the dryer will compress the rubber pads and may cause the washer’s leveling legs to shift slightly into the flooring. I make it a habit to check the stability every three months. If you can rock the unit even a millimeter, it’s time to re-level. According to technical guidelines from InterNACHI (International Association of Certified Home Inspectors), even minor persistent vibrations can lead to floor joist fatigue over time in older homes. This is why keeping the maintenance receipt you must save for future claims is so critical; it proves you’ve performed the necessary upkeep to prevent avoidable structural damage.
Looking ahead, I predict we are moving toward a world of ‘Predictive Stacking.’ We are already seeing the emergence of smart vibration sensors that clip onto the chassis and alert your phone if the machine moves more than a few millimeters out of alignment. Until those are standard, you have to be the sensor. If you notice a change in the ‘rhythm’ of the spin cycle, don’t wait. Use same-day appliance repair quick solutions with warranty support to catch the issue while it’s still a simple adjustment and not a drum replacement. My advanced tip for today? Install a water hammer arrestor on your intake valves. It absorbs the shock of the valves snapping shut, which reduces the physical ‘jolt’ the entire stack feels every time it fills with water. Give that a try this weekend—it’s a $20 fix that adds years to your machine’s life.
Hard Lessons from My Near-Disaster Laundry Room
One thing I’ve learned is that ‘good enough’ is a lie in the world of heavy appliances. When I first started, I thought I could eyeball the levelness of the floor. I was wrong. I’ve seen machines literally jump across the room because of a 2-degree tilt. Another hard truth? Most people assume the vibration is just part of the machine’s personality. It isn’t; it’s a symptom of stress. I always tell my clients that the one screwdriver turn that levels a rattling washer is the most profitable minute they will ever spend. If you ignore it, you’re basically fast-tracking the reason your warranty claim was denied when the structural frame eventually cracks under the strain. I also learned that the cheapest stacking kit usually uses inferior plastic that becomes brittle over time due to the heat—always spring for the metal reinforced versions.
The Pro-Grade Toolkit I Use for Every Stack
To do this right, you need more than just a standard toolbox. Here are my non-negotiables: First, a high-accuracy digital level to ensure absolute precision. Second, a telescopic inspection mirror so you can verify those rear brackets are seated without throwing your back out trying to see behind the unit. Third, always have an expert guide to appliance repair and installation today bookmarked on your phone. Sometimes, the manufacturer’s printed manual is missing a crucial torque spec that only experts know. If the job feels too heavy or the space is too tight, don’t be a hero—calling for fast-trustworthy-appliance-installation-near-you is the smartest move you can make for your home’s safety and your own physical health.
Take Control of Your Laundry Space with Confidence
You don’t have to live in fear of the ‘spin cycle roar.’ By taking these steps, you’ve turned a potential hazard into a streamlined, efficient laundry center. Remember that safety is a continuous process, not a one-time event. Keep checking those connections, stay vigilant about the level, and prioritize reliable appliance installation standards every time you upgrade. You’ve got the knowledge and the plan; now go out there and build a laundry room that stays exactly where you put it. Have you ever found your dryer in a different spot than where you left it? Let me know about your laundry ‘migrations’ in the comments below!