
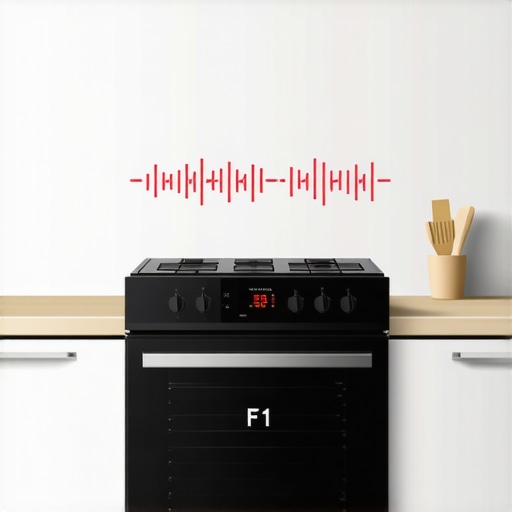
It was a chilly Saturday afternoon when my oven suddenly started beeping loudly, and the display flashed an unexpected F1 error. I froze for a moment, remembering all the times I neglected small warning signs, only to face costly repairs later. That day, I realized how frustrating and confusing it can be when your trusted kitchen ally suddenly throws a fit without explanation. Ever experienced that moment of panic when your range starts beeping uncontrollably and displays an error code like F1? You’re not alone. Many homeowners find themselves stuck, wondering what went wrong and whether a quick fix is even possible. Well, I’ve been there, and I’m here to tell you: you don’t have to endure this alone. Today, we’re going to explore the ins and outs of that pesky F1 error, demystify what triggers it, and most importantly, provide you with practical solutions to get your range back in action.
Understanding the F1 Error: Why Your Range Is Giving You a Headache
Is It Really As Bad As It Looks?
Many folks immediately assume the worst when their appliance displays a code like F1. But here’s the honest truth: this error usually points to a short or a sensor issue within the control board or temperature sensors. I made the classic mistake early on of assuming that every beep meant a costly replacement. Turns out, most F1 errors are fixable with some simple troubleshooting, saving you money and headaches. According to appliance repair experts, understanding the root cause is crucial because, in some cases, the error may be a false alarm caused by a dirty sensor or a loose wire.
Have you ever faced a similar problem, where your range starts beeping randomly, and you’re left scratching your head, unsure if it’s worth calling in a professional? If so, stay tuned. We’ll walk through steps to identify the cause, some easy fixes you can try-yourself, and when it’s time to get professional help. So, don’t let that blaring beeping ruin your day. With a little patience and know-how, you can turn this frustrating situation into a manageable fix. Ready to become your own appliance hero? Let’s get into it.
Inspect the Control Panel and Reset
Start by unplugging your range from the power source to prevent electrical shock. Wait for about 5 minutes, then plug it back in and see if the error resets. This simple reset can clear temporary glitches causing the F1 error. I once tried this after a leak caused my oven to malfunction; resetting resolved the error temporarily, giving me time to plan a more permanent fix.
Check and Clean Temperature Sensors
Locate the temperature sensors, usually attached to the oven walls. Use a multimeter to test their resistance; a reading outside the manufacturer’s specifications indicates a faulty sensor. Carefully disconnect the sensors from the wiring harness, then clean their tips with a soft cloth. Dirty or damaged sensors often trigger the F1 error. During my last repair, cleaning the sensors reduced the error frequency significantly—sometimes, simple cleaning is all it takes to restore proper operation.
Inspect Wiring and Connections
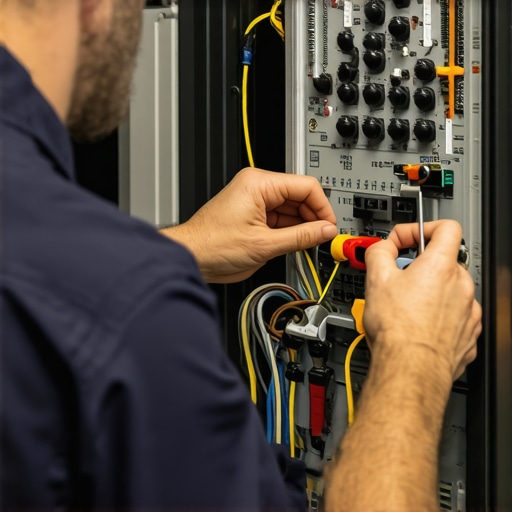
Open the control panel and visually inspect all wiring for loose, frayed, or burnt wires. Pay special attention to connections between the control board and sensors. Use a multimeter to verify continuity where wires appear damaged. Reconnect or replace faulty wires. Think of this step as checking the roads before a road trip; loose or broken connections are like blocked routes—they prevent proper signals and cause errors. I once reconnected a loose wire, which instantly fixed the error and extended my range’s lifespan.
Test the Control Board
If the above steps don’t resolve the issue, the control board itself might be defective. Testing usually requires a professional, but some models allow visual inspection for burnt components or corrosion. If found, replacing the control board is often the final step. Remember, many appliances come with warranties, so check if your appliance is still covered before considering a replacement. For appliance warranty tips, visit maximize your appliance warranty during emergency repairs.
When to Call the Pros
Despite these troubleshooting steps, some issues require expert diagnosis. If you’re uncomfortable performing electrical tests or disassemble components, it’s safer to contact professionals. Many offer same-day service, ensuring your range gets fixed quickly. You can learn more about what to expect from skilled technicians at what to expect from same-day appliance repair experts. This approach minimizes risks and prevents further damage, saving you time and money.
 Many homeowners assume that following the manufacturer’s instructions during installation guarantees flawless operation, but in my experience, this isn’t always the case. A common misconception is that if an appliance is installed correctly, warranty coverage will automatically protect you from repair costs. However, warranties often come with fine print, and improper installation—even if seemingly correct—can void your coverage. For example, did you know that incorrect water line connections in dishwashers can lead to warranty denial, as highlighted in a recent expert analysis? Additionally, many people overlook the nuances in appliance repair, such as the importance of genuine parts versus third-party alternatives; opting for generic components might save money upfront but can compromise both warranty validity and appliance longevity. When it comes to same-day service, the prevailing belief is that availability equates to quality, but the real benefit lies in technicians’ experience and adherence to manufacturer standards—something not always guaranteed by quick turnaround promises. Be cautious of garages or unverified repair services that promise fast fixes; always verify their credentials through trusted sources like [here](https://discountappliancehub.com/warranty-backed-appliance-services-you-can-rely-on). A critical nuance often missed is the proper documentation of repairs and maintenance—this documentation is essential for warranty claims and future troubleshooting. Many think that keeping receipts suffices, but detailed service logs, including dates, parts used, and technician notes, provide undeniable proof should disputes arise. Finally, there’s the myth that all technicians are equally qualified. In reality, certifications such as manufacturer-specific training or appliance repair associations significantly impact the quality of service. Selecting the right professional can prevent advanced mistakes that lead to costly damages or voided warranties. So, the next time you schedule an appliance installation or repair, ask yourself: am I truly informed about these hidden factors? Don’t fall into these traps—your appliances’ lifespan and your savings depend on it. Have you ever fallen into this trap? Let me know in the comments.
How Do I Maintain My Appliances Over Time
Maintaining your appliances effectively requires dedicated tools and a consistent routine. I personally rely on a high-quality multimeter, like the Fluke 117, because it provides precise readings for diagnosing electrical issues within my range, stove, and other devices. For cleaning sensors and delicate parts, I recommend a soft, anti-static brush and specialized electronic contact cleaner, which prevents corrosion without damaging sensitive components. Additionally, a digital app like SmartThings not only helps monitor your smart appliances but also alerts you to potential issues before they escalate, saving you from costly repairs down the line.
Scheduling regular checks, such as testing thermostats monthly or inspecting wiring connections biannually, extends appliance lifespan significantly. Investing in a reliable service manual from the manufacturer or a trusted resource like the expert guide to appliance repair and installation can be invaluable for DIY troubleshooting and understanding warranty coverage nuances. Remember, routine maintenance isn’t just about fixing problems—it’s about preventing them, meaning fewer emergency calls and more reliable performance.
What Tools Do I Need to Keep My Appliances Running Smoothly?
Beyond a multimeter, I highly recommend a set of precision screwdrivers for disassembling panels without stripping screws. A magnetic parts tray keeps tiny bits organized during repairs, reducing the frustration of lost components. For cleaning, a microfiber cloth paired with a gentle cleaning solution ensures surfaces remain pristine and functional. If you’re serious about proactive maintenance, investing in an ultrasonic cleaner for parts like sensors and switches can help maintain their longevity, which is especially crucial for appliances like dishwashers and refrigerators.
In the future, I predict that appliance maintenance will become increasingly automated with smart diagnostic tools, allowing instant identification of issues through connected apps. Companies are developing IoT solutions that monitor appliance health in real time, suggesting repairs before breakdowns occur. Embracing these innovations now can lead to fewer service interruptions and more efficient repairs.
Ready to Try an Advanced Maintenance Tip?
One tip that has significantly reduced my emergency calls is installing a color-coded wiring diagram internally and tracking the age of critical components. This practice enables quick troubleshooting, especially when multiple appliances are involved. For instance, marking connections with durable labels helps identify worn-out wires early, preventing unexpected failures. For more details, check out what to expect from same-day appliance repair experts and consider implementing this system in your maintenance routine. Give it a try—the peace of mind is worth the extra effort!
The Hardest Lesson I Learned About installation,warranty,appliance repair,same-day service
One of the most eye-opening truths I’ve discovered is that not every F1 error points to a catastrophic failure. Often, simple issues like loose wires or dirty sensors are behind the glitch, and recognizing this can save you a lot of time and money. Early in my repair experiences, I thought an error was always a sign to replace the whole control board, but I learned that patience and careful inspection often reveal more straightforward solutions.
My Essential Toolkit for Troubleshooting Appliance Errors
Over time, I’ve come to trust a handful of tools that make diagnosing and fixing range errors easier. A good multimeter has been invaluable for testing sensors and wiring continuity. A soft electronic cleaner helps me gently restore sensors, and a set of precision screwdrivers ensures I don’t damage delicate panels. Investing in these tools not only streamlines repairs but empowers you to handle minor appliance hiccups confidently instead of waiting for professional help. For detailed guidance, check out this expert manual on appliance repair.
Your Next Step: Turn Frustration into Empowerment
Repairing an F1 error can be a turning point in your understanding of your appliances. Instead of viewing it as a crisis, see it as an opportunity to learn and regain control over your home maintenance. The more you familiarize yourself with your range’s inner workings, the more confident you’ll become in tackling future issues head-on. Remember, the right knowledge and tools turn appliance dilemmas into manageable tasks. Are you ready to take the lead and become your own appliance hero? Start today, and don’t forget—every challenge is a chance to grow. Have you ever tried fixing an error code yourself? Share your experience below and let’s learn together.