
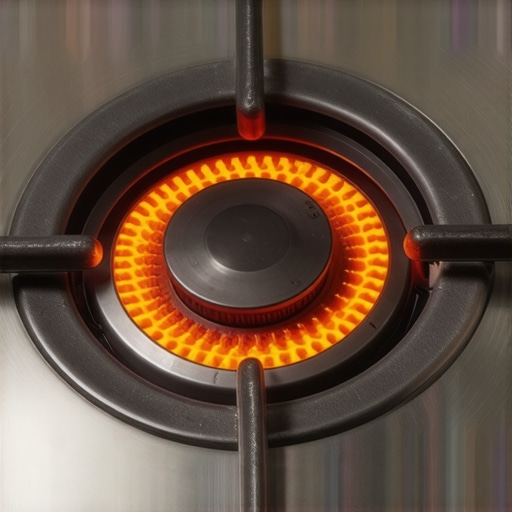
I stared at that pan for ten minutes. The butter wasn’t even bubbling. It was Tuesday night, I was tired, and my electric stove decided to give me about 40% of its soul. It’s an incredibly frustrating feeling when you’ve got a hungry family and an appliance that’s essentially just a giant, expensive paperweight. I’ve been there—more times than I care to admit—and I’ve learned that a burner that won’t get hot isn’t just a minor annoyance; it’s a sign that something is fundamentally wrong under the hood. You start wondering if the whole unit is shot or if you’re just losing your mind. Relax. It happens to the best of us. Today, we are going to dive into the guts of your range to figure out why that coil is acting like it’s on a permanent coffee break. [image_placeholder]
Your Dinner Deserves Better than a Lukewarm Burner
Most people think their stove is dying when this happens. I certainly did. Years ago, I actually hauled a perfectly good range to the curb because I didn’t know about the correct fuse to check when your range wont turn on. It was a rookie mistake that cost me hundreds of dollars and a lot of pride. The truth is, your burner “getting half hot” is usually a symptom of a specific electrical failure, not a death sentence for the whole unit. Sometimes it is as simple as a loose connection, much like the one wire that is always loose in your wall oven control board. Other times, it’s a component that has simply reached its expiration date. Whether it’s a burnt-out terminal block or a faulty infinite switch, we’re going to get to the bottom of it. If you’re tired of waiting for water to boil and need a professional eye, you might want to look into scheduling your appliance repair for same-day service to save your sanity.
Is it actually worth calling a pro for one weak burner?
You might be tempted to just use the other three burners and ignore the problem. I’m telling you right now: don’t. A burner that isn’t pulling full power can sometimes indicate a larger voltage issue that could eventually fry your expensive control board. I’ve seen it happen to neighbors who thought they were being thrifty. If you’re worried about the cost, remember that warranty-backed appliance services often provide a safety net you won’t get by “winging it” with a screwdriver. According to the National Fire Protection Association (NFPA), electrical failures or malfunctions were a leading cause of U.S. home fires, so messing with a faulty heating element isn’t just about cooking—it’s about basic home safety. Have you ever had a burner just quit on you right in the middle of making a big holiday meal? Tell me about your kitchen nightmares in the comments! Now, let’s look at the actual parts that are likely causing your steak to turn gray instead of brown.
Swap Your Burners to Rule Out a Dud
Before you start tearing the back panel off your stove, try the easiest diagnostic trick in the book: the old switcheroo. If you have two burners of the same size, pull the lukewarm one out and plug it into a known working socket. I did this once when I was convinced my expensive coil was toast, only to realize the burner worked perfectly in the front-left spot. This immediately told me the problem was either the receptacle or the switch, saving me from buying a part I didn’t need. If the burner still won’t get red-hot in a different spot, you’ve confirmed the heating element itself has an internal break. This is a common point where an expert guide to appliance repair and installation today suggests starting because it requires zero tools. 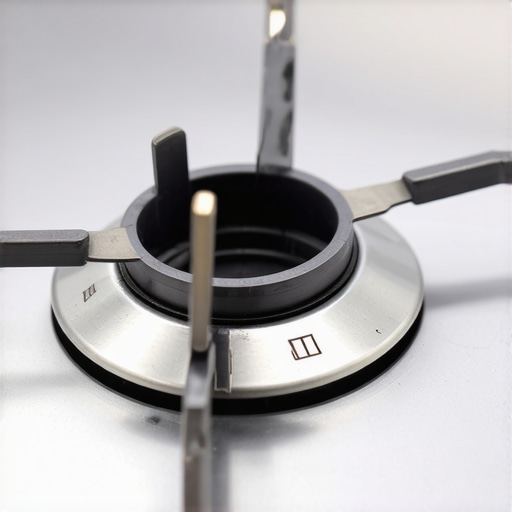
Check for a Fried Terminal Block
If you pull the burner out and see black soot or melted plastic where the prongs meet the stove, you’ve found your culprit. These terminal blocks are essentially the gateway for electricity to enter the burner, and over time, heat makes the metal connectors expand and contract until they lose their grip. A loose connection creates resistance, and resistance creates more heat—the bad kind that melts wires. It’s a similar phenomenon to the voltage issue that kills your new oven control board. If that plastic block looks crispy, it’s not delivering the full 240 volts needed to sear a burger. Replacing it is usually a quick job, but if you aren’t comfortable with wire nuts and crimping, scheduling your appliance repair for same-day service is a much safer bet than leaving a charred wire sitting under your cooktop.
The Infinite Switch Might Be Lying to You
Behind that plastic knob is the infinite switch, the component that cycles power on and off to maintain a specific temperature. Think of it like a dimmer switch for a light, but one that’s handling massive amounts of current. Inside that switch are small metal contacts that can become pitted or burnt. When this happens, they might only be making enough contact to send partial power, or they might be cycling off way too early. I’ve seen cases where a burner stays at a low simmer even when turned to High because the switch is failing internally. If you’ve confirmed the burner and the terminal block are fine, this is the most likely suspect. To ensure you don’t void any existing coverage while swapping these electrical components, it’s wise to maximize your appliance warranty during emergency repairs by checking if your specific model allows for DIY part swaps.
Verify the Wall Outlet Voltage
Sometimes the problem isn’t even the stove; it’s the house. Electric ranges run on two legs of 120-volt power to get a total of 240 volts. If one leg of your circuit breaker has tripped or a wire has come loose in the wall receptacle, the stove might still have enough juice to turn on the clock and the lights, but not enough to actually get the burners red-hot. This is a tricky one that often catches homeowners off guard. If you’re moving into a new place and notice this right away, it could be a sign that you need to learn how to ensure reliable appliance installation in 2025 to confirm the electrical lines are actually up to code for high-draw appliances. I once spent two hours testing a stove only to realize the homeowner’s breaker was half-tripped, providing only half the necessary power. It was a humbling reminder to always check the source before blaming the machine.
Stop Flipping the Breaker and Start Testing the Phase
Most people think a tripped breaker is a one-and-done fix. If it trips once, you just flip it back and keep cooking, right? Wrong. In my years of troubleshooting, I have seen homeowners “reset” their way into a serious electrical hazard. If your burner is only getting lukewarm, you might be dealing with a “dropped leg” where only 120V is reaching the appliance instead of the required 240V. While the stove clock and lights—which run on 120V—stay on, the heavy-duty heating elements are essentially starving for power. This is a classic case where the voltage issue that kills your new oven control board originates. If you keep forcing the unit to run on half-power, you aren’t just failing to cook dinner; you are stressing every capacitor on that expensive main board. 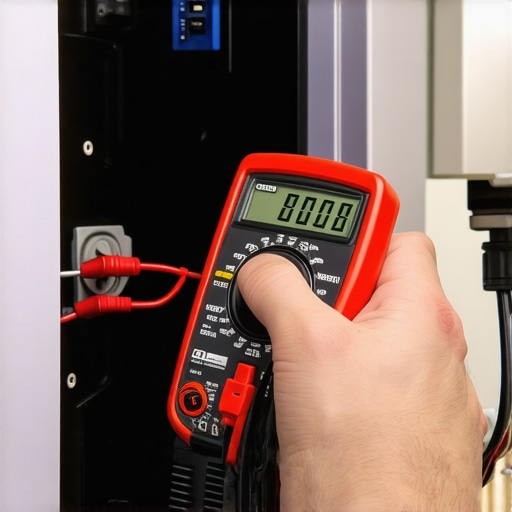
Why Waiting for a Repair Actually Costs You More
There is a common belief that scheduling your appliance repair for same-day service in 2025 is just an unnecessary “convenience fee” for the impatient. I am going to challenge that. According to data from the Association of Home Appliance Manufacturers (AHAM), modern appliances with integrated circuit boards are significantly more sensitive to voltage fluctuations and arcing than the “dumb” stoves of the 1980s. When a terminal block begins to arc—that is the buzzing or “half-heat” symptom—it sends electrical noise back through the system. By trying to “save money” by using the stove for another week, you are gambling with a $400 control board repair. Opting for same-day appliance repair quick solutions with warranty support isn’t about luxury; it’s about mitigation and protecting the rest of the machine.
Can a loose neutral wire cause my burner to stay cold?
This is the question that separates the DIYers from the true pros. A loose neutral won’t usually stop a 240V element from heating because those elements pull from the two hot legs, but it can cause absolute havoc with the return path for your stove’s electronic controls and sensors. However, the real “trap” for homeowners is a loose ground. I’ve walked into kitchens where the stove was technically “working,” but the chassis was carrying a small charge because of a poor installation job. This is why you must understand the proper way to ground your new smart stove during installation 2. If the ground path is compromised, electrical “bleed” can interfere with the infinite switch’s ability to cycle properly. Have you ever fallen into this trap where a simple fix turned into a major electrical headache? Let me know in the comments.
Don’t Ignore the Warranty Paperwork Until It Breaks
Another huge mistake I see is people ignoring their warranty-backed appliance services because they think the claims process is too slow or cumbersome. The nuance here is that many top-tier service providers are actually authorized to handle those claims immediately if you have your documentation ready. I always tell my clients to maximize your appliance warranty during emergency repairs by keeping a digital photo of the model and serial number tag on their phone at all times. If you don’t have the document every technician needs to see for a valid warranty visit, you might end up paying out of pocket for a part that should have been covered by the manufacturer. Expertise isn’t just about turning a screwdriver; it’s about knowing how to navigate the system so you don’t get stuck with the bill. If you’re unsure where to start, an expert guide to appliance repair and installation today can keep you from making these expensive rookie errors.I don’t leave my stove’s health to guesswork, and neither should you. When I am troubleshooting a range that refuses to glow, I reach for my Fluke 117 Multimeter. I use this specific model because it features ‘LoZ’ technology which prevents false readings caused by ghost voltage—a common headache when testing range circuits. If you are serious about DIY, skip the five-dollar testers. You need to see a rock-solid 240V across the terminal legs while the burner is under load. If you see it dip significantly the moment you turn the knob, your house wiring is the culprit, not the appliance. This level of precision is exactly what to expect from same-day appliance repair experts who come prepared with calibrated gear rather than just a screwdriver and a prayer. 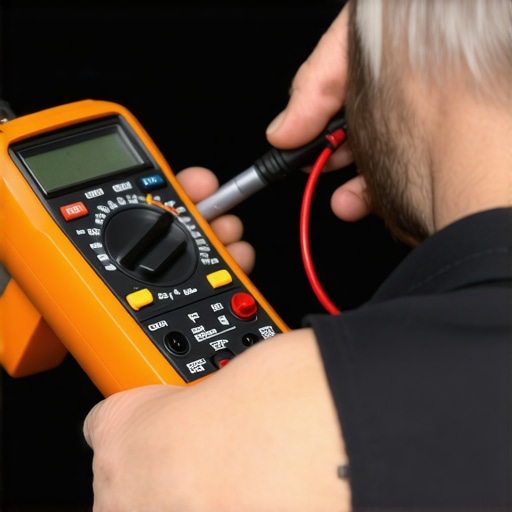
Build a Maintenance Log to Keep Your Warranty Valid
One of the biggest hurdles in getting a claim approved is proving you haven’t been negligent. I always recommend my clients keep a simple digital folder or physical logbook of every time the stove is deep-cleaned or inspected. This is vital because why your extended warranty company keeps asking for service logs is often to find an excuse to deny a claim based on ‘lack of maintenance.’ By documenting that you’ve kept the terminal blocks free of grease and confirmed the tight fit of the elements, you make it nearly impossible for them to say no. This proactive approach is part of the the maintenance step that extends the life of your high-efficiency washer and your stove alike.
How do I maintain my cooktop elements over time?
To ensure long-term results, you should inspect the burner receptacles every six months. Look for any signs of pitting or discoloration on the prongs. If they look dull, a quick swipe with a bit of fine-grit sandpaper can improve contact, though you must ensure the power is off at the breaker first. This is a small move that prevents the voltage issue that kills your new oven control board 2 by reducing electrical resistance. I predict that within the next five years, we will see smart ranges equipped with internal impedance sensors that alert your phone the second a burner connection starts to degrade, but until then, your eyes are the best tool you have.
Why a Professional Checkup Beats a DIY Guess
Sometimes, despite your best efforts, the issue is buried deep in the wiring harness. According to technical documentation from the IEEE Power & Energy Society, transient voltage surges can cause microscopic fractures in heating elements that only manifest as ‘half-heat’ during peak usage hours. If you’ve tried the ‘switcheroo’ and checked your breaker but the burner still won’t sear, it is time for an expert guide to appliance repair and installation today to step in. They can perform a megohmmeter test to check the insulation of the wires—something most homeowners simply can’t do. Don’t risk a fire by forcing a faulty stove to work; scheduling your appliance repair for same-day service in 2025 is the safest way to get back to cooking. Try this advanced tip: Use an infrared thermometer to compare the center temperature of all four burners on high; if one is more than 50 degrees lower than the others, you’ve caught a failing switch before it fully dies.
I have spent enough time under the hood of electric ranges to know that a lukewarm burner is rarely just a fluke. It is a communication from your appliance that the electrical handshake between your wall and your heating element is failing. Here is what I have learned through years of grease-stained hands and late-night repairs.
What the Pros See When They Look at Your Stove
One of the biggest shifts in my mindset happened when I stopped treating my range like a simple toaster. It is a complex high-voltage machine. I learned that ignoring a weak burner is basically inviting a larger electrical failure. If you are unsure whether you have a factory defect or a simple wear-and-tear problem, knowing the difference between a factory warranty and a service contract can save you thousands over the life of your kitchen. Professional technicians do not just look for the broken part; they look for the ‘why.’ Often, a failing burner is a symptom of a loose connection that could eventually lead to a fire hazard. Don’t wait for the ‘magic smoke’ to appear before you take action. If you feel like you are in over your head, how to avoid paying the service fee for a denied warranty claim is a vital piece of knowledge to have before you call for backup.
My Go-To Kit for Range Troubleshooting
If you want to move beyond guessing, you need the right tools. First, get a decent multimeter. I trust models with ‘LoZ’ technology to prevent ghost voltage readings. Second, I always carry a pack of fine-grit sandpaper for cleaning those burner terminals—it’s a simple move that fixes more ‘broken’ stoves than you would believe. Lastly, I rely on the expert guide to appliance repair and installation today whenever I run into a weird wiring schematic I don’t recognize. These resources turn dangerous guesswork into a predictable science. Having a digital infrared thermometer is also a game-changer for verifying that your ‘High’ setting actually hits the 240-volt heat output it’s supposed to.
#IMAGE_PLACEHOLDER_E#
Stop Settling for Gray Steaks
You shouldn’t have to adjust your cooking style or your dinner schedule just because a burner is acting up. Whether it’s a quick terminal swap or a more involved infinite switch replacement, getting your stove back to 100% makes the kitchen a joy again instead of a source of frustration. If you’re overwhelmed by the electrical technicalities, look for affordable same-day appliance fixes with warranty benefits to get the job done without the stress. You have the power to keep your kitchen running safely and efficiently. Have you ever had a burner stop getting red-hot right before a big holiday meal or party? Let me know your kitchen survival stories in the comments below!