
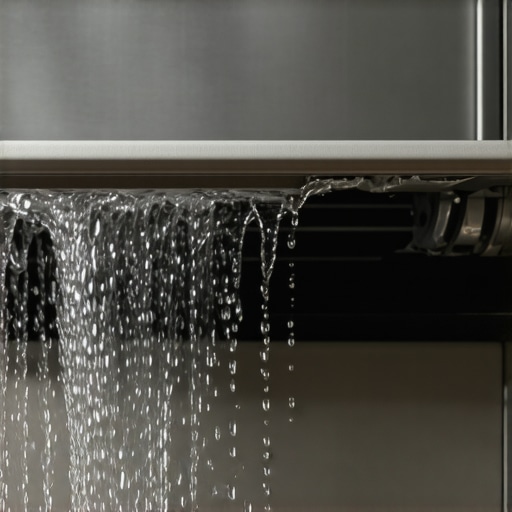
I remember the sound most—a rhythmic, heavy ‘splish-splash’ that definitely wasn’t part of the normal rinse cycle. I walked into the kitchen, and my heart sank faster than the water rising over my baseboards. I was standing in a literal lake. My dishwasher had just kept filling. It didn’t care that the tub was full; it just kept pumping in water until my kitchen looked like a poorly managed water park. It was a classic pressure valve error, a tiny mechanical hiccup that can cause hundreds of dollars in floor damage in minutes. If you’re reading this while standing on a damp rug, don’t panic—we’re going to get this dried up and fixed today.
The Day My Kitchen Turned Into a Backyard Pool
The pressure valve, or pressure switch, is essentially the ‘brain’ that tells your machine when it has had enough to drink. When it fails, the machine stays in a constant state of ‘thirsty,’ leading to the nightmare I just described. I’ll admit, when this first happened to me, I made a massive mistake: I assumed the drain was just clogged and spent two hours poking at the filter with a coat hanger while the water continued to seep into my subfloor. I completely ignored the actual sensor responsible for the fill level. Trust me, you don’t want to waste your Saturday afternoon on the wrong part. Sometimes, the fix is as simple as finding the secret switch inside your dishwasher that stops the overflow before the water reaches your hardwood. This little component monitors the air pressure in a tube as the water rises; when that air is compressed enough, it triggers the switch to shut off the inlet valve. If that tube is gunked up with old detergent or the switch itself has clicked its last click, the water just keeps coming.
Is This Tiny Plastic Component Actually Worth the Worry?
You might be skeptical that a component the size of a hockey puck can cause this much chaos. But it’s true. According to the Insurance Institute for Business & Home Safety, water damage from appliance failures is a leading cause of property loss in residential homes, and the dishwasher is one of the top three offenders. It isn’t just about the mess; it’s about the mold and the structural integrity of your home. If you aren’t comfortable diving into the wiring yourself, you should look into scheduling your appliance repair for same-day service in 2025 to prevent those floorboards from warping permanently. I’ve seen too many neighbors wait ‘just one more day’ only to end up replacing their entire kitchen floor because of a $30 part. Have you ever walked into your kitchen and felt that dreaded ‘squish’ of water in your socks? It’s a gut-punch, isn’t it? Before you call a contractor for a full remodel, let’s look at how a simple critical drain hose loop you’re missing or a basic valve replacement can save your sanity and your wallet. We are going to walk through the diagnostics together so you can tell your repair tech exactly what is wrong, or better yet, fix it yourself before the next cycle.
Stop the Flood and Start the Repair
The first rule of appliance surgery is that you never work on a ‘live’ patient. Before you even think about grabbing a screwdriver, you must disconnect the power. I’ve seen people try to save time by leaving it plugged in, only to end up with a nasty shock or a fried control board. This is where you should consider the hidden costs of diy repairs on warranty covered items because one wrong move with a live wire can void your protection entirely. Once the power is dead, shut off the water supply valve under the sink. You’re looking for the kickplate—that metal or plastic panel at the very bottom of the machine. Removing these few screws is your gateway to the internals.
Find the Pressure Switch and Its Air Tube
Once that kickplate is off, look for a small, round plastic component with a thin rubber hose attached to it. That’s your pressure switch. Think of this tube like a drinking straw with your thumb over the top. As water fills the dishwasher tub, it pushes air up that tube. When the pressure gets high enough, it ‘clicks’ the switch and tells the water inlet valve to shut off. I once spent two hours helping a neighbor who was convinced his motor was dead. We pulled the kickplate, and it turned out a stray piece of spaghetti had somehow lodged itself right in the mouth of that air tube. Five minutes of cleaning saved him a massive service bill. 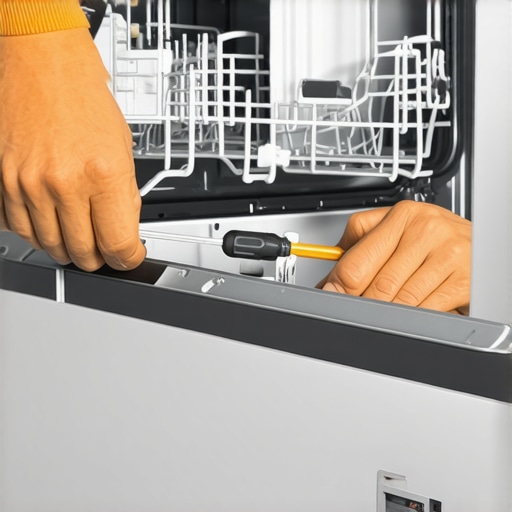
The Blow Test That Saves Your Floor
If the tube looks clear, the problem might be the switch itself or a blockage you can’t see. Carefully pull the rubber tube off the switch—not the tub side—and blow gently into it. You should hear a faint gurgling in the tub. If you feel resistance, that tube is gunked up with old grease and detergent. If the tube is clear, blow into the switch’s nipple itself. You should hear a distinct ‘click-clack’ sound. No click means the internal diaphragm is ruptured. If you aren’t hearing that click, it’s time to look into expert guide to appliance repair and installation today to ensure you get the exact replacement part for your model number.
Check the Connections and Plumbing Basics
Sometimes the overflow isn’t the switch’s fault at all, but rather how the water is moving out of the machine. If your sink is backed up, the dishwasher might struggle to gauge levels correctly. You might need to try the drainage trick for a kitchen sink that gurgles when the dishwasher runs to ensure your home’s plumbing isn’t fighting the appliance. Also, verify your drain line has a ‘high loop.’ Without it, dirty sink water can siphoned back into the dishwasher, confusing the sensors and leading to a messy floor. I’ve found that a critical drain hose loop you’re missing is often the culprit in ‘mystery’ overflows. If you’ve checked the tube, clicked the switch, and cleared the drains but it’s still raining in your kitchen, don’t wait for the subfloor to rot. You should be scheduling your appliance repair for same-day service in 2025 to get a pro out there before the damage doubles in price.
I’ve heard it a thousand times: ‘I’ll just fix it myself and save the hundred-dollar service fee.’ But here is the contrarian truth that most repair blogs won’t tell you—sometimes that ‘save’ costs you a twelve-hundred-dollar machine. Most homeowners believe that as long as they don’t physically break a part, their warranty stays intact. In reality, modern manufacturers are looking for any reason to deny a claim. If a professional technician arrives and sees non-factory electrical tape or a missing specific screw, they’ll flag it as unauthorized tampering. This is exactly why an expert guide to appliance repair and installation today emphasizes knowing exactly where the line is between basic maintenance and invasive, warranty-voiding surgery.
Why does your warranty company keep asking for service logs?
It feels like a bureaucratic hurdle, but there is a logic to the madness. According to data from Consumer Reports, nearly 25% of all new dishwashers experience a breakdown within the first five years, and companies now demand proof that you haven’t been negligent. If you can’t show that you’ve performed basic upkeep, they may claim the overflow was caused by ‘owner-induced debris’ rather than a mechanical failure. This is why your extended warranty company keeps asking for service logs before they even send someone out. Without those logs, you might find yourself stuck with a bill for the labor anyway.
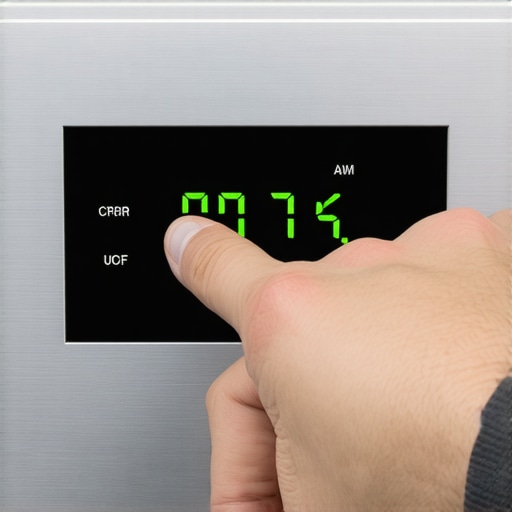
The biggest ‘oops’ factor I see involves error codes. Most modern dishwashers have an internal memory that logs every time the pressure switch trips. If you keep resetting the machine to ‘get through one more load,’ you are essentially overwriting the diagnostic data a pro needs to see. By the time you decide on what to expect from same-day appliance repair experts, the machine might have deleted the very evidence needed to prove the part failed under warranty. It’s a digital trap that ends up costing you hundreds. Furthermore, if you aren’t careful, you could end up facing the hidden costs of diy repairs on warranty covered items that far outweigh a simple professional diagnostic fee.
Before you dive back under that kickplate, ask yourself: is this a $20 clog or a $500 sensor? If it’s the latter, you want someone else’s name on that repair ticket to keep your coverage alive. If you’re unsure, look into how to avoid paying the service fee for a denied warranty claim by documenting the failure properly first. We want to get your kitchen dry, but we want to do it without lighting your insurance policy on fire. Have you ever fallen into this trap where a DIY fix ended up costing you more in the long run? Let me know in the comments below! If you’re currently dealing with a rising tide in your kitchen, same-day appliance repair quick solutions with warranty support might be the only thing standing between you and a very expensive floor replacement.
I’ve realized over the years that the difference between a frequent ‘fix-it’ victim and someone who actually masters their home is about five specific tools. I’m not talking about a basic screwdriver set you bought at a grocery store checkout. I’m talking about a decent multimeter—specifically something like the Fluke 117. Being able to test for continuity on a heating element or a pressure switch without guessing is the ultimate power move. If you are serious about this, you also need a non-contact voltage tester. It’s the only way to be 100% sure that ‘off’ actually means off before you touch the one wire that always loose in your wall oven control board and risk a nasty jolt.
Then there’s the plumbing side of the equation. People often overlook the importance of a proper fit during the initial setup, assuming ‘tight’ is ‘tight enough.’ I always tell my neighbors that how to ensure reliable appliance installation in 2025 starts with using a high-quality braided stainless steel hose rather than the cheap plastic ones that often come in the box. One small hairline crack in a plastic line, and you’re right back to the ‘indoor lake’ scenario I faced. It’s worth the twenty-dollar upgrade every single time.
How do I keep my high-end appliances running for ten plus years?
The secret isn’t magic or luck; it’s chemical and mechanical consistency. If you live in an area with hard water, your dishwasher is slowly choking on calcium and magnesium. I use a monthly citric acid flush to break down the scale that builds up on the internal sensors and the heating element. According to technical bulletins from the Association of Home Appliance Manufacturers (AHAM), over 30% of reported ‘sensor failures’ are actually just mineral buildup that could have been prevented with a $5 bottle of cleaner. Furthermore, you should regularly perform the maintenance step that extends the life of your high efficiency washer, which involves cleaning the debris trap or drain pump filter—a task most homeowners don’t even realize exists until the machine throws a ‘no-drain’ code and stops mid-cycle.

Looking ahead, I suspect we are moving toward a ‘software-locked’ era of home appliances. Much like modern luxury cars, your next dishwasher might refuse to run if it detects a non-genuine part via an encrypted RFID chip. This is why mastering the expert guide to appliance repair and installation today is so critical; you need to understand the mechanical fundamentals before the software makes it nearly impossible for a layperson to touch the internals. If you’re tired of the DIY gamble and want to protect your long-term investment, I strongly suggest looking into warranty backed appliance services you can rely on. It’s often better to have a pro handle the high-voltage components while you stick to the filter cleanings. Try this tonight: find your dishwasher’s lower spray arm and check the tiny holes for seeds or plastic bits. You’ll be surprised at what’s been blocking your cleaning power.
Lessons from the Kitchen Floods I Could Have Avoided
Looking back at my own water-logged mishaps, I’ve realized three things that no manual ever explicitly tells you. First, water damage is a silent thief; even if your floor looks dry, moisture trapped in the subfloor can rot your joists over the next six months. Second, the ‘cancel/drain’ button is a temporary fix, not a solution. If you’re using it every day, you’re living on borrowed time. Finally, the smartest thing you can do is learn how to verify your new appliance is covered under the original warranty before you start unscrewing internal components. It saves you from that sinking feeling when a tech denies your claim because of a DIY mistake.
The Gear That Stops the Panic Before it Starts
I don’t trust my eyes alone anymore; I trust data. That’s why my ’emergency kit’ includes a few non-negotiables. I always keep a bag of high-grade citric acid for those monthly flushes to prevent the sensor gunk-up we talked about. I also swear by a digital multimeter for checking the electrical health of the pressure switch. If you’re just starting your collection, check out an expert guide to appliance repair and installation today to see which specialty wrenches and sensors are worth the drawer space. It’s better to spend $50 on tools than $500 on an emergency plumber. While you are at it, don’t forget the secret to deep cleaning a front load washer gasket to keep your entire laundry room as efficient as your kitchen.
#IMAGE_PLACEHOLDER_E#
Build a Kitchen That Lasts a Decade
Maintaining a home isn’t about being a master plumber; it’s about being an observant owner. By checking your filters, cleaning your gaskets, and knowing when to call for affordable same-day appliance fixes with warranty benefits, you turn a high-stress environment into a well-oiled machine. You’ve got the knowledge now to spot a pressure valve failure before it turns your kitchen into a pool. Don’t wait for the next ‘splish-splash’ to take action. Have you ever found a weird object like a cherry pit or a piece of glass blocking your dishwasher’s internal drain? Let me know in the comments below!