
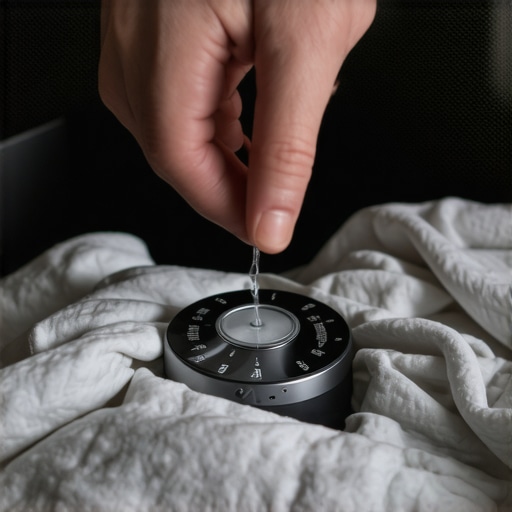
I stood in my laundry room last Tuesday, staring at a pile of damp jeans while my dryer’s display smugly insisted the cycle was complete. It’s a special kind of frustration when your appliances start lying to you. I’ve been there, and I’ve even made the expensive mistake of calling for a same-day appliance repair quick solutions with warranty support only to find out I could have fixed the issue with a piece of sandpaper and five minutes of my time. Today, we’re tackling that pesky moisture sensor so you can stop running the same load three times just to get your socks dry. It is time to take control of your laundry room again and stop letting a small piece of metal dictate your schedule.
Why Your Dryer Thinks the Work is Done
When a dryer stops prematurely, it is usually because the moisture sensor—those two small metal bars typically found near the lint filter—has been ‘blinded.’ Over time, a thin, invisible film of dryer sheet residue or fabric softener coats these bars. This film acts as an insulator, preventing the sensors from detecting the actual moisture in your clothes. I once spent an entire weekend thinking I needed to research fast and trustworthy appliance installation near you for a replacement machine when all I really needed was a deep clean. Beyond just cleaning, sometimes the sensor needs a physical adjustment or a quick check of the wiring harness. According to Energy Star, dryers are one of the most energy-intensive appliances in the house, and a faulty sensor that forces you to restart cycles can lead to significant energy waste. If you do not address this, you might end up facing issues similar to the hidden vent clog that makes your dryer run all day as you force the machine to overwork, potentially leading to overheating. I remember clearly pulling out my multimeter, convinced the heating element had finally bitten the dust. I had the whole back panel off, screws rolling around the floor, only to realize later that the heat was fine—the computer just did not know the clothes were wet.
Will a quick cleaning really solve my damp clothes problem?
You might be skeptical that a simple wipe-down is enough to fix a high-tech appliance. I was too, especially when I was just starting out with DIY repairs. But before you look into affordable same day appliance fixes with warranty benefits, you have to rule out the ‘wax’ buildup. Have you ever felt that weird, slick coating on your lint screen that prevents water from passing through? That is exactly what is coating your sensors right now. I made the mistake of ignoring this simple maintenance task for months until my electricity bill spiked and my clothes started smelling like mildew. We are going to walk through the exact steps to get those sensors reading correctly again, ensuring your expert guide to appliance repair and installation today knowledge actually saves you money. Trust me, your dryer isn’t broken; it is just misunderstood. Have you ever been tempted to just throw the whole dryer away because of one damp load that refuses to dry?
Scrub Away the Invisible Shield
First, locate those two small metal bars. They are typically positioned inside the drum, right on the housing for the lint filter. Think of these sensors as the dryer’s fingertips; if they are covered in a ‘glove’ of waxy residue from dryer sheets, they cannot feel how wet your clothes actually are. I recall a particularly annoying Sunday when I scrubbed those bars with what I thought was enough pressure, only to have the machine fail again ten minutes later. I had to go back in with a cotton swab soaked in high-percentage rubbing alcohol to truly dissolve the film. Scrubbing them down is a vital maintenance step, much like the sensor cleaning that fixes a microwave that shuts off after 5 seconds, as sensors across all appliances often fail due to simple environmental buildup. When the alcohol evaporates, you should see a noticeable difference in the metal’s shine. If they still look dull, a very light pass with fine-grit sandpaper—we are talking 400-grit or higher—can restore the surface without scratching the stainless steel. 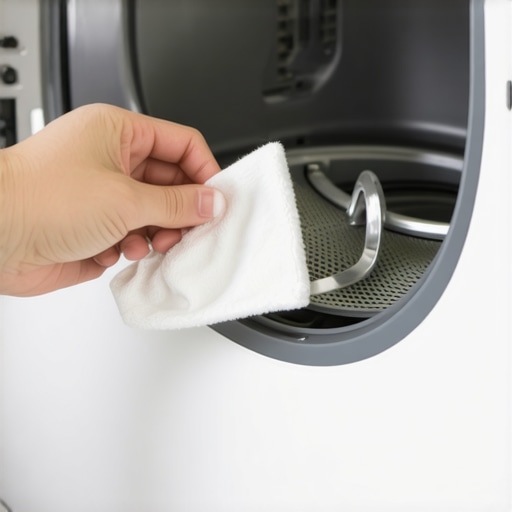
Where the Sensors Hide and How They Fail
If cleaning the surface doesn’t do the trick, you need to look at the physical connection. While you are already elbow-deep in the drum area, check for any rogue socks or clumps of hair caught around the sensor housing. I once found a single bobby pin wedged between the two bars, creating a short circuit that told the dryer the clothes were ‘bone dry’ when they were actually soaking wet. While you’re in there, it is a great time to inspect the surrounding area for the dangerous lint build up your dryer filter always misses, which can also impede the sensor’s ability to get an accurate reading by trapping moisture right against the metal.
Don’t Ignore the Wiring Behind the Panel
Sometimes the issue isn’t the ‘fingertip’ but the ‘nerve’ leading to the brain. If you’ve cleaned the bars and the dryer still cuts out, you may need to pop the front or top panel to reach the wiring harness. During my first real DIY repair, I spent two hours cleaning the bars only to realize the plug connecting the sensors to the main board had vibrated loose over years of heavy loads. It felt like a rookie mistake, but it taught me that vibrations are the enemy of all electrical connections. Ensuring your machine is level and the wires are seated firmly is a core part of an expert guide to appliance repair and installation today.
Keep Your Maintenance Logs Handy
Every time you perform this cleaning, write it down. You might think it is overkill for a five-minute task, but the one maintenance record that saves your appliance warranty claim is often the simplest one. If a larger component fails later, being able to prove you regularly cleaned the sensors and cleared the vents shows the manufacturer you haven’t been negligent. This simple habit can help you avoid paying the service fee for a denied warranty claim if a technician ever has to come out for a more complex motherboard issue. You are essentially building a defense for your wallet by staying ahead of the grime.
Stop Using Abrasive Pads on Your Sensors
Common wisdom suggests that if a sensor is dirty, you should scrub it until it shines like a new dime. In my early days of DIY, I took a heavy-duty scouring pad to my moisture sensors, thinking I was being thorough. This is a massive mistake. Using harsh abrasives can create micro-scratches that actually trap more lint and residue in the future, making the problem recur faster. It is vital to understand the one cleaning agent that ruins your stainless steel interior before you reach for those kitchen chemicals. Instead, stick to a soft cloth and the highest percentage of isopropyl alcohol you can find. According to research by the Association of Home Appliance Manufacturers (AHAM), improper maintenance of internal sensors can shorten an appliance’s life cycle by up to 20% due to unnecessary heat stress from repeated, failed cycles.
Why does the dryer cycle still end too early even after cleaning?
If you have polished those bars and checked the lint trap but your clothes are still damp, you are likely dealing with a calibration error or a resistance issue in the wiring. This is where most homeowners give up and buy a new machine, but the fix is often just a matter of checking the grounding. A loose ground wire can mimic the electrical resistance of ‘dry’ clothes, tricking the control board. If you are feeling overwhelmed, looking for same-day appliance repair quick solutions with warranty support can save you from accidentally shorting out the main control board while poking around with a screwdriver. I have seen too many neighbors fall into the hidden costs of diy repairs on warranty covered items, where a simple $10 part replacement turns into a voided manufacturer agreement because they opened a sealed component they shouldn’t have.
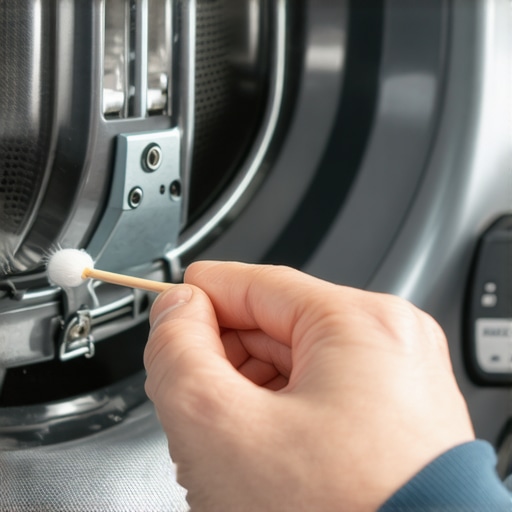
There is a persistent myth that calling for professional help is always a last resort for the ‘unskilled.’ In reality, the most experienced DIYers know exactly when to pivot to warranty-backed appliance services you can rely-on to protect their investment. Waiting weeks for a part to arrive while your wet laundry sits in a heap isn’t just an inconvenience; it is a recipe for mildew. Opting for affordable same-day appliance fixes with warranty benefits often pays for itself by preventing that ‘musty’ smell from ruining an entire wardrobe. You also need to be clear on the difference between a manufacturer warranty and a service contract before the technician arrives, as this determines who picks up the tab for labor versus parts. Have you ever fallen into the trap of trying to fix a ‘simple’ issue only to make it worse? Let me know in the comments below!
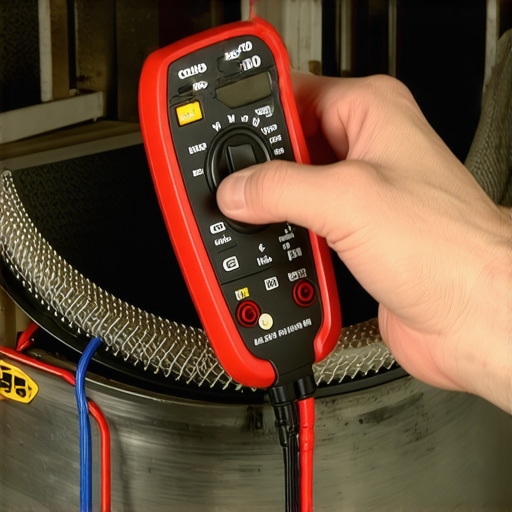
I have learned the hard way that a clean sensor is only half the battle; if your electrical path is compromised, your dryer remains blind. When I really need to get technical, I reach for my Fluke 117 multimeter. I prefer this specific model because of its ‘VoltAlert’ technology which prevents non-contact voltage readings from being skewed by ghost voltage—a common headache in laundry rooms with complex wiring. If you are going to follow my expert guide to appliance repair and installation today, you need tools that don’t lie to you. According to technical documentation from Master Samurai Tech, a leading authority in appliance repair training, the resistance across these sensors must change predictably when moisture is present. If your multimeter shows an ‘open’ loop even when you bridge the sensors with a damp cloth, the problem is likely a broken wire or a failed control board relay rather than just surface grime.
The One Tool That Actually Saves You Money
Beyond the multimeter, I always keep a small roll of 400-grit sandpaper and a bottle of 90% isopropyl alcohol in my laundry room ’emergency kit.’ Most people make the mistake of using standard household cleaners, but those often leave behind a new residue that is just as insulating as the fabric softener they removed. If you find yourself frequently calling for top tips for same day service warranty coverage, it might be time to look at your installation. I recently helped a neighbor realize their dryer was failing because the installer used a cheap foil vent. Transitioning to a rigid metal setup, as discussed in why your dryer vent needs rigid metal pipe instead of foil, significantly reduces back-pressure and keeps the internal sensors from overheating and warping.
How do I maintain my dryer’s moisture sensors over time?
Consistency is your best friend here. I’ve found that a monthly quick-wipe of the sensors prevents the wax from ever hardening into that stubborn shield. If you are already scheduling your appliance repair for same-day service in 2025 for another machine, ask the tech to show you the specific ohm-readings for your dryer model’s sensor bars. This gives you a baseline for your own future DIY testing. Looking ahead, I suspect we will see dryers in 2026 and beyond move away from these physical metal bars entirely, shifting toward infrared moisture-mapping sensors that won’t be susceptible to waxy buildup. But until then, we are stuck with the scrub-and-test method.
Maximize Your Efficiency Through Better Records
I cannot stress enough how much a simple logbook helps. Whenever I do a deep clean of the sensor housing, I snap a photo of the clean bars and note it in my digital maintenance log. This habit is exactly what you need to maximize your appliance warranty during emergency repairs. When a service agent sees that you have a documented history of clearing debris and cleaning sensors, they are far less likely to attribute a failure to ‘user neglect.’ It puts the power back in your hands and protects your investment from being dismissed by a manufacturer’s loophole. If you haven’t yet, take five minutes tonight to locate your multimeter and verify the continuity of those sensor wires—it might just save you a $200 service call tomorrow.
Hard Truths from My Years in the Laundry Room Trenches
After years of trial and error, I’ve realized that most appliance failures are actually communication failures. When your dryer stops early, it isn’t trying to annoy you; it’s just working with bad data. Here are three things I learned the hard way about maintaining these machines:
- The ‘Invisible’ Enemy: You can’t always see the wax. Even if the bars look clean, the residue from dryer sheets is often a transparent insulator. If you aren’t sure what to expect from same-day appliance repair experts, they will often start exactly where we did—with a bottle of alcohol and a clean cloth.
- The Cost of Delay: Ignoring a faulty sensor doesn’t just leave clothes damp; it kills your heating element. Every time you have to restart a cycle, you’re putting unnecessary wear on the coils. Sometimes, it’s cheaper to look into affordable same-day appliance fixes with warranty benefits than to replace a $150 heating assembly.
- Warranty Awareness: I once lost out on a repair because I didn’t realize the deductible trap in most third-party appliance protection plans can sometimes be more expensive than the part itself. Always weigh the DIY cost against your specific coverage terms.
The Gear I Use to Keep My Machines Running Smoothly
You don’t need a professional workshop to maintain your laundry room, but you do need a few high-quality staples. Here is my personal ‘go-kit’ for any dryer sensor issue:
- Isopropyl Alcohol (90%+): Accept no substitutes. Lower percentages contain more water and oils that can leave their own film.
- 400-Grit Sandpaper: This is my ‘nuclear option’ for sensors that have been neglected for years. It’s abrasive enough to bite through the wax but gentle enough not to ruin the stainless steel.
- A Digital Maintenance Log: Whether it’s a notebook or an app, tracking your cleaning dates is the best way to how to ensure reliable appliance installation in 2025 stays effective over the long haul.
- The Warranty Folder: I keep the warranty document you must save before discarding the box in a dedicated drawer so I never have to hunt for serial numbers during an emergency.
#IMAGE_PLACEHOLDER_E#
Your Path to a Permanent Laundry Room Fix
Fixing a moisture sensor is more than just a quick chore; it’s about taking ownership of your home’s efficiency. When you master these small components, you stop being at the mercy of your appliances and start predicting their needs. By following this expert guide to appliance repair and installation today, you’ve already saved yourself the headache of damp jeans and high energy bills. Don’t wait for the next load to fail—spend five minutes today cleaning those bars and checking your connections. You’ve got the tools and the knowledge; now it’s time to get that laundry finished on the first try. Have you ever found a weird object, like a coin or a button, stuck in your dryer that was actually causing a sensor malfunction? Let me know in the comments below!