
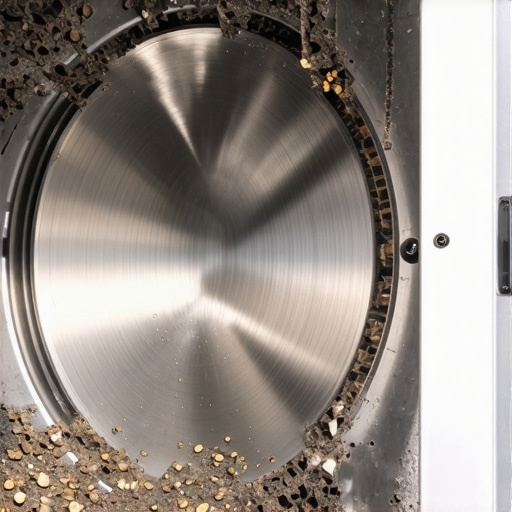
I’ll never forget the Tuesday my laundry room turned into a construction site. I was sitting in the kitchen when a low, rhythmic thrumming started vibrating through the floorboards. Being an “I’ll fix it later” kind of guy, I just cranked up the TV volume. Big mistake. Within a week, that thrumming became a bone-shaking roar that sounded like a 747 was taking off inside my house. By the time I finally pulled the plug, the back of the drum was grinding against the outer tub, and I was looking at a repair bill that made my eyes water. I missed the early signs of a failing bearing, and it cost me dearly. Today, I’m going to show you exactly how to listen for those whispers of doom so you can catch the problem before your machine becomes a very expensive boat anchor.
Your Washer Shouldn’t Sound Like a Freight Train
When I first started tinkering with appliances, I made the classic rookie error of thinking “noisy” just meant “old.” I actually once told a friend to just put a rug under their machine to muffle the sound! In reality, that extra noise is often the first symptom of catastrophic mechanical failure. A bearing is what allows your drum to spin smoothly at high speeds; when it goes, everything else starts to shake apart. If you’ve noticed your machine is vibrating more than usual, it’s not just a balancing issue—it could be the internal housing giving up the ghost. You might even find that your washer is jumping across the laundry room floor during the spin cycle. Catching this early is the difference between a simple 15 dollar part and a complete machine replacement. According to Consumer Reports, mechanical failures like bearing issues are a top reason for premature appliance retirement, often because owners wait too long before scheduling your appliance repair for same-day service in 2025.
Is this repair even worth the hassle?
I get it. The moment you hear “bearing failure,” you probably start browsing for new models and worrying about the cost. But here is the secret: if you catch it while it’s still just a faint “whining” sound during the spin cycle, you save the motor and the tub from permanent damage. Have you ever walked into your laundry room and thought, “Is it supposed to be that loud?” If you’ve been ignoring a new rattle or a high-pitched squeak, let me know in the comments—I want to hear if your machine is currently trying to “walk” out the front door! Getting ahead of the curve with warranty-backed appliance services you can rely on is way cheaper than replacing the whole unit next month. We are going to dive into the physical tests you can do right now to confirm those bearings are shot.
Give Your Drum a Manual Spin
First thing’s first: turn off the power. You don’t want the machine trying to balance itself while your arm is inside. With the drum empty, reach in and give it a solid shove to get it spinning as fast as you can by hand. A healthy machine sounds like a soft breeze or a quiet hum. If it sounds like someone is shaking a tin can full of gravel, your bearings have likely disintegrated. I remember working on an old front-loader where the spin felt “crunchy.” I ignored it for three loads, thinking it was just a loose coin trapped in the bellows, but that crunch was actually steel balls grinding into the spindle. If you’re lucky, the one screwdriver turn that levels a rattling washer might solve a minor vibration, but a crunchy spin is a different beast entirely. 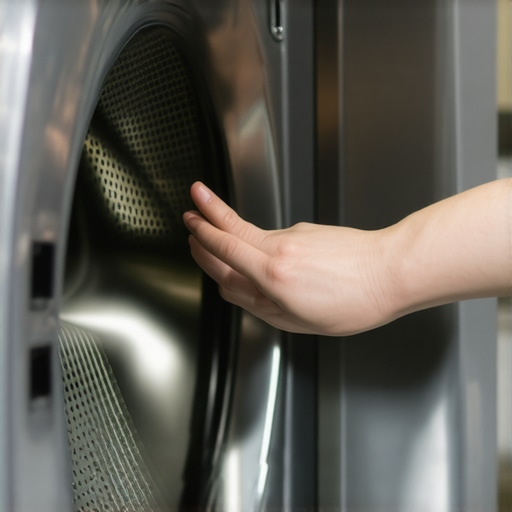
Look for the Death Dust on the Rear Panel
If the spin test is inconclusive, you need to get behind the scenes. Pull the machine out—carefully, so you don’t yank the hoses—and remove the back panel. Look at the large pulley wheel attached to the back of the tub. If you see a splatter of rusty brown water or a fine, dark “dust” radiating out from the center of the tub like a starburst, that’s your smoking gun. This is internal grease that has leaked out of the bearing, mixed with metal shavings, and been flung outward by centrifugal force. Last summer, I helped a neighbor who thought they just had a simple leak. We opened the back, and it looked like a rusted firework had gone off. We had to act fast to secure affordable same-day appliance fixes with warranty benefits because that salty, metallic moisture was already dripping toward the expensive drive motor.
The 12-and-6 O’Clock Shake Test
This is the most definitive test for any DIYer. Reach into the drum and grab the top inner edge (the 12 o’clock position). Try to lift it up and down firmly while holding the outer tub still. There should be almost zero “play” or wiggle room between the inner stainless steel drum and the outer plastic tub. If the inner drum clicks, clunks, or moves independently even a fraction of an inch, the bearing housing is officially shot. This isn’t just a pulley alignment fix for a squeaking washer drum; it’s a structural failure that will eventually lead to the drum breaking loose. When I first tried this on my own failing machine, the drum moved nearly an inch. I realized then that my “I’ll fix it later” attitude was about to cost me a floor repair too. Knowing what to expect from same-day appliance repair experts can help you decide if you’re ready to tackle the tear-down or if it’s time to call in the cavalry. If you find movement during this shake test, do not run another cycle. The friction can generate enough heat to melt the plastic outer tub, turning a the 15 dollar part that fixes a shaking washing machine into a total loss.
Why ‘Same-Day’ Is More About Inventory Than Speed
Many people assume that same-day appliance repair quick solutions with warranty support are just a marketing gimmick used to charge a premium. In my experience, the ‘same-day’ aspect isn’t actually about how fast the technician drives; it is about their sophisticated ability to pre-diagnose based on your description and carry a robust inventory of high-failure parts on the truck. If a technician shows up without a specific bearing kit for a common model, they simply weren’t prepared for the reality of the job. However, the biggest ‘oops’ factor I see with sophisticated modern machines is homeowners attempting a ‘quick fix’ while the unit is still under its initial year of coverage. You might think you are saving time by tightening a bolt yourself, but the hidden costs of DIY repairs on warranty-covered items often include a completely voided service contract. I have personally seen expensive control board claims denied because of one tiny, non-authorized snip to a wire during a DIY investigation.
Does your service contract actually cover ‘gradual’ mechanical failure?
This is where even the most prepared homeowners get tripped up. There is a massive difference between a manufacturer warranty and a service contract that you need to understand before the repairman arrives. Manufacturers typically cover defects in materials or workmanship, while third-party service contracts often have ‘wear and tear’ clauses that can be used to deny a bearing claim if the machine shows signs of being consistently overloaded. According to data from the United Appliance Servicers Association, nearly 25% of all warranty claims are initially flagged or rejected due to a lack of maintenance proof. This is why keeping the one maintenance record that saves your appliance warranty claim is absolutely non-negotiable for high-end front loaders. 
Don’t Let a Bad Installation Sabotage Your New Parts
If you do decide to go through with a professional bearing replacement or choose to replace the unit entirely, the physical installation is where the next set of ‘hidden’ traps lie. I once witnessed a brand-new machine destroyed in less than ten minutes because of the shipping bolt error that ruins new washing machines. People often forget to remove these transit bolts, and the first high-speed spin cycle literally rips the tub out of the frame. To avoid this, focusing on how to ensure reliable appliance installation in 2025 is just as critical as the repair itself. Have you ever fallen into the trap of losing your warranty because of a missing receipt or a well-intentioned ‘self-repair’ attempt? Let me know in the comments—I want to help you avoid those expensive headaches. If you are currently staring at a pile of laundry and a dead machine, it is always better to contact us for a professional evaluation before you start taking things apart yourself.I’ve learned the hard way that a standard toolbox isn’t enough for these specialized jobs. If you’re going to dive into a bearing replacement, you absolutely need a high-quality bearing puller kit. I personally swear by the heavy-duty slide hammer sets because they provide the even pressure needed to pop a seated bearing without warping the rear tub. I also never use generic grease; I stick exclusively to high-temp lithium grease that’s specifically rated for high-RPM marine or appliance environments. Using the wrong lubricant is a recipe for a repeat failure in six months. 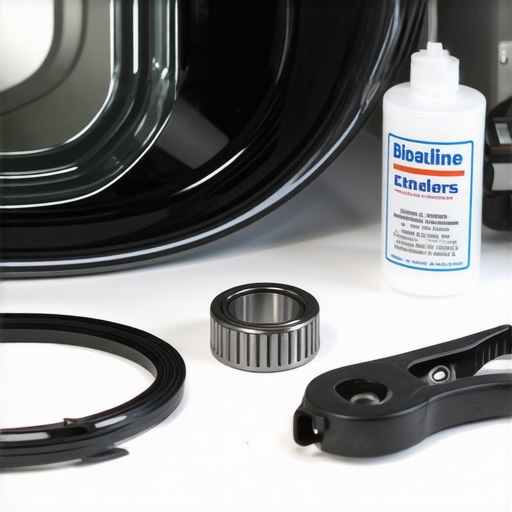
How do I keep my machine spinning smoothly for years?
The most common reason I see for premature bearing failure is ‘over-sudsing.’ When you use too much detergent, the excess suds push past the main seal, washing away the grease from the bearings. This leads to metal-on-metal friction. To prevent this, I recommend running a monthly cleaning cycle with a dedicated descaler. This simple step is vital to how to prove periodic maintenance to keep your warranty valid if a major component ever fails. According to technical bulletins from the Association of Home Appliance Manufacturers (AHAM), nearly 30% of mechanical washer failures could be prevented through proper loading techniques and avoiding the ‘heavy’ cycle for every single load. Looking ahead, I see the industry moving toward predictive maintenance. We’re already seeing sensors in high-end units that can detect microscopic vibrations before they become audible to the human ear. Soon, an expert guide to appliance repair and installation today will involve checking a digital log of vibration patterns via a smartphone app. But until every machine has AI-integrated sensors, we have to rely on our ears and hands. If your machine is showing symptoms, don’t wait. You can often find affordable same-day appliance fixes with warranty benefits that protect your investment long-term. My biggest tip? Grab a flashlight and check that rear panel for ‘death dust’ tonight. If you see even a tiny speck of rust, you need to act immediately to ensure you get warranty-backed appliance services you can rely on before the damage becomes irreversible.
Lessons My First Melted Outer Tub Taught Me
Reflecting on years of grease-stained hands, I’ve realized that the most expensive mistakes aren’t made with a wrench; they’re made with a shrug. First, never assume a ‘silent but shaky’ machine is healthy; sometimes a failed pump can mask the early growl of a bearing. Second, if you have soft water, cut your HE detergent dosage in half to prevent the over-sudsing that eats away at internal seals. Finally, always verify the wear and tear clauses that might void your warranty before you start a major teardown. These subtle details are what separate a long-lasting machine from a disposable one.
My Troubleshooting Toolkit
I don’t go into any repair without a few specific items that make the job easier. I always keep a high-lumen LED headlamp to spot that ‘death dust’ in the tight corners behind the drum and a digital level to ensure the machine isn’t fighting gravity. For deeper technical insights, I highly recommend consulting an expert guide to appliance repair and installation today to see how professional techniques have evolved. Also, before you toss any packaging, find and scan the warranty document you must save before discarding the box into your phone for instant access. #IMAGE_PLACE_HOLDER_E#
Ready to Get Your Machine Spinning Smoothly Again?
Don’t let a bit of mechanical noise intimidate you. Whether you decide to tackle the bearing replacement yourself or decide that scheduling your appliance repair for same-day service in 2025 is the safer path for your model, the important thing is that you took action before the damage became permanent. A well-maintained washer is the heart of a smooth-running home, and catching a bearing issue early is the ultimate budget-saving win. If you’re feeling overwhelmed by the technical steps, you can always contact us for a professional evaluation. Have you ever tried to diagnose a washer noise only to find something completely unexpected, like a stray Lego or a loose coin? Let me know in the comments below—I’d love to hear your stories!