
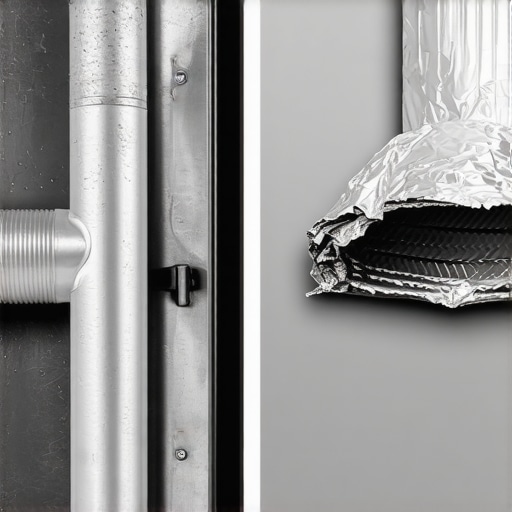
I remember the smell first—a faint, singed-toast odor that wasn’t coming from the kitchen. I pulled my dryer away from the wall, and my heart sank. That flimsy, silver foil “slinky” I’d installed just six months ago was crushed flat against the drywall, packed with enough lint to start a campfire. It wasn’t just inefficient; it was a ticking time bomb. I’d taken a shortcut, and it almost cost me my laundry room. I thought I was being smart by saving ten bucks at the hardware store, but I was actually sabotaging my appliance and my safety. Today, I’m going to show you why ditching that flexible foil for rigid metal pipe is the single most important “boring” home improvement you’ll ever do.
Your Home Deserves More Than a Flimsy Foil Hose
When I first started DIYing my home repairs, I figured all dryer vents were created equal. They all lead outside, right? Wrong. That flexible foil or plastic ducting you see in the “all-in-one” kits is a magnet for lint. Every single one of those little ridges inside the hose acts like a tiny speed bump for air and a perfect shelf for lint to settle on. Over time, that buildup narrows the path until your dryer is gasping for air. This doesn’t just make your clothes take three cycles to dry; it creates a massive fire risk. According to the National Fire Protection Association (NFPA), nearly 16,000 home fires are caused by clothes dryers every year, and failing to clean the lint—often due to poor venting—is the top cause. If you’ve noticed your laundry room getting unusually hot, it’s time to look at why your dryer vent needs a hard pipe upgrade. If you are already struggling with a machine that won’t heat, you might need same-day appliance repair quick solutions with warranty support before you even worry about the pipes.
Is the rigid metal upgrade really worth the hassle?
I’ll be the first to admit that working with rigid metal is a bit more of a headache than just taping a foil hose onto the back of a machine. You have to measure, cut, and fit pieces together perfectly. But here is the thing: once it’s in, it’s practically permanent. Rigid metal has a smooth interior that allows air to zip through at max velocity, which keeps lint from settling in the first place. I made the mistake early on of thinking “tight enough” was fine, but a loose connection can lead to damp air rotting your drywall. That’s why I always recommend looking into an expert guide to appliance repair and installation today to see how the pros handle these junctions. It’s about peace of mind. When you use warranty-backed appliance services you can rely on, they won’t even touch a dryer unless the venting meets local building codes—which increasingly require rigid metal. Have you actually checked the state of the hose behind your dryer in the last six months?
Pick Up the Right Pipe and Ditch the Tape
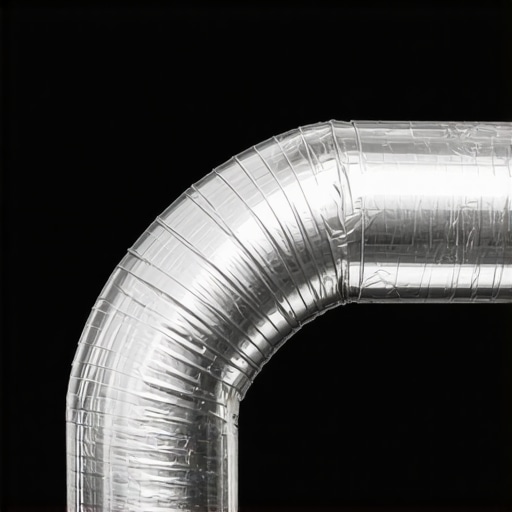
To start, you need 4-inch rigid aluminum or galvanized steel pipe. Avoid the semi-rigid stuff if you can—it’s better than foil, but it still has those interior ridges. You want the smooth stuff. When I first started, I didn’t realize that rigid pipes come in sections that you have to snap together. It’s like a giant, metallic puzzle. If you’re feeling overwhelmed by the sheer volume of parts at the hardware store, remember that how to ensure reliable appliance installation in 2025 starts with using materials that won’t degrade under heat.
Stop Using Sheet Metal Screws Right Now
This is the biggest mistake I see DIYers make. They think screws make the connection stronger. In reality, those screw tips poke into the inside of the pipe and act like little hooks for lint. Within three months, you’ll have a massive clog. Use high-quality foil tape instead. It’s heat-resistant and provides a permanent seal without creating internal obstructions. I learned this the hard way when I had to pull apart a system I’d built with screws only to find it choked with fuzz. If you’ve already noticed your dryer struggling, it might be due to the drum roller wear that makes your dryer sound like a train, but often, it’s just poor airflow.
My Blood-Stained Lesson in Cutting Metal
I’ll never forget the Saturday I spent trying to force a 24-inch pipe into a 22-inch gap. I was frustrated, skipped the work gloves, and ended up with a nasty slice from the jagged edge of the pipe. Wear gloves. Use sharp tin snips to make your cuts, and always ‘crimp’ the end of the pipe that’s going inside the next piece. This ensures the air flows with the joints, not against them. If you’re not comfortable with metalwork, looking for fast trustworthy appliance installation near you is a valid way to ensure the job meets code without needing a first-aid kit. 
Seal Every Single Joint Like a Pro
Once your pipes are fitted together, wrap every seam with UL-listed foil tape. Do not use standard duct tape—ironically, duct tape is terrible for actual ducts because the adhesive dries out and fails under the constant heat cycles of a dryer. A proper seal prevents moisture from leaking into your walls. This is a key step often mentioned in any expert guide to appliance repair and installation today. If your machine is already acting up, don’t wait for a fire; seek out same-day appliance repair quick solutions with warranty support to clear any internal clogs before you hook up your shiny new venting system.I’ve seen plenty of homeowners brag about their DIY prowess, but there’s a nuance to appliance ownership that most people miss until it’s too late: the liability factor. Most people assume that if they install a dryer themselves and it breaks, the manufacturer is obligated to fix it. That is a dangerous assumption. In my experience, manufacturers look for any reason to deny a claim, and an uncertified or non-code-compliant vent installation is a classic scapegoat. If you want to protect your investment, you need to understand how to ensure reliable appliance installation in 2025 by documenting every step of your process. If you aren’t a certified pro, you’re taking a calculated risk with your coverage. According to data from the Association of Home Appliance Manufacturers (AHAM), improper installation and maintenance account for a significant percentage of service calls that are ultimately deemed “non-warrantable.” This is often the reason your warranty claim was denied even when the machine itself is relatively new.
Can your DIY vent upgrade actually void your manufacturer’s protection?
The short answer is: possibly. If a service technician finds that your dryer’s thermal fuse blew or the motor burned out because of a DIY ducting job that restricted airflow, you’re on the hook for the entire repair bill. This is why I often suggest that for high-end machines, you seek affordable same-day appliance fixes with warranty benefits from certified shops. They provide the professional paperwork that acts as your legal shield against claim denials. One major “oops” factor is the lack of a consistent paper trail. You might have the best rigid metal pipe in the world, but if you don’t keep the one maintenance record that saves your appliance warranty claim, you’re flying blind during an inspection. Write down the dates you vacuumed out the pipes. Take photos of the clean lint trap and the exterior vent hood. If you ever have to challenge a claim rejection, this evidence is gold. Another nuance is the “Same-Day Service” trap. People call an emergency line and expect the machine to be running by dinner. But what to expect from same-day appliance repair experts is usually a fast diagnosis, not necessarily a fast part arrival. True pros will tell you that same-day means they prioritize your call, but specialty control boards or custom gaskets still take time to ship. Have you ever fallen into this trap of expecting an instant fix and getting stuck with a week-long wait? Let me know in the comments. Knowing these little details—the difference between a repair and a diagnosis—separates the savvy homeowner from the one who ends up with a massive bill and a pile of wet laundry.
Speaking of those details, the right equipment makes or breaks the installation. I learned the hard way that trying to piece together rigid metal pipe with just your bare hands and a prayer leads to air leaks and frustration. If you’re serious about this upgrade, you need a 5-blade duct crimper. I personally use a Malco C5 because it creates a deep, consistent crimp that allows the pipes to slide together easily without snagging. Without it, you’re essentially trying to jam two identical cylinders into one another, which leads to gaps and sharp edges. You’ll also want to double-check that you’re using the correct wire gauge for your new electric dryer while you have the unit pulled out, as many DIYers forget that a high-efficiency machine still requires a rock-solid electrical foundation.
The Specialized Tools That Save My Knuckles
Another non-negotiable for me is UL 181A-P foil tape. Standard duct tape is a joke in the HVAC world; the adhesive literally melts and sludges off after a few months of dryer heat. This specialized foil tape creates a permanent bond that can handle the thermal expansion and contraction of the metal. According to Section M1502.4 of the International Residential Code (IRC), dryer exhaust ducts must be constructed of at least 0.016-inch-thick rigid metal with a smooth interior. Using the right tape ensures you’re meeting that code. While you’re at it, don’t overlook the terminal—the part that goes through the wall. If your current hood is a ‘louvered’ style with those thin plastic flaps, swap it for a wide-mouth vent with a magnetic seal. It keeps the drafts out and allows lint to escape more freely.
How do I keep my rigid vent running for a decade?
Maintenance isn’t just about cleaning; it’s about documentation. Knowing how to prove periodic maintenance to keep your warranty valid is the difference between a free repair and a massive out-of-pocket bill. I recommend a simple semi-annual ritual: unhook the vent from the back of the dryer and use a vacuum with a long hose attachment to clear out any stray fuzz. If you ever feel the machine getting too hot, it’s worth learning about the thermal switch reset that brings your dryer back to life, but remember that a tripped switch is usually a symptom of the airflow issues we’re trying to prevent here. Always try to maximize your appliance warranty during emergency repairs by keeping a log of these cleanings, including photos of the clear pipe interior.
Smart Sensors Will Replace Your Lint Brush Soon
I predict that within the next five years, we’ll move away from manual inspections entirely. We are already seeing the emergence of smart backpressure sensors that integrate with home automation hubs. These devices monitor the static pressure inside your metal ducting and send a push notification to your phone the second they detect a 10% drop in airflow efficiency. It’s the future of home safety. In the meantime, you can use the moisture sensor trick for perfectly dry laundry every time to ensure your machine isn’t running longer than it needs to, which saves both energy and wear on your new venting system. Before you finish for the day, go to your backyard right now and see if your vent flap opens fully when the dryer is on; if it’s stuck or only halfway open, that is your immediate priority.
What No One Tells You About Living with Rigid Metal Pipes
After years of tinkering, I’ve realized that the real benefit of this project isn’t just shorter drying times—it’s the incredible peace of mind. A rigid system doesn’t whistle, vibrate, or collapse under its own weight. More importantly, I’ve learned that airflow is the literal heartbeat of your appliance. If you ignore it, you’re not just wasting electricity; you’re putting unnecessary stress on the motor and heating element. I also discovered through a few tough conversations that many homeowners lose their coverage because of ‘non-standard’ or ‘DIY’ setups that don’t meet the IRC code. Always take a moment to review the wear and tear clauses that might void your warranty before starting a major modification. Finally, remember that your time is valuable. If a project feels like it is escalating beyond your skill level, there is zero shame in calling for fast trustworthy appliance installation near you to ensure your home is protected.
The Three Things I Keep in My Tool Bag
If you want a professional-grade finish that lasts for a decade, don’t skimp on the gear. First, get a quality 5-blade crimper; it makes the difference between a leaky, frustrating joint and a seamless connection that snaps together like a glove. Second, I always keep a fresh roll of UL 181A-P foil tape—it is the only adhesive that actually survives the constant heat cycles without turning into a sticky mess. Third, I highly recommend keeping a dedicated maintenance folder. This simple habit helps you understand how to ensure reliable appliance installation in 2025 while keeping your records ready for any future insurance or warranty inspections. If you happen to be unboxing a brand new unit and find damage, make sure you know how to document a dead on arrival appliance for a full refund before you even think about attaching the venting.
Your Path to a Faster and Safer Laundry Day
Upgrading your home doesn’t always have to involve a massive kitchen remodel or expensive new flooring. Sometimes, the most satisfying and impactful project is the one hidden right behind the machine. By realizing exactly why your dryer vent needs a hard pipe upgrade, you have already taken a massive step toward protecting your household from fire hazards and extending the life of your appliance. Don’t let another month go by with a flimsy, lint-clogged foil hose—swap it out this weekend and feel the difference in every load of laundry. Have you ever checked behind your dryer and found a ‘lint mountain’ waiting for you? Let me know in the comments how you handled your first vent cleaning!