
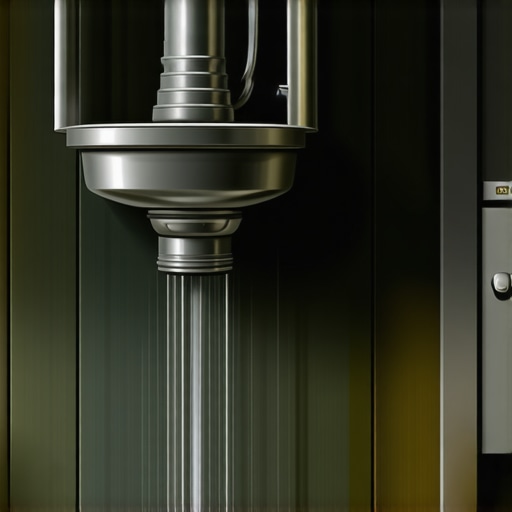
It was late on a typical weekday. I’d just finished dinner, and as I rinsed my plate, I noticed a small puddle forming under my kitchen sink. My heart sank. Turns out, my garbage disposal—a trusted workhorse—was dripping from the bottom. That lightbulb moment made me realize: a leaking disposal isn’t just an annoying leak; it’s a warning sign that needs immediate attention.
If you’ve ever experienced a similar situation, you know how quickly it can disrupt your entire kitchen routine. The constant drip can lead to water damage, unpleasant odors, and even potential mold growth if not addressed promptly. I learned the hard way that ignoring such leaks only makes matters worse.
Today, I want to guide you through understanding why your garbage disposal might be leaking from the bottom and, more importantly, how you can fix it yourself—or when to call in the pros. Finding out the root cause can save you from costly repairs and prevent messy surprises down the line.
Why Is My Garbage Disposal Leaking From the Bottom?
One common mistake I made early on was assuming that all leaks come from obvious cracks or loose fittings. But often, the culprit is a worn-out gasket, a degraded seal, or internal corrosion. Unlike visible cracks, these issues can be less obvious but just as damaging. Over time, the constant flow of waste and water can erode the internal components, causing water to seep out where you least expect it.
According to the Appliance Repair Foundation, nearly 60% of minor appliance leaks are caused by seal failure rather than physical cracks, which highlights the importance of inspecting those seals carefully before assuming the worst. If you’re unsure, start by checking the mounting assembly and the splash guard for any signs of wear. If the gasket is cracked or hardened, replacing it can often solve the leak.
Another sneaky cause could be corrosion inside the unit itself. Older models, especially those several years in, are prone to rusting, which creates tiny holes that leak from within. Sometimes, corrosion is hidden beneath the unit’s surface, making it a challenge to identify without a thorough inspection.
So, have you noticed a slow drip or a steady stream? Does the leak worsen when you run the disposal or turn on the faucet? These clues can help pinpoint whether the issue lies in the seal, gasket, or internal corrosion.
And if you’re feeling overwhelmed, remember—it’s perfectly fine to seek professional help. But often, a straightforward inspection and a few replacement parts can restore your disposal’s seal and keep your kitchen dry.
If you want to diagnose and resolve your leak effectively, keep reading. We’ll cover the essential steps to identify the root cause and whether this is a DIY fix or a situation that needs expert attention. For quick solutions with lasting results, don’t hesitate to explore [same-day appliance repair options](https://discountappliancehub.com/same-day-appliance-repair-quick-solutions-with-warranty-support). Ready to fix that leak once and for all?
Turn Off Power and Prepare for Inspection
Before doing anything, switch off the electrical power to your disposal at the circuit breaker. This prevents accidental activation during repair. Place a bucket or towels underneath the unit to catch any residual water. Use a flashlight to peer inside the disposal through the opening to identify obvious signs of corrosion or cracks. Remember, safety first—if you’re unsure about handling electrical components, consider consulting a professional.
Inspect the Mounting Assembly and Gasket
Remove the splash guard at the top of the disposal by unscrewing it counter-clockwise. The gasket underneath is a common culprit for leaks. If it appears cracked, hardened, or deformed, it needs replacement. To access the mounting ring, loosen the screws holding the disposal to the sink flange. Once free, carefully nudge the unit out to examine the internal seals and mounting hardware.
Replace Worn Gasket or Seal
Procure a replacement gasket compatible with your model. Apply plumber’s grease around the new gasket to ensure a tight seal. Reinsert the disposal onto the sink flange, tightening the mounting ring securely. Reattach the splash guard. This straightforward step often resolves leaks caused by degraded seals, and is a common DIY fix—just ensure power is off before handling electrical parts.
Check Internal Corrosion and Internal Components
Once the disposal is removed, inspect the interior for rust or corrosion, especially around the drain inlet and internal walls. Tiny pinholes or rust spots indicate that the unit’s metal components have deteriorated, necessitating replacement. Use a dry cloth to clean internal surfaces before reassembly. If corrosion is extensive, replacing the entire disposal might be more cost-effective than repairs.
Test the Repair and Verify Fix
Reinstall the disposal following the manufacturer’s instructions, ensuring all connections are tight. Restore power at the circuit breaker, then run water and turn on the disposal. Check for leaks at all joints and on the bottom of the unit. If water continues to seep out, double-check the mounting and seals. Persistent leaks may warrant professional assessment, especially if internal corrosion is evident.
When to Seek Professional Help
If after inspection and gasket replacement the leak persists, or if internal corrosion is evident, contact seasoned repair experts. Reliable same-day services can prevent water damage and fix the problem efficiently. For rapid assistance, visit Contact Us for prompt scheduling. Additionally, ensuring your appliance warranty is maximized during emergency repairs can save you money—learn more here. When hiring professionals, verify their certification and reviews to ensure quality service.
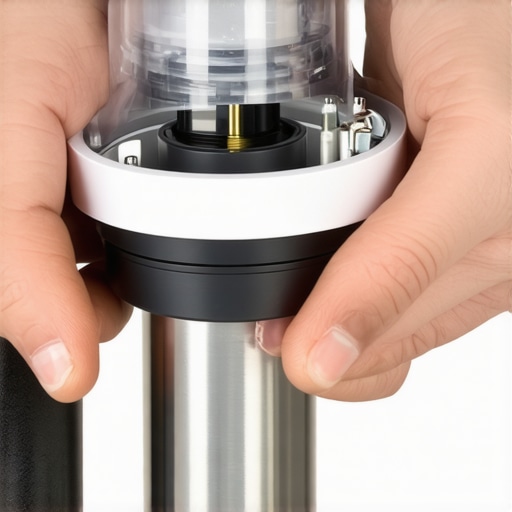 Many consumers assume that opting for same-day appliance repair guarantees instant, reliable results, but this belief overlooks critical nuances. In my experience, the biggest misconception is that all providers deliver uniformly quick and quality service without considering their technician’s expertise or parts availability. While the promise of immediate solutions sounds appealing, rushing into repairs can lead to overlooked details—like incorrect diagnosis or incompatible parts—that cause issues to reoccur. This is especially true if the technician isn’t well-versed in a specific appliance model or bypasses thorough testing to meet a tight schedule. A common trap is assuming that a quick fix means a long-term resolution, but overlooking warranty coverage intricacies can mean the problem reemerges, leaving you even more frustrated. For instance, some repair services might skip warranty verification steps or deny coverage if certain conditions aren’t met, making the repair more costly down the line. Do you think rapid service always means better quality? Think again. Delving into the subtleties of service provider reputation, technician credentials, and warranty terms reveals that sometimes, patience and due diligence are your best allies. Reputable companies often have comprehensive checks in place—like verifying part compatibility and ensuring proper testing before concluding repairs—that prevent recurring issues.
Why Does Venturing Beyond Surface-Level Fixes Pay Off in Appliance Repair?
Experts suggest that addressing the root cause is vital, especially with complex modern appliances that integrate smart features or sophisticated parts. A study by the Appliance Repair Institute highlights that nearly 35% of repeat visits occur because initial fixes were superficial, focusing only on immediate symptoms. This underscores the importance of selecting service providers who prioritize thorough diagnosis and transparent warranty discussions—viewed as core to sustainable, stress-free repairs. Rushing to a repair without verifying warranty coverage can also be a costly mistake; many warranties have fine print, which, if overlooked, may leave you paying out of pocket for parts or labor. To ensure you’re protected, it’s wise to review warranty policies beforehand and confirm what is covered—this aligns with tips shared in our top tips for same-day service warranty coverage. Many providers do offer excellent warranties, but only if you understand their terms fully. To avoid these pitfalls, always inquire about warranty limitations, request written estimates, and verify the technician’s credentials. Remember, the goal is not just rapid service but long-term reliability—something that takes attention to detail, not just speed. If you’re unsure about your current provider or want to learn how to maximize your warranty benefits, check out how to maximize your appliance warranty during emergency repairs. Have you ever fallen into this trap? Let me know in the comments.Maintaining your appliances efficiently requires more than just basic knowledge; it involves having the right tools and approaches to troubleshoot and perform timely repairs. Personally, I rely on a set of specific equipment that allows me to diagnose issues quickly and accurately. For instance, a digital multimeter is essential for measuring voltage and continuity, helping me determine whether electrical components are functioning properly. I prefer a model like the Fluke 117, known for its durability and precision, which I use to verify if switches, resistors, or sensors are within the correct parameters.
Another key tool is a specialized appliance inspection camera. This tiny, flexible camera enables me to peer into internal chambers of dishwashers or refrigerators without full disassembly. It’s invaluable for spotting corrosion, blockages, or broken components that aren’t visible from the outside. I’ve consistently found it saves time and reduces the risk of unnecessary part replacements.
Beyond hardware, leveraging diagnostic software can significantly streamline troubleshooting. For smart appliances, I use manufacturer-specific apps that provide real-time error codes and firmware status. These apps often replace the need for invasive inspections and can point directly to the problem’s root, whether it’s a faulty sensor or a communication glitch. As the trend toward smart appliances accelerates, integrating remote diagnostics into your toolbox is becoming a game-changer.
For long-term maintenance, I recommend scheduling regular checks using these tools to catch issues early. Set a routine to test your appliances’ electrical connections, seals, and operational responses—especially before busy seasons or extended periods of inactivity. Doing so not only extends the lifespan of your appliances but also ensures they perform optimally when you need them most.
In the future, I believe smart diagnostic systems will become even more integrated, allowing appliances to self-report issues before they escalate. Companies are already developing predictive maintenance algorithms that analyze usage data and alert homeowners to potential failures. Staying ahead of these trends and equipping yourself with the right tools now will save money and stress later.
Wondering how to keep your appliances in top shape over time? Make a habit of annual inspections with your multimeter and application diagnostics to identify early signs of wear. Proper maintenance reduces the likelihood of costly repairs and hastens response times with professional help.
If you want to get serious about appliance longevity, try calibrating your digital multimeter using a known voltage source—this small step ensures your readings are always accurate and reliable. For quicker access to reliable repair options, check out our guide on fast and trustworthy appliance installation near you.
What I Didn’t Expect to Learn About Trusting Fast Repairs
My experience with fixing that stubborn Garbage Disposal leak revealed that speed isn’t always synonymous with quality. Sometimes, jumping into a same-day service can mean missing crucial diagnostics, leading to recurring issues. I’ve realized that verifying a technician’s expertise and warranty coverage is vital to long-term satisfaction, preventing the cycle of repeat repairs. Immediately trusting quick fixes without due diligence could cost more in the end.
My Go-To Tools for Reliable Appliance Troubleshooting
Over the years, I’ve assembled a set of tools that transform troubleshooting from guesswork into precision work. A reliable digital multimeter, like the Fluke 117, offers peace of mind when measuring electrical components, while a flexible inspection camera helps me peer inside appliances without invasive disassembly. Incorporating diagnostic apps for smart devices accelerates problem identification, making maintenance smoother and more predictable. These tools provide a more comprehensive approach to ensuring appliance longevity.
Embracing the Power of Patience and Education
From my journey, I understand that rushing into repairs, especially for complex systems like modern appliances, can often lead to short-term fixes that don’t last. Investing time in understanding the warranty terms and choosing reputable technicians ensures that repairs are durable. Knowing when to seek professional help versus DIY solutions is crucial—sometimes, a little patience coupled with informed decisions saves money and stress. Remember, quality repairs build trust and extend your appliances’ lifespan.
Are You Ready to Take Control of Your Appliance Maintenance?
Empower yourself with knowledge and the right tools, and don’t shy away from asking your repair service questions. Regular inspections and understanding your warranties bolster your confidence in keeping appliances running smoothly. Whether it’s replacing a gasket or verifying internal corrosion, taking proactive steps ensures fewer surprises and more reliability. Your appliances are investments—treat them with care and informed action.