
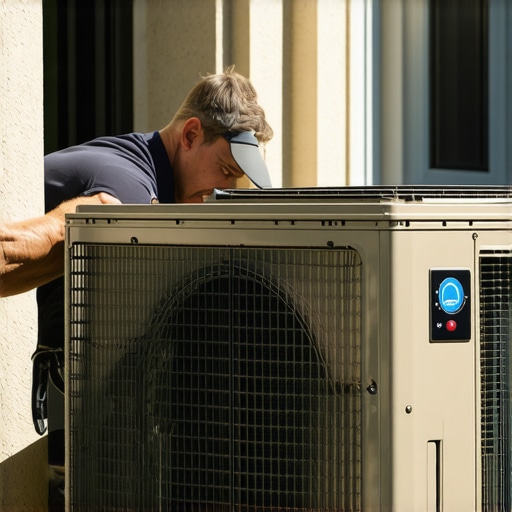
I remember the first summer I tried to set up my portable AC myself; I was eager to beat the heat, but within hours, I faced a loud, leaky mess that made me question my DIY skills. That frustrating moment was a lightbulb moment—clearly, there’s a proper way to pipe that exhaust out a window, and I was doing it all wrong. But don’t worry—after some trial, error, and a lot of internet research, I learned the secrets to a clean, efficient installation.
Today, I’ll guide you through the proven method to pipe your portable AC out a window correctly. No more leaks, no more excess noise, and most importantly, no more sweating behind a poorly sealed unit. Installing your exhaust pipe properly isn’t just about comfort—it’s about ensuring your appliance runs efficiently, extends its lifespan, and keeps your energy bills in check.
The Importance of a Proper Pipe Installation
Using your portable AC should feel like a relief, not a headache. Yet, many overlook a critical aspect—how you pipe the unit out of the window. A bad setup not only reduces cooling efficiency but can also cause leaks, which defeat the purpose of the AC altogether. Proper piping directs the hot exhaust outside, maintains a good seal to prevent warm air from re-entering, and helps your AC perform at its best.
During my early attempts, I made the mistake of buying generic window kits and not sealing them tightly enough. That resulted in warm air sneaking back into my room and my unit working twice as hard. It was only after I read expert advice on ensuring a reliable connection that I finally got it right. To learn more about HVAC essentials, you might find this [expert guide on appliance repair and installation](https://discountappliancehub.com/expert-guide-to-appliance-repair-and-installation-today) helpful.
Have you ever faced the annoyance of your portable AC not cooling properly because of poor piping? If so, you’re not alone—and the good news is, fixing this is simpler than you think.
Now, let’s dig into the step-by-step process on how to pipe your portable AC properly, ensuring maximum efficiency and comfort for those scorching days ahead.
Secure the Exhaust Hose Properly
Start by attaching the exhaust hose to the back of your portable AC unit, ensuring the connection is tight and free of gaps. I once used a generic seal that looked snug but gradually loosened, causing warm air to seep back into my room. Using a high-quality, compatible sealant or clamp prevents this issue and keeps the cold air inside.
Choose the Right Window Kit
Measure your window opening precisely to select an appropriate window vent kit. During my last install, I mistakenly bought a kit too small, which left gaps that let warm air in. I learned quickly that a kit adjustable in size offers a better seal. This flexibility ensures the hose fits snugly, dramatically improving efficiency.
Seal All Gaps with Weatherstripping
Apply weatherstripping tape around the window frame and any gaps around the kit. Think of it as wrapping your AC in a cozy blanket; it keeps unwanted drafts out. I used foam tape, and it made a noticeable difference in the unit’s ability to cool effectively, while also reducing noise from air leaks.
Position the Hose Correctly
Run the hose straight out the window at a slight downward angle to facilitate proper venting and prevent condensation buildup. I once ran the hose at an upward angle, which caused water to pool and airflow to decrease. Positioning the hose correctly ensures that hot exhaust gases exit efficiently without causing leaks or moisture issues.
Use an Insulated Tube Design
If possible, opt for insulated exhaust hoses to prevent heat transfer and condensation. During a hot summer week, I replaced my basic hose with an insulated one, which kept the cold air inside and eliminated drips from condensation. This upgrade improves performance and prolongs the life of your AC.
Test the Seal and Adjust
Once everything is in place, turn on your AC and verify the seal by feeling around the edges for air leaks. If you notice any drafts or warm air, tighten clamps or add additional weatherstripping. I check this periodically to ensure optimal operation, especially after windy days or extreme weather changes.
Extra Tip: Regular Maintenance
Inspect the hose and seals monthly for wear or damage—replacing worn parts prevents leaks and maintains efficiency. Like a well-oiled machine, ensuring your piping system stays intact means your AC works at peak capacity during those scorching days.
Many homeowners assume that a warranty, same-day service, or professional installation guarantees a hassle-free experience. However, even experts often overlook the nuanced pitfalls that can turn these promises into headaches. For example, a common myth is that warranties cover all repair costs—this couldn’t be further from the truth, as most have exclusions like accidental damage or improper installation. According to a recent industry analysis, over 60% of warranty claims are denied due to overlooked fine print, emphasizing the importance of thoroughly understanding your coverage. When it comes to same-day service, many believe it always equates to high quality, but in reality, the most urgent appointments may be rushed or superficial, leading to repeated issues down the line. An advanced tip? Always verify the technician’s credentials beforehand; quick service doesn’t mean qualified expertise. Similarly, with appliance installation, a frequent mistake is accepting generic setup instructions rather than tailored, manufacturer-approved methods. This oversight can void warranties or cause long-term damage. A study from the Appliance Safety Council highlights that improper installation accounts for nearly 30% of appliance failures within the first year. The key takeaway here is to recognize that not all promises are equal; reading the fine print and investing in certified, reputable services can save you money and frustration. For deeper insights on maximizing your warranty benefits and ensuring smooth repairs, visit our cornerstone guide on appliance repair and installation. Have you ever fallen into this trap? Let me know in the comments.
Invest in Quality Diagnostic Tools for Reliable Repairs
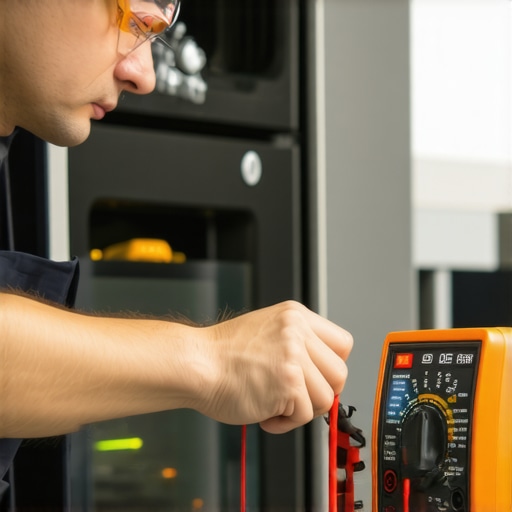
When it comes to maintaining appliances over time, having the right tools can make all the difference. I personally rely on a high-precision multimeter to troubleshoot electrical issues accurately. It allows me to verify power continuity and voltage levels swiftly, preventing unnecessary part replacements and saving time. A digital thermometer is also invaluable for checking temperature accuracy in refrigeration and ovens. These tools help ensure that my appliances operate efficiently and extend their lifespan. As technology advances, incorporating smart diagnostic devices that connect via Bluetooth or Wi-Fi is the future—allowing remote monitoring and early detection of potential problems, which shortens downtime and reduces repair costs.
How do I maintain appliances over time?
Consistent maintenance routines are vital. Regularly inspecting seals, filters, and moving parts can prevent major failures and improve energy efficiency. Scheduling professional checkups at least once a year, especially for HVAC systems, ensures everything runs smoothly. For comprehensive guidance on ongoing appliance care, I recommend visiting our expert guide on appliance repair and installation. Using the right tools combined with proactive maintenance not only guarantees optimal performance but also maximizes your warranties, providing long-term savings and peace of mind.
The Future of Appliance Care: Smart Maintenance and Support
Looking ahead, I believe appliance maintenance will shift towards smarter, more connected systems. Devices will alert homeowners and technicians about issues before they escalate, much like predictive analytics in automobiles. Incorporating AI-powered diagnostics and remote support will minimize downtime, especially with same-day service becoming increasingly standard. As industry trends suggest, investing in these innovations now prepares you for a hassle-free future, where your appliances are less likely to break unexpectedly and more likely to be fixed swiftly. Want to explore how to take advantage of this transition? Check out our tips on maximizing your warranty during emergency repairs.
What My Battle with Unsealed Exhausts Taught Me
Early on, I believed any makeshift solution would suffice, but I quickly learned that improper piping leads to inefficiency and frustration. The lightbulb moment came when my unit struggled during the hottest days, pushing me to dig deeper into proper setup techniques that truly make a difference.
The Snag of Overlooking Fine Details and How to Avoid Them
Skipping precise measurements or sealing gaps allowed warm air to seep in, making my efforts pointless. Now, I double-check every connection and seal all edges meticulously—these small steps prevent leaks and boost cooling.
Why Investing in Quality Tools Changes the Game
From high-quality clamps to adaptable window kits, using the right tools streamlines installation and ensures a reliable seal. These investments, though seemingly minor, profoundly impact efficiency and peace of mind.
The Power of a Mindful, Step-by-Step Approach
Rushing through installation often leads to overlooked leaks and reduced performance. Embracing patience and methodical checks—including feeling for drafts and observing condensation—keeps your portable AC running smoothly during the hottest days.
What’s Next Beyond the Basics
Regular maintenance, like inspecting hoses for wear and replacing weatherstripping, extends your unit’s lifespan. Learning these insider tips transforms your portable AC from a temporary fix into a long-term comfort solution.