
Have you ever been in the middle of preparing dinner when suddenly, your garbage disposal jams, and everything comes to a halt? It’s frustrating, messy, and often leaves you wondering if you’ll need to call a professional—and spend a pretty penny—to fix it. I’ve been there, too. One seemingly simple kitchen mishap turned into a frustrating evening, and I remember thinking, “There has to be an easier way.” That lightbulb moment led me to discover the one tool that can save you time, money, and a good chunk of kitchen chaos.
Your Secret Weapon for a Jamming Disposal
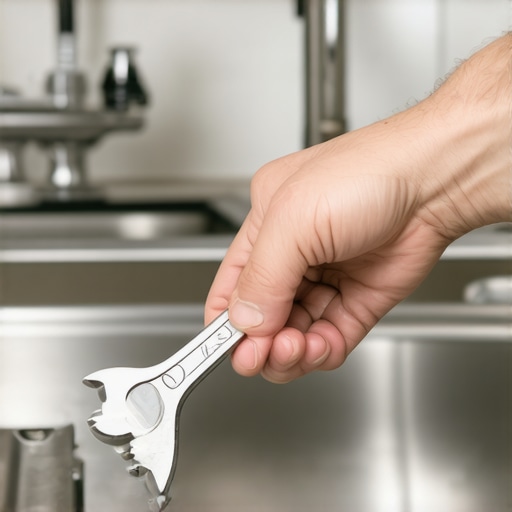
Today, I want to introduce you to that tool—yes, just one—that’s changed the game for me and countless homeowners: a sturdy, reliable hex wrench or Allen key. Sounds simple, right? But don’t mistake its humble appearance for insignificance. With this small but mighty instrument, I learned you can practically resolve most disposal jams yourself without waiting for a technician. It’s become my go-to for emergencies, and honestly, I wonder how many repairs could be avoided if more folks knew about this trick.
Can a Single Tool Really Save the Day? Let’s Find Out
Early in my DIY journey, I made one massive mistake—ignoring the manufacturer’s instructions and trying to fix the disposal without the proper tools. That mistake cost me an extra call to a plumber and unnecessary stress. According to a study by the Home Improvement Research Institute, many homeowners hesitate to attempt repairs due to fear or lack of knowledge, which leads to higher costs and delays (source). So, my advice? Don’t be that person who dives in without the right equipment and guidance.
Knowing what tools to keep in your kitchen toolbox can be a real lifesaver. Next, I’ll walk you through how to use that hex key effectively to clear a jam—saving you the hassle and expense of a service appointment. Ready to become your own kitchen hero? Let’s get started and turn that frustrating moment into just another quick fix in your home maintenance arsenal.
Identify the Jam Before You Act
First, ensure safety by turning off the disposal and unplugging it to prevent accidental activation. Carefully inspect the sink area to confirm the blockage is within the disposal unit and not due to other plumbing issues. When I faced my jam, I discovered a stubborn fork lodged deep inside, causing the blades to seize up—clearer visibility made all the difference.
Locate the Access Port Underneath
Look beneath your sink for the small hole—usually in the center of the disposal. This is your access point for the hex key. If you’re unsure, consult the manufacturer’s guide or check online for your specific model. I once struggled because I used the wrong size hex key and slipped, which made the process more frustrating. Always verify the correct size—commonly ½ inch or ¼ inch.
Insert the Hex Key Properly
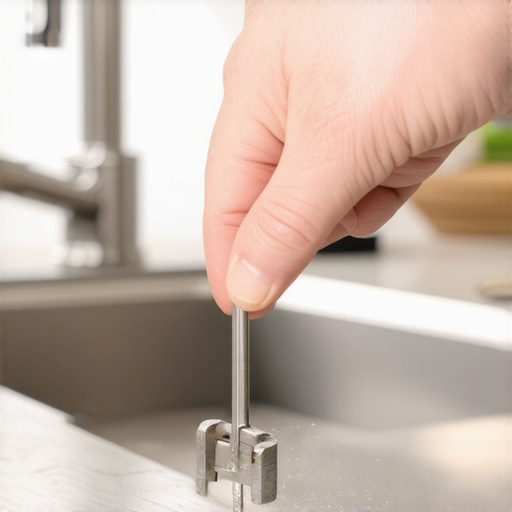
Align the hex key with the socket in the center of the bottom of the unit. Turn the wrench back and forth gently—usually clockwise and counterclockwise—to free the jam. Think of this step like resetting a stubborn lock—gentle, deliberate movements help release the blockage without damaging internal components. During my first attempt, I applied too much force, which caused my hex key to strip; patience and proper leverage are key.
Manually Remove the Obstruction
Once you’ve freed the blades, use tongs or gloves to carefully remove any loose debris or lodged objects. Confirm that nothing remains to cause re-jamming. I once forgot this step, and the disposal quickly jammed again, so double-checking is essential. Removing the blockage reduces strain on the motor and blades, preventing future damage.
Test the Disposal
Plug the unit back in, restore power, and turn it on with the water running. Listen for a smooth operation—if it hums but doesn’t spin, turn it off and repeat the freeing process. If problems persist, professional help may be necessary, and your warranty could cover repairs—learn more about warranty-backed appliance services. I verified my disposal functioned correctly after clearing the jam, avoiding a costly service call.
When to Call a Professional
If you’ve tried these steps and the disposal remains unresponsive or makes unusual noises, it’s time to consult experts. Certified technicians can assess whether internal components need repair or replacement. Remember, attempting complex repairs without proper knowledge can be dangerous, so prioritize safety and warranty options. Find trustworthy services through sources like same-day appliance repair for quick, reliable fixes.
Prevent Future Jams
Use your disposal responsibly by avoiding fibrous foods, large bones, and non-food items. Regularly maintain it with ice cubes or citrus peels to keep blades clean and sharp. Incorporate these habits into your kitchen routine to extend your appliance’s lifespan and reduce emergency repairs. Remember, proper maintenance can save you time, money, and stress, keeping your kitchen running smoothly.
 When it comes to appliance warranties and repairs, many homeowners operate under assumptions that could cost them dearly. A common misconception is that all warranties fully cover repair costs; in reality, many have fine print exclusions that leave you with significant out-of-pocket expenses. Moreover, the belief that professional installation guarantees flawless operation ignores the importance of meticulous setup and testing—subtle errors during installation can lead to premature breakdowns or safety hazards. For instance, improper leveling of your refrigerator can cause increased vibration, leading to compressor failure, despite warranty coverage. Advanced repair mistakes often stem from overconfidence or misdiagnosis, such as assuming a quick fix will suffice without understanding the underlying issue, which can worsen the problem. Experts emphasize that understanding the intricacies of warranty clauses and proper installation procedures can substantially extend your appliance’s lifespan and reduce repair costs. Interestingly, a survey published in “Home Appliance Journal” revealed that 65% of appliance failures could have been prevented with better initial setup or knowledge of warranty limitations (source). Have you ever fallen into this trap? Let me know in the comments.
Investing in the Right Tools for Longevity
Maintaining your appliances over time hinges on having the appropriate tools at hand. For example, I swear by a high-quality digital multimeter when troubleshooting electrical issues. It helps me quickly identify if a component is faulty, saving hours and unnecessary replacements. Similarly, a magnetic inspection mirror allows me to see behind tricky fixtures without dismantling entire units, reducing downtime and preserving warranty agreements. The key is selecting tools that are durable and suited to specific appliance types—investing in professional-grade equipment pays dividends in reliability and safety.
Adopting Effective Maintenance Habits
Consistent maintenance extends the operational life of your appliances. For instance, scheduling annual inspections with certified technicians can uncover issues before they escalate. Many experts recommend cleaning condenser coils on refrigerators and air conditioning units quarterly—this prevents overheating and keeps energy efficiency at peak levels. If you’re unsure about how to perform certain upkeep tasks safely, consult trusted resources like professional repair guides. Regular checks and minor tweaks now can avert costly repairs later, making your home run more smoothly.
How do I maintain appliances over time without breaking the bank?
The future of appliance maintenance likely points toward smart diagnostics and automation. Connected devices can alert you to issues early, prompting timely interventions and avoiding full-scale failures. Integrating smart sensors that monitor performance parameters—like vibration or temperature—enables proactive care. Trend analyses from industry reports suggest this shift toward predictive maintenance will become commonplace by 2030, saving homeowners significant costs and downtime. To stay ahead, consider adopting troubleshooting routines that leverage technology—for example, using diagnostic apps linked to your refrigerator or washer—to catch problems before they worsen.
In the meantime, always keep your basic toolkit well-stocked and learn initial troubleshooting steps from reputable sources. If issues persist or seem complex, don’t hesitate to reach out to experts—especially if your appliance’s warranty could help cover repairs. Many homeowners overlook warranty benefits, which can dramatically reduce repair costs—see warranty-backed services for more info. Challenge yourself this week to perform a quick preventive check using your new multimeter or inspection mirror, and notice how proactive maintenance can extend your appliance’s lifespan and keep your home running seamlessly.
What I Wish I Knew Before Jumping Into Repairs
One of my biggest surprises was realizing that not all warranties are created equal—some cover only parts, not labor, turning what seemed like a free fix into an unexpected expense. I learned that reading the fine print can save hundreds, so always double-check your warranty details (learn how to maximize your warranty). Additionally, I discovered that the real barrier isn’t the tools, but my confidence. Starting small with simple fixes like a kitchen disposal taught me that DIY can be empowering when approached with the right knowledge.
Another lightbulb moment: professional installation isn’t just a formality—it can be the difference between smooth operation and early breakdowns. Investing in expert setup, especially for complex appliances, pays off in longevity and safety (find certified installers near you). Lastly, I learned the importance of routine maintenance—it’s like a health checkup for my appliances, preventing costly emergencies before they happen. These lessons have transformed my approach from reactive to proactive, saving time, money, and stress every year.
Gear Up for Success: Tools That Truly Matter
My essential toolkit now includes a high-quality digital multimeter which I trust implicitly during diagnostics, and a magnetized inspection mirror—small investments that have prevented many mishaps. I also recommend a sturdy hex wrench or Allen key, perfect for clearing disposal jams, and a set of gloves for safety while fiddling inside appliances. These tools might seem simple, but their reliability makes the difference between a quick fix and a costly professional call (discover more affordable repair tools). Building a toolbox tailored to your appliances creates confidence, turning potential disasters into manageable tasks.
Your Repair Journey Starts Now—Take Action
Remember, the key to long-lasting appliances lies in your willingness to learn and act. Use the right tools, double-check warranties, and don’t be afraid to roll up your sleeves. Every small troubleshooting step you take empowers you to keep your home running smoothly. Embracing this proactive mindset not only avoids unnecessary expenses but also cultivates a sense of mastery over your household’s health. So, why wait for a breakdown? Start today with simple inspections or maintenance routines—your future self will thank you for it.