
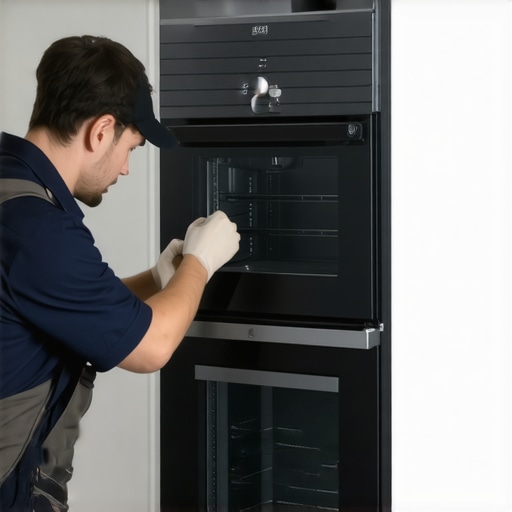
Imagine this: you’re eagerly waiting for your dinner to finish baking, when suddenly, you notice your wall oven tilting slightly to one side. Panic creeps in. You realize that a seemingly small installation detail might be the cause of this wobble—and worse, potential safety hazards. I’ve been there myself, frustrated by the wobbling oven that just wouldn’t stay put, despite countless attempts to level it. That lightbulb moment led me down a path to discover a crucial installation step that many overlook but is essential for safety and longevity.
Why Skipping a Simple Step Can Lead to Big Problems
When installing a wall oven, it’s tempting to focus solely on the aesthetic aspects—making it look perfect and level. But what I learned quickly is that a little extra precaution can prevent a lot of headaches later. The step we’re talking about is a straightforward yet often neglected measure to ensure your oven doesn’t tip or shift over time. Not only does this maintain proper alignment, but it also helps prevent instability that could compromise your safety and the appliance’s functionality.
Interestingly, according to appliance safety experts, improper installation is a common reason for appliance malfunctions or accidents, highlighting the importance of following all installation steps meticulously (source). Missing this crucial step might seem minor, but it can lead to uneven wear, damage, or worse—an unstable oven that might fall out during heavy use.
Do you recall experiencing a situation where your wall oven shifted or wobbled unexpectedly? If yes, you’re not alone. Many homeowners face this dilemma, often because of overlooking that seemingly simple installation detail. Today, I’ll share the key step that I wish I had known sooner—the one that keeps your wall oven securely in place, ensuring safety and peace of mind for years to come.
Ensure Proper Frame Support Before Mounting
Start by confirming that the wall cavity can support the oven’s weight. Use a stud finder to locate studs or solid framing members where the oven bracket will be attached. If attaching to drywall alone, consider installing reinforcement plates or backing beams to prevent shifting over time. Think of this step as laying a sturdy foundation before building a house—skipping it can lead to uneven installation and potential safety hazards.
Install the Mounting Brackets Correctly
Carefully follow the manufacturer’s instructions to secure the mounting brackets onto the wall. Use high-quality screws and ensure they’re driven into the studs or reinforced framing. Remember, this is like anchoring a heavy painting—you want it to hang securely and prevent any movement. I once attempted to skip securing brackets tightly, resulting in a slight wobble that became more pronounced over weeks, reminding me of the importance of doing it right the first time.
Use Leveling to Achieve a Perfect Alignment
After attaching the brackets, place the oven into position and check its alignment with a spirit level. Adjust the brackets as needed to make the oven perfectly level. Imagine balancing a seesaw; even a small tilt can cause the oven to appear misaligned and wobble during use. I learned this firsthand when I failed to level my oven—every time I opened the door, it would tilt slightly, causing frustration and uneven baking.
Apply Shims Thoughtfully to Stabilize
If there are gaps between the oven and the wall frame, insert shims behind the brackets to fill these spaces. Secure these shims with the brackets and screws. Think of shims as the cushions that prevent wobbling—without them, the appliance can shift or vibrate excessively. During my last installation, I used wood shims to fill uneven gaps, which kept the oven steady and prevented any movement during heavy cooking sessions.
Double-Check Safety and Stability
Once everything is installed, test the oven’s stability by gently pressing on different sections. Confirm there’s no movement or creaking under pressure. This final step is like testing a chair before sitting—ensuring safety and confidence in the installation. Remember, a wobbling oven not only risks damage but can also be a safety hazard, especially during busy cooking times.
Document Your Work and Keep Records
Finally, take photos of the installed brackets and leveling steps. This documentation can be useful if you need warranty services or future inspections. Proper installation can help you avoid disputes and ensure long-term safety. For additional tips on reliable appliance setups, check out this guide.
 While many homeowners believe that a warranty guarantees free repairs for any appliance issue, the reality is more nuanced; warranties often come with exclusions, limited coverage, or specific conditions that catch even cautious consumers off guard, leading to unexpected out-of-pocket costs and frustration. Similarly, the promise of same-day service is frequently misunderstood; it doesn’t always mean an immediate technician arrival but rather prioritized scheduling, which can be delayed during peak times or due to technician shortages. Many assume that professional installation is a simple process, yet overlooking the importance of precise framing, electrical connections, and adherence to manufacturer guidelines can void warranties or cause long-term appliance damage. One common myth is that if an appliance is under warranty, immediate repairs are guaranteed without prior diagnosis—this can lead to unnecessary service charges or delays if the scenario isn’t correctly assessed beforehand.
An advanced misconception involves the assumptions about the longevity of repairs; homeowners often neglect the need for proper maintenance and timely inspections post-repair, which can reduce the effectiveness of warranty coverage and lead to recurring problems. For example, a minor gas leak in a stove might be overlooked if not diagnosed properly, risking safety hazards despite warranty claims. Experts advise that understanding the intricate terms of warranty agreements, as detailed in authoritative sources like this guide, is vital for maximizing benefits and avoiding pitfalls.
From my experience, one of the most common pitfalls is misjudging the reliability of third-party repair services; while they may advertise quick fixes, they might lack the proper certification or follow industry standards, potentially voiding your warranty or causing further damage. It’s essential to ask about the technician’s credentials and to verify whether their work complies with manufacturer specifications. Additionally, when scheduling repairs, many underestimate the importance of thorough diagnostics—skipping this step can lead to temporary fixes that mask underlying issues, resulting in more significant problems later.
To dig deeper into this topic, consider whether your current understanding of warranties and repair timelines aligns with the actual industry practices. Do you know the fine print that might invalidate your coverage? Or how to ensure your service provider adheres to safety and quality standards? As appliance technology evolves, so do warranty conditions and service protocols. Investing time in understanding these nuances can save you money and stress in the long run. Remember, informed homeowners are better equipped to protect their investments.
Have you ever fallen into this trap? Let me know in the comments and share your stories or questions about appliance warranties and repair myths.
Invest in Precision Tools for Ongoing Maintenance
To keep your appliances functioning optimally over the years, having the right tools is essential. I personally rely on a digital multimeter like the Fluke 115 for diagnosing electrical issues because of its accuracy and durability. When performing regular inspections, a high-quality stud finder helps ensure that mounting brackets are anchored into solid framing, preventing instability. Keeping a cordless cordless drill with a selection of Phillips and flat-head bits on hand allows me to tighten screws during routine checks, avoiding loose connections that can cause problems over time.
Utilize Dedicated Software for Tracking Repairs and Maintenance
Managing maintenance schedules becomes straightforward when I use a dedicated app like Evernote or Notion. These tools let me log repairs, note manufacturer recommendations, and track warranty periods. For example, recording when I last replaced filters or cleaned vents can extend the lifespan of your appliances and prevent costly breakdowns. This proactive approach allows you to anticipate potential issues well before they escalate.
Tip for Scaling Up Your Maintenance Routine
As your household or business grows, so does your maintenance workload. Implementing a routine inspection checklist, perhaps using a customizable digital template, can streamline tasks like cleaning condenser coils, inspecting door seals, and checking electrical connections. Regularly scheduled checks—say, every six months—can spot early signs of wear, saving you money and inconvenience down the line. According to expert insights from industry leader this guide, preventive maintenance is the most reliable way to maximize warranty benefits and ensure your appliances serve you reliably for years.
How do I maintain appliances over time?
Maintaining appliances long-term requires a combination of quality tools, routine inspections, and proper record-keeping. Using precise diagnostic equipment like thermal cameras or multimeters can help detect issues before they become major failures. Establishing a maintenance calendar with reminders ensures tasks like filter replacements and electrical checks aren’t overlooked. Moreover, documenting each service step helps in warranty claims and future troubleshooting. In the coming years, automation and IoT integration will likely provide even better tools for proactive maintenance. Embracing these advances now will prepare you for a more reliable and cost-effective appliance ownership experience.
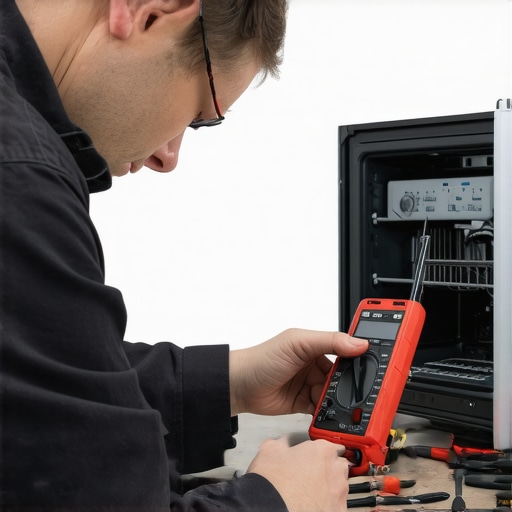
Visualize your maintenance setup: a well-organized toolbox and a digital device displaying your scheduled tasks, ready to keep your appliances healthy.
What I Wish I Learned Before Installing My Oven
One of the most eye-opening lessons was realizing that proper framing support isn’t just a recommendation—it’s a necessity. Skipping this step risked years of wobbling and instability, which could have led to safety hazards or costly repairs. Ensuring I anchored the brackets into solid studs transformed my installation experience, saving me from future headaches and maintaining the safety of my kitchen environment.
Using high-quality tools and following manufacturer instructions may seem tedious, but these tiny details greatly impact the long-term performance of your oven. Personally, I found that double-checking levelness after installation prevented uneven wear and uneven baking, which became apparent during my first holiday dinner. The extra effort created a stable setup that I could trust during heavy use and busy family moments.
Resources That Made a Difference in My Maintenance Routine
Equipping myself with a digital multimeter like the Fluke 115 proved invaluable for early detection of electrical issues, keeping my oven running smoothly without surprise breakdowns. I also rely on a sturdy stud finder and a digital inspection app to verify support and spot potential issues before they become real problems. Additionally, regular maintenance guides from trusted industry sources help me stay proactive, saving money and extending the life of my appliances.
Keep Your Confidence High with Ongoing Care
Embarking on proactive maintenance doesn’t have to be daunting—small, consistent steps add up. Scheduling semi-annual checkups, tracking repairs in a digital log, and maintaining your tools ensure that your appliances stay reliable and safe. Remember, mastering these habits means fewer surprises and more peace of mind, empowering you to enjoy your kitchen and home to the fullest. So, are you ready to implement these insider tricks and elevate your appliance care game? Feel free to share your experiences below and ask questions about your setup journey!