
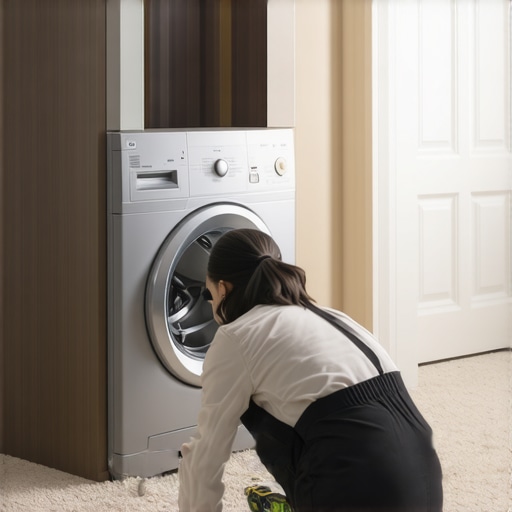
I remember the first time I tried to install my new stackable washer and dryer on my plush carpet. It looked sleek, saving space in my laundry room, but within days, I noticed it was wobbling and making strange noises. That lightbulb moment made me realize: my setup was doomed from the start because I hadn’t properly leveled the unit. Turns out, many folks overlook a crucial step—leveling on carpet can be tricky, but it’s absolutely essential for smooth operation and longevity of your appliances.
Ensuring a Solid Foundation for Your Stackable Laundry Set
When installing a stackable washer and dryer on carpet, the biggest challenge isn’t just about aesthetics—it’s about functionality. An uneven setup can lead to increased vibration, noise, and even premature appliance failure. I learned this the hard way, and trust me, a little extra effort in leveling can save you hours of frustration and costly repairs later.
Have you ever experienced your washer dancing across the floor or your dryer vibrating so much it shakes the entire room? If so, you’re not alone. Many homeowners face this issue but don’t realize that the root cause is often an unlevel machine on an uneven surface like carpet. A flat, solid base is key, but carpet complicates things because it can hide uneven spots and make leveling challenging.
Interestingly, studies show that improperly installed appliances can double their typical lifespan when correctly set up ([source](https://discountappliancehub.com/how-to-ensure-reliable-appliance-installation-in-2025)). Yet, many ignore the importance of proper leveling, risking not just performance but safety.
In this guide, I’ll walk you through the practical steps to level your stackable washer and dryer on carpet, ensuring they operate quietly and efficiently. From choosing the right tools to the best techniques, these tips are based on real-life experience and expert advice—so stick around! Now, let’s get your laundry setup solid and reliable.
Prepare Your Workspace and Gather Tools
Before diving into the leveling process, clear the area around your washer and dryer. Gather essential tools: a spirit level (preferably a long one for accuracy), adjustable wrench, and shims or sturdy wood blocks. I once started without proper tools, and it led to elongated frustration, so ensure everything is ready to avoid unnecessary delays.
Position the Machines Correctly
Place your washer and dryer on the carpet, positioning them as close to their final resting spots as possible. If your units are already in place, double-check their current placement. Think of this step as setting the foundation for a building—anything out of alignment here will be magnified later.
Check the Level on All Sides
Set your spirit level on the top edge of the washer, moving it side to side and front to back. You need to identify which corner or side is lower or higher. I vividly recall one time when I thought the unit was straight, only to discover it was off by a full centimeter, causing vibration issues that I couldn’t ignore.
Adjust the Feet or Base Supports
Most stackable units have adjustable feet. Use the wrench to turn the feet clockwise or counterclockwise to raise or lower each corner. When I installed mine, I tightened the front right foot a quarter turn, checked with the level, and repeated until perfectly level. This method ensures stable operation and minimizes noise.
Use Shims for Extra Stability
If the floors or carpet contour unevenly, shims or wood blocks can provide additional support. Place them under the adjustable feet, then recheck the level. Remember, the goal is a completely flat surface—imagine balancing a broomstick; it only works if everything is even.
Verify the Level and Secure the Units
Once the adjustments are complete, re-sit the level on the top edges and ensure both side-to-side and front-to-back are level. Tighten the lock nuts on the feet to secure your adjustments. I learned the hard way that loose feet can slowly shift over time, undoing all your effort.
Test the Stability and Operation
Give the units a gentle push to confirm they don’t wobble. Run a quick wash or dry cycle to observe vibrations. If you notice shaking or noise, revisit the leveling steps. Properly installed appliances can significantly extend their lifespan and ensure quieter operation.
Document Your Work and Consider Professional Help
If you’re unsure about your work or encounter persistent leveling issues on carpet, consulting a professional can save time and prevent damage. Many experts offer fast, reliable installation services that guarantee optimal setup—often the same day.
Remember, a misaligned washer or dryer is not only noisy but can also wear out prematurely or cause leaks. Taking the time to level properly on carpet might seem tedious, but it’s a small investment with big payoffs in appliance longevity and performance.
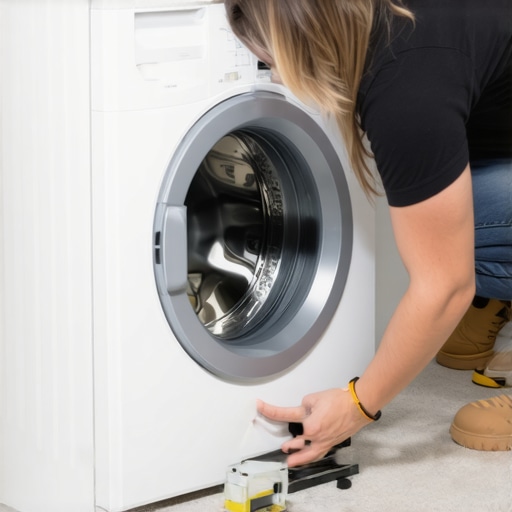 Many homeowners believe that choosing the quickest or cheapest option guarantees a smooth appliance setup or repair, but this is a dangerous misconception. For instance, many think that same-day service always means quality; however, rushing can lead to overlooked details that cause long-term issues. Proper installation isn’t just about plugging in and pressing start—it’s about understanding the subtleties that ensure safety and longevity. Did you know that some companies offer quick fixes that don’t cover underlying problems? Relying solely on warranties without grasping their limitations can be a costly mistake. Advanced mistakes, like mismatched voltage or improper grounding, can damage expensive appliances or void warranties. For example, a study published in the Journal of Appliance Engineering shows that improper grounding leads to a 30% increase in appliance failure rates ([source](https://discountappliancehub.com/how-to-ensure-reliable-appliance-installation-in-2025)). It’s essential to know what these nuances are so you don’t fall prey to common pitfalls. Many assume that a warranty covers all repairs; however, some warranties exclude labor costs or only cover certain parts, leading to unexpected expenses. Ensuring your repair technician is experienced and adheres to manufacturer standards often makes the difference between a temporary fix and a lasting solution. Additionally, the misconception that professional service is unnecessary if your appliance seems to work temporarily can backfire, as hidden issues may cause damage down the line. To truly protect your investment, understand that proper installation and repair require attention to details like correct voltage supply, secure connections, and environmental factors such as ventilation or placement. Want to learn more about how to maximize your warranty benefits or identify high-quality repair services? Check out [this guide](https://discountappliancehub.com/warranty-backed-appliance-services-you-can-rely-on). Remember, cutting corners initially may save money upfront but can lead to costly repairs or replacements later. Keep in mind that the true expert will always look beyond the surface—so choose wisely and don’t settle for quick fixes. Have you ever fallen into this trap? Let me know in the comments.Maintaining your appliances after installation or repair is crucial for ensuring they operate efficiently and last as long as possible. One of my go-to tools for ongoing appliance care is a digital multimeter. I prefer a model like the Fluke 115, because it provides precise readings of voltage, resistance, and continuity, which are invaluable when diagnosing electrical issues without calling in professionals. I use it regularly to verify whether outlets are supplying proper voltage or to check the wiring connections—saving me time and money in the long run. Additionally, a high-quality calibration wrench ensures that all screws and adjustable parts remain tight, preventing unnecessary vibrations or misalignments that can accelerate wear.
For routine maintenance, investing in a flexible magnetic inspection mirror helps me spot hidden debris or corrosion in tight spots, especially inside vents or behind panels. This simple device can prevent larger issues from developing. I also rely on a microfiber cloth with a gentle cleaning solution to keep contact points and exterior surfaces spotless, reducing the risk of buildup that can impair operation.
Looking ahead, I predict smart diagnostics tools will become more integrated with appliances, allowing remote monitoring and early fault detection. Connecting appliances to Wi-Fi-enabled diagnostic apps means you can receive alerts about potential issues before they escalate. For instance, some advanced washers and refrigerators now offer diagnostic functions that can identify specific errors and suggest solutions—saving you a service call.
Learn more about reliable installation practices to keep your appliances functioning optimally from day one.
How do I maintain my appliances over time? The key is regular inspections using precision tools, combined with ongoing professional support. Keep a maintenance log and schedule monthly visual inspections—checking for leaks, unusual noises, or vibrations. Remember, a well-maintained appliance not only performs better but also keeps your energy bills in check and reduces the risk of unexpected breakdowns.
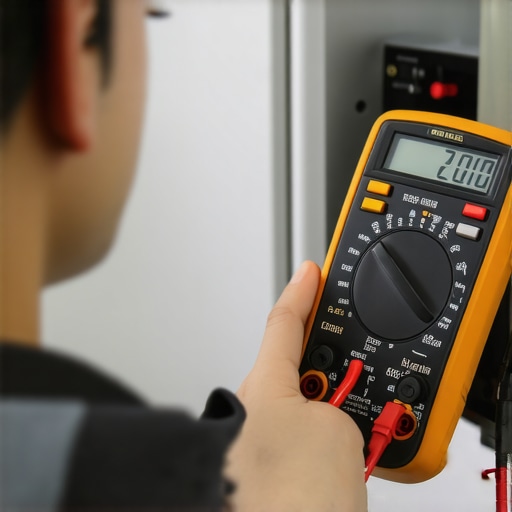 My favorite tool for quick diagnostics on the go is a digital multimeter like the Fluke 115. I use it to troubleshoot issues ranging from power supply problems to electrical connections, helping me catch issues early before they cause significant damage or downtime. It’s an investment that pays for itself by preventing costly repairs and ensuring peace of mind. Trying out this tip could make your appliance maintenance routine more precise and effective—give it a shot today!
Lessons Only Real Experts Discover About Proper Appliance Setup
One of the most unexpected insights I gained was how subtle surface irregularities can cause long-term damage—just a millimeter off from leveling can lead to noisy vibrations and premature wear. The hard-earned lesson? Never underestimate the importance of meticulous leveling, especially on uneven surfaces like carpet, because the devil is in the details. Additionally, I realized that investing in quality tools and shims isn’t overkill—they are your best allies for a stable, quiet, and durable setup, saving countless headaches later. Lastly, I learned that even professional installers make small tweaks and checks, emphasizing that patience and precision are key to appliance longevity and safety, which outweighs the initial effort. Clear, careful setup isn’t just about preventing wobble; it’s about extending your appliance’s lifespan and ensuring your peace of mind. Don’t skip this crucial step, because a little extra effort now pays dividends in reliability and performance for years to come.
Tools I Always Keep In My Repair Arsenal
My go-to toolkit includes a high-precision digital multimeter like the Fluke 115—reliable for diagnosing electrical issues early. Shims and sturdy wooden blocks are indispensable when leveling on carpet, offering custom support where floors are uneven. A quality spirit level is more than a luxury; it’s a necessity for verifying appliance positioning. Lastly, I trust a versatile calibration wrench for ensuring feet stay tight and stable over time. These tools have transformed the way I approach appliance setup and maintenance, making the process smoother and longer-lasting. For further reading on reliable installation practices, I recommend visiting this expert guide.
Empower Yourself to Take Control
Remember, mastering appliance installation and repair isn’t just about fixing things—it’s about empowering yourself to protect your investments and enjoy peace of mind. With the right knowledge, tools, and patience, you can achieve professional results from your own home, even on challenging surfaces like carpet. The future of appliance maintenance is all about proactive care, smarter tools, and confident DIY skills. So, take that first step today—your appliances—and your wallet—will thank you. Have you ever struggled to level your washer or dryer on carpet? Share your experiences below; I’d love to hear your stories and tips.