
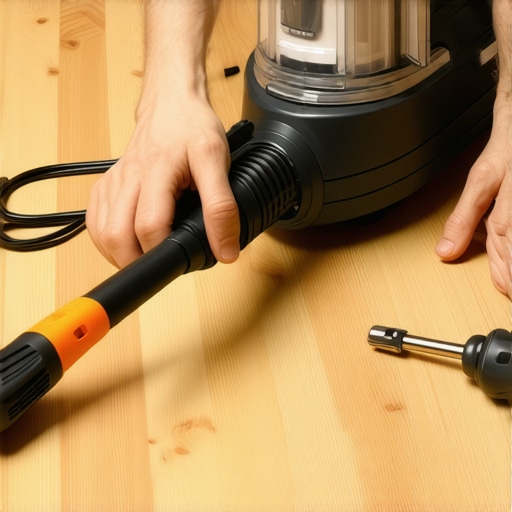
My old upright vacuum was screaming across the carpet when it happened—a literal flash of blue light near the base of the handle. I had seen the copper peeking through the insulation for weeks, but I figured I would just be careful. Big mistake. That split second of ozone smell and a dead motor taught me more about electrical safety than any manual ever could. I stood there in the middle of a half-cleaned living room, feeling like a total amateur. It was one of those moments where you realize your procrastination has finally caught up with you. Repairing it felt like a mountain, but I was determined not to let a little copper wire beat me.
Stop Taping Over the Danger and Fix the Wire
If you are currently staring at a piece of electrical tape holding your vacuum’s life together, we need to have a heart-to-heart. You aren’t just risking a dead appliance; you are playing a dangerous game with your home’s safety. According to the National Fire Protection Association (NFPA), electrical failures or malfunctions are a leading cause of home fires in the U.S. I used to think a little fraying was just character for an old machine until that spark nearly scorched my favorite rug. Today, I am going to show you how to swap out that hazardous cord yourself. You can save yourself a massive shop fee and the hassle of scheduling your appliance repair for same-day service for something that is honestly a straightforward DIY project. We are going to take that vacuum from a fire hazard to a functional tool again without needing a degree in engineering.
Is it really safe to do this yourself?
I get it. Messing with internal wiring feels like a job for someone with a van and a heavy tool belt. I used to be terrified of anything that plugged into a wall. In fact, early on, I made the classic mistake of not fully seating a connection, which led to me having to check the fuse after I tripped the entire kitchen breaker. It was embarrassing, but it taught me the value of double-checking your work. The truth is, vacuum cords are designed to be modular. It is a basic circuit. If you can use a screwdriver and a pair of wire strippers, you have the skills to handle this. You do not always need warranty-backed appliance services for a cord that your cat chewed on or that you ran over with the beater bar once too often. Have you ever seen sparks fly from your vacuum and wondered if it was time to just throw the whole thing away? Tell me your most dramatic appliance failure story in the comments! Before we start, let’s look at the simple tools you’ll need to get this job done right.
Crack Open the Case Without Snapping the Plastic
First, you have to get to the guts of the machine. Most uprights are held together by a series of deep-set Phillips screws. I once spent twenty minutes wrestling with a Dyson because I missed a hidden screw tucked under a filter; it felt like trying to solve a puzzle box while wearing oven mitts. Use a magnetic tray to keep your screws organized, because losing one is the fastest way to turn a quick fix into a week-long headache. Once you’ve removed the housing, you’ll see where the power cord enters the motor assembly. It is usually anchored by a strain relief—a little plastic piece that prevents the cord from being yanked out. This is a critical stage where you should refer to an expert guide to appliance repair and installation today if the internal configuration looks more like a spaghetti factory than a vacuum. Take a photo of the wiring before you touch anything. I learned this the hard way after swapping the neutral and hot wires on a toaster, which led to a very festive, albeit terrifying, display of sparks.
Strip the Insulation Without Cutting the Copper
Now you need to cut the cord back past the damage. You want fresh, shiny copper. I use a pair of wire strippers, not a kitchen knife. Think of stripping wire like peeling a grape; you want the skin off without bruising the fruit. If you nick the copper strands, you create a weak point that builds heat, much like the voltage issue that kills your new oven control board. Aim for about half an inch of exposed wire. Twist the strands tightly together so they don’t fray when you’re trying to shove them into the connectors. I remember my first time doing this—I didn’t twist the wires, and a single stray strand touched the metal frame. The moment I plugged it in, the breaker popped so loud I thought a tire had blown in my living room. That is why learning the proper way to ground your new smart stove during installation or any high-draw appliance is such a vital skill even for smaller household tools.
Secure Your Connections and Reinforce the Housing
Once your wires are prepped, you will likely be using wire nuts or crimp connectors to join the new cord to the motor leads. Match black to black and white to white—standard electrical code is your best friend here. If you find yourself staring at a mess of wires that doesn’t make sense, it might be time to look into scheduling your appliance repair for same-day service in 2025 before you accidentally bypass a safety switch. Pull on the wires after you’ve capped them; if they slip out, they weren’t tight enough. Before you snap the case back together, ensure the strain relief is seated perfectly. This little plastic nub is what prevents your new connection from being ripped apart the next time you stretch the cord too far to reach that one corner behind the sofa. This isn’t just about a vacuum; it’s about having the confidence to maintain your home’s ecosystem. If you can handle this, you can handle the basics of how to ensure reliable appliance installation in 2025 for almost any small motor in your house.Let’s dig deeper into the reality of these repairs. Most people believe that calling for same-day help is a guarantee of a finished job. In reality, the industry secret is that scheduling your appliance repair for same-day service in 2025 is often more about the speed of the diagnosis than the speed of the cure. According to the Association of Home Appliance Manufacturers (AHAM), modern appliances have become so specialized that nearly 40% of repairs require proprietary OEM parts that are rarely kept on a standard service van. This is why it is vital to understand what to expect from same-day appliance repair experts before you clear your entire afternoon schedule only to find out you need to wait for a shipping container.
Don’t Let a DIY Win Become a Warranty Loss
The ‘oops’ factor in home maintenance is massive. While I am a huge advocate for getting your hands dirty, you have to be wary of the ‘unauthorized repair’ clause found in almost every modern contract. I have seen homeowners save $50 by splicing a vacuum cord only to lose $800 in coverage because they opened a housing that was still under the manufacturer’s clock. This is the fine print in your home warranty that denies every claim. If your machine is still in its first year, you are almost always better off seeking warranty-backed appliance services you can rely on rather than cracking the seal yourself. Have you ever fallen into this trap where a small fix ended up costing you the whole warranty? Let me know in the comments! 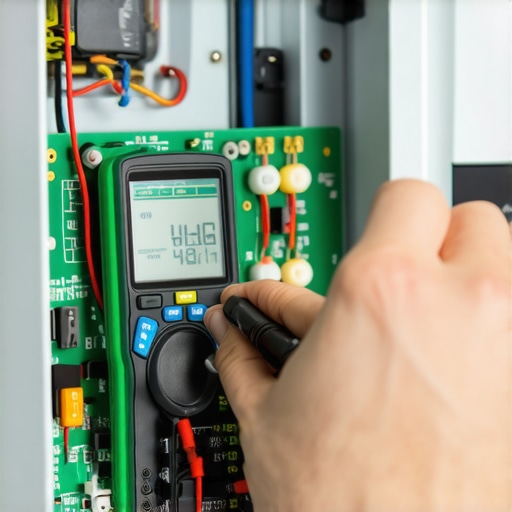
Why Does Your New Control Board Keep Failing?
For the more advanced DIYer, there is a nuance most people overlook: the ‘dirty power’ factor. You might successfully install a new motor or board, but if you haven’t addressed the voltage issue that kills your new oven control board, you are simply putting a fresh bandage on a deep wound. Professional-grade reliable appliance installation in 2025 involves testing the outlet’s ground and surge levels before the machine even touches the floor. I once replaced the same control board twice in a single month before realizing the house’s neutral wire was loose at the main breaker, not the appliance. If you do end up needing a pro, make sure you have the document every technician needs to see for a valid warranty visit ready to go on the kitchen counter. It prevents the ‘I will have to come back another time’ dance that doubles your repair bill. Knowing how to claim your warranty when the manufacturer denies you is the ultimate survival skill for the modern homeowner who refuses to be intimidated by a blinking error code.
The Three Tools That Save My Sanity
I used to think a basic screwdriver set was enough to tackle any home emergency, but I learned the hard way that precision is what separates a fix from a future fire hazard. Now, I never open a machine without my trusty Fluke 117 multimeter. While some people swear by those cheap $10 probes from the bargain bin, I use a high-end meter because it gives me a true RMS reading. When you are dealing with the voltage issue that kills your new oven control board, a cheap tool might miss those tiny, erratic spikes that signal a failing transformer. I also keep a non-contact voltage tester in my shirt pocket at all times. It is my ‘life insurance’ policy; if I can’t be 100% sure the power is dead, I don’t touch the copper. For anyone looking to get serious, I highly recommend investing in a set of JIS (Japanese Industrial Standard) screwdrivers. Most people think they are stripping screws because they are being too aggressive, but in reality, they are using a standard Phillips on a JIS screw found in most modern appliances.
Why Real Techs Stress Over the First Five Minutes
If you have ever watched a professional perform fast-trustworthy-appliance-installation-near-you, you’ll notice they spend more time checking the environment than they do unboxing the unit. They are looking for level floors, proper drainage slopes, and dedicated circuits. This isn’t just busy work; it’s about preventing the catastrophic failures that lead to you frantically scheduling your appliance repair for same-day service in 2025. According to the NIST Special Publication 1101, nearly 15% of all residential appliance failures can be traced back to improper grounding or inadequate circuit capacity. This is why I always preach that how to ensure reliable appliance installation in 2025 starts with the utility lines, not the machine itself. If your home’s wiring is screaming, even the most expensive smart fridge will be dead in six months.
How do I maintain my fixed appliances over the long haul?
Maintenance isn’t a one-and-done event; it’s a rhythm. For my washer, I perform the maintenance-step that extends the life of your high-efficiency washer every three months without fail—usually a deep clean of the pump filter and a gasket wipe-down. For my HVAC, I’ve found that the one-maintenance-move-that-stops-your-ac-from-smelling-like-mildew is simply ensuring the condensate line has a clear exit path and isn’t backing up into the pan. I predict that in the next five years, we won’t even have to guess. We are moving toward ‘predictive maintenance’ where your dryer will send a push notification to your phone saying the thermal fuse is at 90% capacity before it actually blows. Until that future arrives, the best thing you can do is keep a physical logbook of every repair. Write down the part numbers and the date of install; it makes warranty-backed appliance services you can rely on much easier to navigate when you have the receipts ready. I want you to try one thing this weekend: take a multimeter to your most-used outlet and check the ground-to-neutral voltage. If it’s over 0.5 volts, you might have a floating neutral that is slowly eating your electronics. It’s a five-minute check that could save you thousands.
Lessons My Blown Breaker Taught Me About Speed
I used to think that speed was the only metric that mattered when my vacuum or dishwasher died. I would spend hours searching for affordable same-day appliance fixes with warranty benefits, hoping a magic wand would just fix the issue. But the biggest lesson I learned is that same-day often means same-day diagnosis, not necessarily a same-day resolution. Another lightbulb moment was realizing that my DIY repairs, while satisfying, required me to be my own quality control officer. If you aren’t checking for things like a loose neutral wire or a floating ground, you aren’t really fixing the problem; you’re just delaying the next failure. I also learned that scheduling your appliance repair for same-day service in 2025 is a skill in itself—you have to have your model numbers and symptoms ready before you even pick up the phone. Don’t just call and say it’s broken; tell them exactly what happened when it stopped working.
Tools That Stop You From Stripping Screws
To get professional results, I stopped buying generic tools and started investing in gear that actually matches the hardware. I trust my JIS screwdrivers because they actually grip the screws inside modern motors instead of turning them into smooth metal craters. I also keep a digital copy of how to verify your new appliance is covered under the original warranty on my phone at all times. It’s my first stop before I even touch a screwdriver. If you want to dive deeper into the technical side, I highly recommend finding the specific OEM service manuals for your machine online. These aren’t just manuals; they are the secret blueprints that professional techs use to navigate complex housing clips and hidden sensors. Finally, never underestimate a magnetic parts tray; it is the only thing standing between you and a screw lost in the shag carpet.
It Is Time to Stop Being Afraid of the Internal Wiring
Repairing that vacuum cord was my gateway to a more self-reliant life. You don’t have to be an expert to start; you just have to be curious enough to look inside. Whether you are doing a small cord swap or looking for fast trustworthy appliance installation near you, the goal is the same: a home that works for you, not the other way around. Don’t let the plastic housing or the colorful wires intimidate you. You have the tools, the knowledge, and now, the confidence to fix it yourself. Take that first screw out and see what’s possible. Have you ever successfully repaired a small appliance only to find it worked better than it did when it was brand new? Let me know your biggest DIY win in the comments below!