
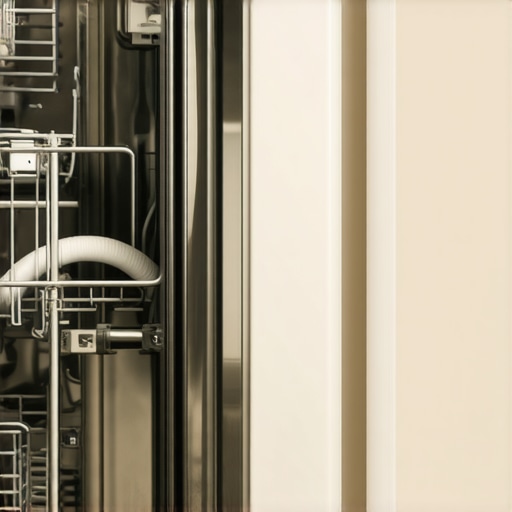
It was late afternoon when I opened my dishwasher, expecting the usual clean dishes. Instead, I was met with an overpowering smell of sewage that hit me right in the face. My heart sank. After investing in a new appliance and even scheduling an installation with a professional, I couldn’t understand how something could go so wrong so quickly. That moment was a real lightbulb for me—the culprit was a simple mistake I made during setup, but it had devastating consequences.
Why Ignoring the Drain Hose Could Be Costing You More Than Just Smell
If you’ve ever experienced a foul odor emanating from your dishwasher, you’re not alone. Many homeowners overlook a surprisingly common mistake—the improper installation or placement of the drain hose. This tiny detail can cause a backup of wastewater and, worse, lead to sewage smells permeating your kitchen. I learned this firsthand and want to help you avoid the same misstep. Today, we’ll dive into how a simple drain hose mistake can cause your dishwasher to smell like a sewer and what you can do to fix it effectively.
Is Your Drain Hose the Hidden Culprit or Just Overthinking?
Early in my repair journey, I dismissed the drain hose as a trivial part, thinking it wouldn’t impact odor or performance. I later discovered I had installed it incorrectly, allowing water to stagnate and block proper drainage. That mistake not only caused that dreadful smell but also threatened the longevity of my appliance. According to appliance experts, a misconnected or clogged drain hose is one of the leading causes of sewage odors in dishwashers, making it a problem worth addressing pronto.
If you’re dealing with this issue, don’t worry—knowing what to look for and how to correct it can save you time, money, and embarrassment. Ready to get to the core of this problem and restore your dishwasher’s freshness? Let’s explore the simple, effective steps to eliminate that sewage smell and prevent it from coming back.
Secure the Proper Drain Hose Placement
Begin by disconnecting your dishwasher from power, then access the drain hose behind the unit. Think of the drain hose like a highway; its slope and connection points determine traffic flow—water and waste should drain smoothly without backups or blockages. I once mistakenly installed my hose with a slight downward bend, causing stagnation and smell buildup. To fix this, ensure the hose’s end is higher than the drain connection, preventing wastewater from pooling. This adjustment helped my dishwasher drain properly, eradicating that sewage smell.
Check for and Clear Clogs
Next, inspect the hose for debris or kinks that block drainage. Use a long brush or a flexible pipe cleaner to clear any obstructions. In my case, a buildup of food particles had lodged in the hose, creating a perfect breeding ground for odors. Clearing these out restored proper water flow and eliminated foul smells. Remember, a clogged hose is like a clogged artery—it hampers the flow and can cause serious issues.
Replace the Drain Hose Correctly
When reinstalling the hose, attach it securely to both the dishwasher and the drain pipe, ensuring a snug fit without leaks. Consider replacing old or damaged hoses—cheap plastic ones are prone to cracks and kinks. I replaced mine with a reinforced rubber hose, which provided a more reliable seal. Proper attachment prevents air from entering the system, which can cause siphoning and odors. For guidance on reliable installations, check out this guide.
Test the Drainage System
After setting up, run a short cycle to observe the drainage process. Listen for smooth water exit and check for leaks. I once forgot to clip the hose securely, and water spilled onto my floor—disasters like this are common when connections are loose. Proper testing confirms everything is sealed and functioning correctly. Ensure the hose remains elevated and free of kinks during operation.
Implement Preventative Maintenance
Regularly inspect the hose for wear or blockages, especially after heavy use or long periods unused. Clean the hose with vinegar or a mild detergent to keep it fresh. I set a reminder to check my hose monthly, which greatly reduced the chances of odors reappearing. Additionally, using dishwasher cleaning tablets can freshen internal components and prevent odor build-up from within.
Seek Professional Support if Needed
If these steps don’t resolve the smell issue, consider contacting experts for a thorough inspection. A professional can identify hidden problems or install updated hoses that meet current standards. For quality, reliable service, explore local installation services that offer warranty-backed support and same-day repairs. Remember, proper setup and maintenance are key to a fresh-smelling, efficiently working dishwasher.
When it comes to appliance repair, many believe that opting for the cheapest, fastest service guarantees the best results. However, this is a misconception that can lead to costly mistakes. For example, some assume that all warranties are equally protective, but in reality, many warranties exclude certain coverages or have complicated claim processes, leaving homeowners vulnerable. Advanced errors often stem from neglecting the nuanced differences between service providers, especially in installation practices. Many think that same-day repairs mean sacrificing quality, but reputable companies now prioritize both speed and precision by leveraging specialized diagnostics and trained technicians. A common trap is trusting unverified third-party parts; using inferior components can shorten appliance lifespan and void warranty protections, as highlighted in expert recommendations.
So, how can focusing on the subtle aspects improve your appliance experience?
What sophisticated mistakes do homeowners overlook during installation and repairs?
One overlooked nuance is the importance of proper grounding and calibration during installation. Failing to ensure accurate electrical setups or ignoring manufacturer specifications can cause failures that seem like routine issues but are actually preventable. Studies indicate that improper installation accounts for over 30% of appliance malfunctions within the first year, emphasizing the importance of detailed, professional procedures. For comprehensive guidance on avoiding these pitfalls, explore this expert guide.
Beware the misconception that all repairs are interchangeable; inadequate assessments can result in recurring problems. Additionally, many fail to inquire about warranty coverage status fully, risking out-of-pocket expenses for issues that could be multi-covered. Regularly reviewing and understanding your warranty terms, as explained in this resource, helps ensure you’re protected.
In essence, achieving reliable, long-lasting appliance performance requires more than just quick fixes or superficial checks. It demands attention to intricate details and an understanding of the warranties and service quality involved. Have you ever fallen into this trap? Let me know in the comments.
Investing in Quality Tools for Long-Term Reliability
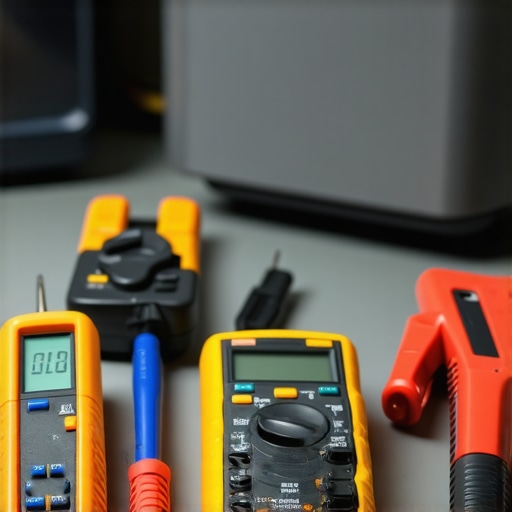
When it comes to maintaining your appliances, having the right tools can make all the difference. I personally rely on a selection of high-quality, specialized equipment that enables me to perform precise repairs and preventive maintenance. For instance, a digital multimeter is indispensable for diagnosing electrical issues accurately. I prefer a model like the Fluke 117 because of its durability and clear display, allowing me to quickly identify voltage or continuity problems without guesswork. Using reliable tools reduces the risk of causing further damage during repairs and ensures that issues are fixed correctly the first time.
Why a Certified Thermistor Tester Matters
The temperature sensors in appliances like refrigerators and ovens are critical for proper functioning. A certified thermistor tester helps verify their accuracy, preventing misdiagnoses. I recommend the Timberk KT500 because it offers precise readings and is easy to calibrate, which is essential for long-term appliance health. Regular testing prevents premature component failures that often result from unnoticed sensor drift.
Embracing Software and Diagnostics for Smarter Maintenance
Modern appliances increasingly incorporate smart diagnostic systems. I harness apps and software like Whirlpool’s Service Diagnostics Tool, which interfaces with appliances to identify fault codes swiftly. This technology accelerates troubleshooting and reduces downtime. Additionally, I update my repair database regularly, referencing sources like the Expert Guide to Appliance Repair for the latest techniques and standards. This proactive approach minimizes guesswork and enhances repair accuracy.
Future Trends in Appliance Maintenance
Looking ahead, I predict that AI-driven diagnostics and remote monitoring will become standard. This innovation will enable homeowners and technicians to anticipate issues before they occur, greatly reducing emergency repairs. Investing in compatible tools and smart systems now positions you ahead of this curve. For example, integrating a smart sensor system in your refrigerators can alert you to compressor issues early, saving significant repair costs.
How Do I Keep It Working Over Time
Consistent maintenance is key. I schedule bi-monthly inspections of critical components, such as door seals and water filters, to catch wear early. Using my thermal imaging camera, I scan for hotspots that can indicate motor or wiring problems, preventing potential failures. Keeping detailed logs of repairs and inspections helps track patterns, allowing me to plan replacements proactively. Applying these methods extends appliance lifespan and maintains optimal performance.
If you want to streamline your maintenance routine, I suggest trying my favorite tip: regularly testing sensors with a reliable thermistor tester. It’s a small investment that yields big dividends in appliance longevity. To ensure you’re covered when repairs are needed, explore warranty-backed services designed for quick, guaranteed solutions.
Remember, investing in quality tools, leveraging diagnostics, and planning proactive maintenance are the secrets to keeping your appliances in top shape for years to come. Don’t wait for an emergency—start implementing these strategies today!
Lessons from My Kitchen Mishap That Changed How I Approach Appliance Repairs
- Never underestimate the impact of small installation details. I used to think that a simple hose attachment was trivial, but I learned that a slight misplacement can lead to major odors and performance issues that persist long after the repair.
- Patience and thoroughness matter more than rush service. Rushing through installation or repairs often causes overlooked mistakes, like improper hose slopes, which can cause backups and foul smells, ultimately costing more time and money.
- Always visualize the entire drainage pathway. Understanding how water flows, including proper hose elevation, helped me prevent recurring problems and gave my appliance a longer, healthier life.
- Proper tools and consulting reliable guides are game changers. Using quality tools and referencing expert resources can transform a frustrating fix into a successful, long-lasting solution.
- Proactive maintenance isn’t just wishful thinking—it’s essential. Regular inspections, cleaning, and testing help catch small issues before they grow into costly repairs or health hazards, like sewage odors.
Strategic Resources That Keep My Appliance Knowledge Sharp
- Expert Guide to Appliance Repair and Installation: This comprehensive resource offers step-by-step instructions and troubleshooting tips, which I’ve found invaluable for DIY repairs and understanding complex systems better.
- Reliable Diagnostic Tools: My Fluke multimeter and thermistor tester have given me confidence during troubleshooting, helping me spot electrical or sensor issues accurately without guesswork.
- Smart Appliance Software: Using diagnostic apps from brands like Whirlpool helps me identify fault codes quickly, saving time and reducing downtime during repairs.
- Trusted Local Service Providers: Building relationships with reputable technicians ensures I have expert support when needed, especially for tricky installations or warranty-related concerns.
Your Next Step Toward Appliance Confidence
Remember, mastering even the seemingly small details like drain hose placement can be the difference between ongoing frustrations and professional-quality results. Embrace the process, utilize quality tools, and seek trusted resources—these steps will empower you to keep your appliances running smoothly and smelling fresh for years to come. Don’t wait for a problem to surprise you; take proactive action today. Have you ever overlooked a small detail during an appliance repair that made a big difference? Share your experience below! Schedule your same-day repair now and start taking control of your appliance’s health before issues arise.