
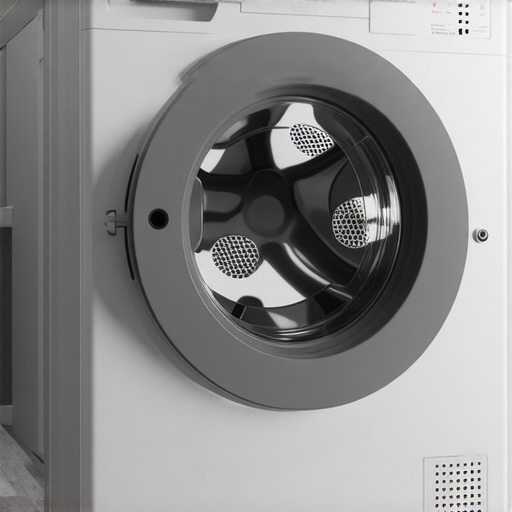
Ever open your front-load washer and immediately regret it, overwhelmed by that unmistakable damp, musty smell? It’s a familiar scene for many of us, and honestly, it can feel like a personal failure—like I’m not keeping up my laundry game. But here’s the thing: even with diligent cleaning routines, that stubborn mildew odor can persist. I’ve been there, scratching my head, wondering what I was doing wrong. That lightbulb moment hit me when I realized that the smell wasn’t just about surface grime but something deeper—something invisible that’s hiding in plain sight.
Decoding the Mildew Mystery in Your Washer
So, why does this happen? It turns out that many homeowners, myself included initially, make the mistake of simply wiping down the rubber gasket or leaving the door open without addressing the root cause. Regular cleaning is great, but if you’re not tackling moisture buildup in hard-to-reach places, the mildew will keep coming back. Interestingly, experts suggest that residual detergent and stagnant water create the perfect breeding ground for mold and bacteria, which are the real culprits behind that ugly smell (EPA on mold growth).
In this post, I’m going to share step-by-step how I finally conquered that persistent odor, saving my laundry—and my sanity. Whether you’re struggling with slight hints of smell or full-blown mildew, these insights are tailored to help you keep your washer fresh and odor-free. Before we dive in, I want to ask: have you ever faced that moment of opening your washer and just gagging at the smell? If so, stick around—because there’s a way out.
Is the Fear of Overcomplicated Repair Justified?
Early on, I thought fixing appliance smells would be a daunting task, possibly requiring professional help. But I learned that most solutions are straightforward—often just a matter of knowing where to look and how to properly clean those hidden spots. My early mistake was ignoring the importance of deep cleaning the gasket and the drainage system. If you want a more reliable fix, consider consulting trusted repair guides or even scheduling a same-day service from professionals who stand behind their work (quick, warranty-backed repairs).
Now, with a clear understanding, I’m keen to share the practical steps that helped me eliminate that mildew smell completely. Ready to breathe new life into your laundry routine? Let’s go!
.
Deep Cleaning the Gasket and Drainage System
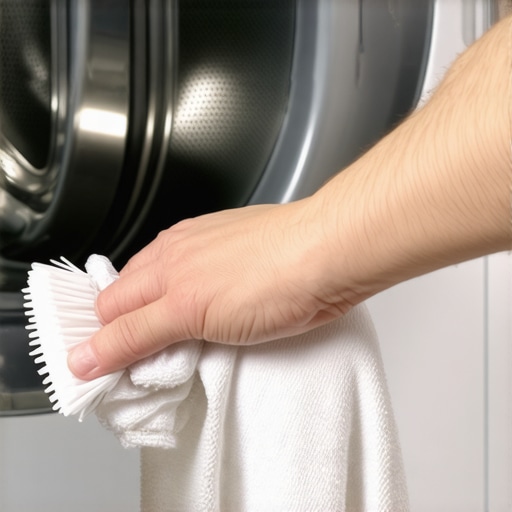
My first real breakthrough came when I decided to dismantle my washer’s gasket, a task that initially seemed intimidating. I turned off the machine, put on gloves, and gently pulled back the rubber to inspect for hidden grime. Using a mixture of white vinegar and baking soda, I scrubbed away mold and detergent residue with an old toothbrush, focusing on folds and crevices. This process is essential because residual dirt in these hard-to-reach spots acts like a breeding ground for mildew (expert repair guides). After cleaning, I ran a hot water cycle with an empty load to flush out any loosened debris. The result was a significant reduction in musty smell, but I knew there was more to do.
Disinfecting and Removing Stubborn Growth
Next, I used a solution of hydrogen peroxide and tea tree oil—powerful natural disinfectants—to kill remaining mold spores. Carefully, I applied the mixture with a spray bottle to all gasket surfaces, ensuring reach into every nook. Then, I left the solution to sit for about 15 minutes before wiping everything clean with a microfiber cloth. This step not only deodorizes but also prevents mold re-growth, as tea tree oil has antifungal properties. I also checked the drainage system, removing and cleaning the filter to prevent stagnant water from fostering new mold. If you’re unsure how to perform this, consulting a trusted repair service like same-day repair experts can save time and avoid accidental damage.
Applying Preventative Measures for Lasting Freshness
To keep odors at bay, I adopted a routine: leaving the door ajar after each wash cycle to air dry the gasket and drum, and regularly running an empty hot wash with vinegar once a month. Additionally, I used high-efficiency detergent sparingly to avoid residue buildup. A tip that helped immensely was installing a door prop so the gasket could stay open unattended. If your washer continues to smell despite these efforts, it might be worth considering professional inspection and repair. Many appliance issues can be diagnosed and fixed efficiently—sometimes even on the same day (schedule same-day service)—and with warranty-backed support (reliable warranties), you can have peace of mind knowing your investment is protected.
By following these detailed steps, I was finally able to bid farewell to that stubborn mildew smell. Remember, thorough cleaning combined with maintenance routines is key to a fresh, odor-free washer that performs its best every time.
 Many homeowners assume that choosing a quick fix or a generic service will suffice when their appliances falter. However, I’ve learned from years of experience that there’s a often-overlooked nuance: the importance of thoroughly understanding the intricacies behind repair processes, warranties, and installation techniques. While common advice suggests that repairs are straightforward collaborations with technicians, the reality is more complex; subtle factors can significantly impact long-term appliance health and your warranty coverage.
One prevalent myth is that the cheapest or fastest service always delivers the best results. In truth, rushing into a repair without verifying a technician’s expertise or understanding the details of your warranty can cost you later. For example, improperly installed appliances or neglecting to follow specific maintenance protocols can void warranty claims or lead to recurring issues (reliable warranties). It’s a misconception that warranties are just a safety net; they are tools that, if understood properly, can save you money and stress.
Another “oops” trap to avoid involves misinterpreting what same-day services truly entail. Many think that any quick appointment is a comprehensive fix. But in reality, those services often come with strict guidelines—like proper documentation, adherence to manufacturer standards, and certification requirements—that determine whether your claim remains valid post-repair (same-day repair benefits). Overlooking these details might mean paying for a service only to find out later your warranty is not honored due to procedural oversights.
For advanced readers, I want to address the question: How does understanding appliance installation nuances influence your warranty claims? The crucial insight is that proper installation isn’t just about making the appliance work initially—it’s about ensuring all relevant standards and manufacturer specifications are met, which directly correlates with your warranty’s validity. Skipping professional installation or attempting DIY fixes without proper knowledge risks voiding your coverage, leaving you vulnerable in emergencies. Recognizing this, many leading appliance brands emphasize certified installation and service technicians to preserve warranty integrity (expert installation).
Let’s not forget the importance of understanding the subtle differences between factory warranties and extended or third-party plans. While the latter can seem appealing due to lower costs or added features, they often contain fine print details about what is covered, exclusions, and claim procedures. Misinterpreting these can lead to denied claims and unexpected out-of-pocket expenses, especially during urgent repairs (warranty distinctions).
In conclusion, mastering these nuances—beyond the basic knowledge—can make a significant difference in maintaining your appliances’ longevity and your peace of mind. Don’t fall into the trap of superficial fixes; instead, invest time in understanding how expert repairs, installation standards, and warranty policies intersect. By doing so, you’re not just fixing a machine—you’re safeguarding your household investment.
Have you ever fallen into this trap? Let me know in the comments.
Gear Up with The Right Tools for Longevity
Investing in quality equipment transforms your DIY appliance maintenance from guesswork into precision work. For example, I always keep a set of high-grade socket wrenches, which are indispensable when removing panels or securing fittings. My personal favorite is the Wiha SoftFinish screwdriver set; they provide excellent grip and durability, making routine disassemblies smoother and reducing the risk of damaging delicate components. Regular use of a digital multimeter, specifically the Fluke 115, allows me to diagnose electrical issues swiftly, saving time and ensuring safety. These tools are my backbone for troubleshooting and help me identify problems long before they escalate into costly repairs.
Embracing Software for Maintenance Scheduling
Beyond physical hardware, digital tools streamline ongoing maintenance. I rely on apps like BrightNest to set reminders for routine checks, such as cleaning filters and inspecting hoses. An app that I highly recommend is HomeServiceList, which connects me instantly with certified repair professionals when a problem exceeds my expertise. Technology like this ensures that I don’t skip essential maintenance tasks and keeps my appliances running at peak efficiency longer. Foreseeing future trends, I believe AI-powered scheduling systems will optimize maintenance intervals based on usage patterns, further extending appliance life.
How do I maintain my tools over time?
Proper maintenance of your repair tools is crucial. I ensure my screwdrivers are cleaned and stored in protective cases to prevent rust. My multimeter batteries are replaced yearly, regardless of usage, and I calibrate the device periodically using the manufacturer’s guidelines—this ensures measurement accuracy. Just as appliances benefit from regular upkeep, so do your tools. The investment in quality tools and routine care pays off by reducing unexpected breakdowns and extending their lifespan.
Why Reliable Tools Make All the Difference
Using high-quality tools not only makes repairs safer and more efficient, but it also instills confidence. When I tackle a stubborn dishwasher leak or refrigerator compressor issue, I know I’m armed with the best equipment. Reliable tools, combined with knowledge, empower homeowners like you to perform effective maintenance, potentially delaying or even avoiding costly professional interventions. Remember, sometimes the difference between a quick fix and a major repair lies in the tools at your disposal. For a comprehensive upgrade, consider visiting trusted appliance repair specialists for expert help, especially when tackling complex installations or repairs. Don’t forget, consistent tool maintenance is as important as the repairs themselves. So, next time you’re ready to fix that leaking dishwasher or squeaky dryer, start with your tools—quality and care will ensure your appliance stays in top shape longer.
For tips on troubleshooting electrical issues, I recommend reviewing the International Electrotechnical Commission’s resources—they provide valuable safety and technical standards. Now, try calibrating your multimeter once again after cleaning the test leads—it’s a simple step that can enhance diagnostic accuracy significantly.
The Hardest Lesson I Learned About Appliance Repair, Installation, Same-Day Service, and Warranty
One of my biggest wake-up calls was realizing that many of the so-called quick fixes are just Band-Aids, not real solutions. I once tried to patch a leaking dishwasher with temporary sealant, only to face recurring problems that cost more in the long run. The lesson? True longevity comes from understanding the root cause and trusting expert help when needed.
3 Myths About Appliance Maintenance That Held Me Back
I believed that all repairs could be DIY with enough YouTube tutorials. Turns out, some issues—like faulty wiring or complex sensor failures—are best handled by professionals. Debunking these myths saved me time, money, and frustration, especially when working with warranties and guaranteed repairs.
What Experts Won’t Tell You About Warranty and Emergency Repairs
I used to think warranties covered every mishap, but I learned that certain conditions, like improper installation or neglecting maintenance, can void your coverage. Knowing how to coordinate with authorized technicians for same-day service and how warranties are maintained has been a game-changer for peace of mind and cost savings.
My Essential Toolkit for Appliance Troubleshooting
Equipping myself with a quality multimeter, a set of precision screwdrivers, and a reliable leak detector made all the difference. These tools aren’t just for repairs—they empower you to diagnose issues accurately and avoid unnecessary service calls, especially when ensuring your warranty remains valid.
Where to Go from Here
Start by mastering safety protocols and understanding your appliance’s warranty terms. Explore trusted guides like expert repair resources and consider investing in quality tools. Remember, taking small, informed steps today builds confidence for tackling bigger maintenance tasks tomorrow.
Your Turn to Make a Move
Have you ever overlooked a simple step that turned into a costly repair? Drop your experiences below—I’d love to hear what you’ve learned from your own appliance repair journey.