
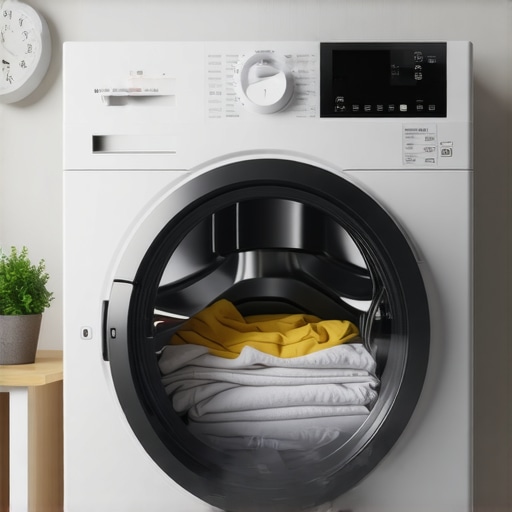
Ever had that frustrating moment when you start a load of light clothes and two hours later, they’re still damp? I remember the exact day I finally realized my dryer was turning into a never-ending saga. It was late evening, I needed my favorite shirt for an early meeting, and there I was, watching helplessly as the drying cycle dragged on endlessly. That light load turned into a test of patience and a lesson learned the hard way.
Understanding Why Your Dryer Turns a Simple Load into an Epic Wait
If you’re nodding along, wondering why your trusty appliance seems to be working against you, you’re not alone. I’ve been down this road, and I want to share what I discovered. It’s not just about patience—there are real reasons behind those extended dry times. Today, we’ll explore what causes your dryer to take so long, how to recognize early signs of trouble, and simple steps to get your laundry routine back on track. Asphalted to quick fixes, this post promises practical insights rooted in actual experience—and a bit of expert advice to help you troubleshoot effectively.
Is Your Dryer’s Long Wait Really Worth the Hassle?
Admittedly, I used to dismiss those lengthy cycles as normal or just a quirk of older machines. I thought,
Check the Venting System for Blockages
When my dryer runs longer than usual, the first step I take is inspecting the vent hose. A clogged vent trap causes moisture to linger inside, extending drying time. Disconnect the vent from the back of the dryer, and look for lint buildup or debris. Use a vacuum or brush to clear any obstructions thoroughly. Ensuring unobstructed airflow is crucial—similar to clearing a clogged artery to restore healthy circulation. After cleaning, run a short cycle to see if drying improves. If not, move on to other troubleshooting methods.
Assess the Moisture Sensor and Thermostats
Often, a failing moisture sensor gives the dryer false readings, thinking the clothes are dry prematurely, or conversely, not detecting moisture at all, causing extended cycles. To test this, locate the sensor (usually a metal strip inside the drum) and wipe it gently with a soft cloth. If lint or residue covers it, cleaning can restore proper function. Sometimes, sensors need replacement—consult your dryer’s manual for specifics. Additionally, verify thermostats with a multimeter if you notice inconsistent heat, as faulty thermostats can prolong the cycle or prevent proper drying altogether.
Examine the Heating Element and Thermal Fuse
A malfunctioning heating element directly impacts tumble dryness. If the element is broken or burnt out, your dryer must work harder and longer to dry clothes, which leads to extended cycles. To test, remove the element and inspect visually for breaks or disconnections; use a multimeter to check for continuity. Similarly, a blown thermal fuse, often triggered by overheating, can disable the heating process. Replacing these parts involves unplugging the appliance, disassembling the cover, and following safety procedures carefully. If DIY isn’t your style, scheduling an appointment with a certified technician can save you time and frustration. Remember, many appliance repairs can be expedited with [same-day service](https://discountappliancehub.com/scheduling-your-appliance-repair-for-same-day-service-in-2025) and warranty-backed support, ensuring reliability.
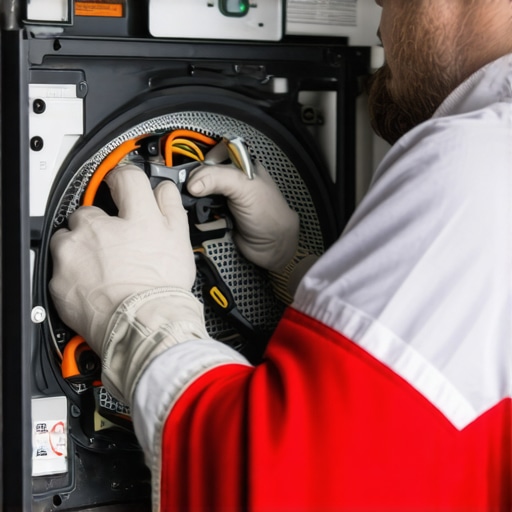
Image showing a technician inspecting a dryer’s heating element with tools.
Inspect the Drum Belt and Sensors for Alignment
If the drum isn’t turning freely, the cycle may be prolonged because the motor works harder. Check the belt for wear or breakage, and ensure it’s correctly aligned and tensioned. Misaligned belts can cause the drum to stall, making the dryer seem like it’s stuck in a never-ending cycle. To do this, open the dryer cabinet carefully, and observe the belt’s condition as it loops around the drum and motor pulley. Replace if cracked or frayed. Also, confirm that all sensors are positioned accurately—misplacement can cause erroneous signals and extended drying times.
Review Installation and Airflow Clearance
Proper installation plays a vital role in efficient drying. Ensure your dryer is level and installed according to the manufacturer’s specifications—check [installation guidelines](https://discountappliancehub.com/how-to-properly-level-your-refrigerator-to-prevent-leaks). An unlevel unit can cause uneven drum rotation and moisture retention. Also, verify there’s adequate space around the appliance, especially behind and above, to facilitate air circulation. Restricted airflows or improper leveling can simulate a failing appliance, even if all internal parts are fine.
When it comes to appliance repairs and warranty claims, many homeowners operate under misconceptions that can cost them time and money. The common belief that all repair services are created equal is one such myth. In reality, not all technicians are equally qualified or authorized, which can significantly impact the quality and longevity of repairs. According to expert insights from industry specialists, verifying whether your technician is factory authorized ensures your appliance receives legitimate parts and expert handling, reducing the risk of repeat issues.
One of the most misunderstood aspects is the difference between same-day service and emergency repair. While many assume these terms are interchangeable, they actually denote different service levels. Same-day service promises quick scheduling, but not necessarily immediate response, whereas emergency repairs are prioritized for urgent situations like water leaks or gas leaks. To maximize your warranty benefits and ensure reliable service, it’s essential to understand the scope of your provider’s offerings. For detailed tips, check out our guide on maximizing your appliance warranty during emergency repairs.
Installation mistakes often go unnoticed until problems arise. Many believe that installing appliances is straightforward, but improper setup—such as incorrect leveling or insufficient venting—can lead to premature breakdowns. Professional installation isn’t just about plugging in the appliance; it’s about ensuring compliance with manufacturer specifications to prevent issues like overheating or leaks. For example, improper dishwasher drain setup can cause pooling or foul odors, while incorrect refrigerator placement affects airflow and performance. Learn more about proper leveling and installation techniques.
Be wary of the trap that some service providers advertise overly broad warranties or quick fixes that don’t address root causes. A common oops is replacing parts without diagnosing underlying issues, which can result in recurring failures. Always ask whether the technician performs comprehensive diagnostics before proceeding. Trusted experts often offer warranty-backed services, which protect you against recurring problems. For details, see warranty-backed appliance services you can rely on.
Let’s dig deeper into one nuanced fact many overlook: the importance of verifying whether your appliance repair provider offers genuine parts and certified technicians. Using non-approved parts or inexperienced technicians can void your warranty and cause safety hazards.
Have you ever fallen into this trap? Let me know in the comments. Understanding these nuances can save you money and ensure your appliances run smoothly for years to come.
Keeping It Working: My Favorite Tools for Appliance Maintenance
Maintaining your appliances doesn’t have to be a daunting task if you have the right tools at hand. Over the years, I’ve refined my toolkit to focus on specific equipment that ensures efficient diagnostics and repairs. One indispensable item is a high-quality multimeter. I personally rely on the Fluke 117 because of its accuracy and ease of use, especially when checking thermostats or electrical components. For cleaning stubborn lint or debris, a flexible brush with a long handle proves invaluable, preventing potential overheating issues in dryers or vent blockages. Additionally, I keep a set of precision screwdrivers tailored for appliance screws, which helps avoid stripping delicate parts during disassembly.
Powerful Software for Diagnostics
Beyond hardware, I recommend using appliance-specific diagnostic apps and manuals. Resources like the manufacturer’s online service guides or licensed diagnostic software can significantly speed up troubleshooting. For example, accessing diagnostic mode instructions directly from the user manual—often available online—enables me to identify issues like faulty control boards or sensor failures swiftly. Investing in a good inspection camera with adjustable LED lighting makes it easier to peer into tight spaces, such as behind refrigerators or inside washing machines, for hidden problems without complete disassembly. It’s these precise tools and knowledge that empower me to perform repairs confidently and quickly.
Planning for Long-Term Results
I strongly believe that regular maintenance combined with the right tools leads to lasting appliance health. Setting up a maintenance schedule—such as annual vent cleaning or filter replacement—is crucial. For this, I use a calendar app linked with maintenance checklists to stay on top of routine tasks. Moreover, keeping spare parts like thermal fuses or control knobs handy prevents delays during unexpected failures. By doing so, I minimize downtime and avoid costly emergency repairs. The trend toward smart diagnostics, where appliances can indicate issues before they escalate, promises an even more proactive approach in the future, reducing the need for extensive repairs.
How do I keep my appliances in top shape over time?
The secret lies in combining proactive maintenance with the use of specialized tools and resources. Regularly inspecting and cleaning critical components, updating firmware when applicable, and scheduling professional checkups, especially for complex systems, extends the lifespan of your appliances. Remember, partnering with certified technicians for installation and repairs—like those offering [same-day service](https://discountappliancehub.com/scheduling-your-appliance-repair-for-same-day-service-in-2025)—ensures your equipment receives quality care backed by warranty support. Don’t hesitate to reach out via our contact page for expert assistance or to schedule comprehensive diagnostics that can detect issues early and keep your appliances running smoothly for years to come. For a deeper dive into reliable maintenance practices, I recommend checking this expert guide.
To get started today, try incorporating a digital infrared thermometer to monitor appliance temperatures. It’s a simple yet effective step to prevent overheating—something I’ve found saves time and money in the long run.
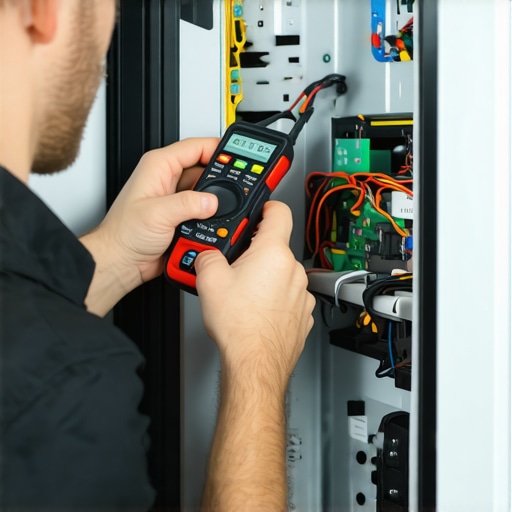
Image depicting a technician using a digital multimeter and inspection camera during appliance maintenance. Alt: Technician diagnosing an appliance with tools. Title: Precision Tools in Appliance Repair.
Lessons That Could Save Your Laundry Day
One of the most valuable lessons I learned involved never assuming that a simple long drying cycle was a minor quirk. Instead, I realized that signs like persistent moisture or unusual noises are red flags, and addressing them early prevents costly repairs later. Another insight was understanding that proper installation—like ensuring your dryer vent is clear—can dramatically improve performance and lifespan. Lastly, I discovered that relying on certified technicians and genuine parts not only prolongs warranty coverage but also keeps your appliance running reliably for years to come. These lightbulb moments transformed my approach from reactive to proactive, saving time, money, and frustration.
Tools and Resources That Changed My Repair Routine
Over the years, I’ve come to depend on a handful of tools that make diagnosing and fixing appliances more efficient. A high-quality multimeter, like the Fluke 117, is essential for accurately testing electrical components. An inspection camera helps me peer into tight spaces, especially behind refrigerators or inside washers, without dismantling everything. I also recommend keeping a set of precision screwdrivers for delicate work and a flexible vent brush for cleaning lint and debris—key to avoiding dryer fires and extending your appliance’s life. For ongoing learning, I trust manufacturer-provided service guides and specialized diagnostic apps, which offer step-by-step instructions that save me time and ensure I don’t miss critical details. These resources empower me to troubleshoot confidently and deliver lasting solutions.
Your Turn to Take Control of Appliance Maintenance
Now that you’ve got some insider wisdom and recommended tools, it’s time to start applying these insights to keep your appliances in top shape. Regular maintenance—like cleaning vents, inspecting thermostats, and verifying proper installation—can prevent many issues before they happen. Remember, partnering with certified professionals, especially when immediate repairs are needed, guarantees quality service backed by warranties. Don’t wait for a minor problem to become a major headache—take proactive steps today and become the homeowner who keeps appliances running smoothly for years. If you’re ready to elevate your repair game, explore our same-day service options and get expert help when you need it most.
How do you plan to implement these maintenance tips in your home? Let me know below—sharing experiences can inspire others to become more appliance-savvy!
,