
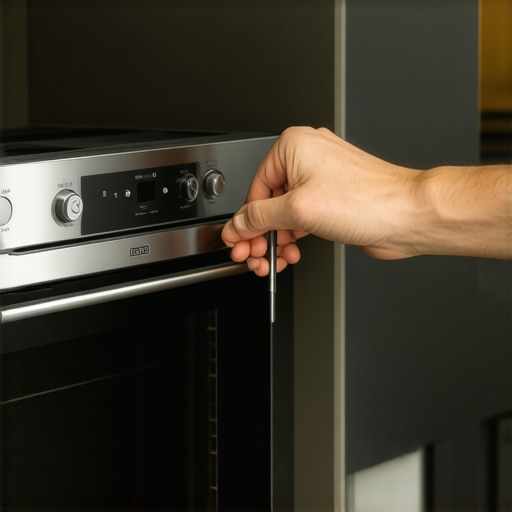
I’ll never forget the sound of my first solo wall-oven install—a sickening thunk that echoed through my sister’s kitchen because I’d gotten a little too cocky with the level and a little too lazy with the bracing. I thought the weight of the unit alone would keep it in place. I was wrong. Dead wrong. When you’re dealing with a hundred-plus pounds of stainless steel and glass that reaches 500 degrees, stable isn’t just a suggestion; it’s a requirement for your house not burning down or your floor not getting crushed. If you’ve ever pulled a heavy roasting pan out of the oven and felt the entire unit shimmy forward an inch, you know the cold spike of adrenaline I’m talking about. We are going to fix that today. I’m going to show you exactly how to anchor that beast so it never budges again, because a secure oven isn’t just about aesthetics; it’s about making sure your kitchen remains a safe zone rather than a construction hazard.
Your Kitchen Cabinet is Not a Magic Shelf
Most DIYers—and even some rushed pros—treat a wall oven like a microwave with an ego. But the physics are different. You aren’t just sliding a box into a hole; you’re integrating a high-heat machine into a wooden structure that was never meant to hold that much concentrated weight without help. If you don’t ensure reliable appliance installation right from the start, you’re looking at warped cabinetry or, worse, a unit that tips forward. I learned this the hard way early in my career when I ignored a 1/8-inch gap in the junction box, thinking the trim would hide the lack of structural support. That one mistake led to a rattling fan that eventually required an expert guide to appliance repair and installation just to diagnose why the cabinet was vibrating.
Won’t the standard mounting screws hold it up?
You might be thinking that the two or four screws that come in the bag are all you need. In reality, those are often just for alignment. According to the National Fire Protection Association (NFPA), cooking equipment is the leading cause of home fires and home fire injuries, and improper mounting can lead to mechanical failures that increase these risks. Relying on thin particle board to hold up a luxury oven is a recipe for a very expensive same-day appliance repair call later on. Just like how the anti-tip bracket every range installation needs is non-negotiable for floor units, wall-mounted units require internal cleats and solid wood blocking to be truly safe. Have you ever noticed your oven door doesn’t quite sit flush, or worse, feels like it’s pulling the whole cabinet with it when you open it? If so, you’re exactly who I wrote this for. Let’s get into the nitty-gritty of the bracing you actually need behind those cabinet walls.
Build a Foundation That Actually Holds Weight
The first thing you need to realize is that the floor of your oven cabinet is often just a thin sheet of plywood or MDF. Think of it like a suspension bridge; if the cables are frayed, the bridge falls. You need to install structural cleats—typically 2x4s or 3/4-inch plywood strips—screwed directly into the cabinet side walls. These act like the ribs of the structure. I remember a job in a 1970s remodel where I skipped this because the cabinet felt solid. Six months later, I got a call back because the bottom had bowed so much that the drawer beneath it would not open. That is why an expert guide to appliance repair and installation today always emphasizes the skeleton of the cabinet over its skin. If you do not reinforce the base, the hundred-pound unit will eventually compress the wood, causing the door to misalign.
Stop the Vibration Before You Slide it In
Once those cleats are in, use a 4-foot level. If you are even a fraction off, gravity becomes your enemy. A tilted oven does not just cook unevenly; it puts lateral stress on the mounting screws. This is often why your convection fan is rattling at high temperatures—the unit is torqued just enough that the spinning blades clip the housing. You are aiming for a level of precision usually reserved for fine furniture. If you find the platform is off, use plastic shims rather than wood. Wood shims can compress or rot over years of intense heat cycles. 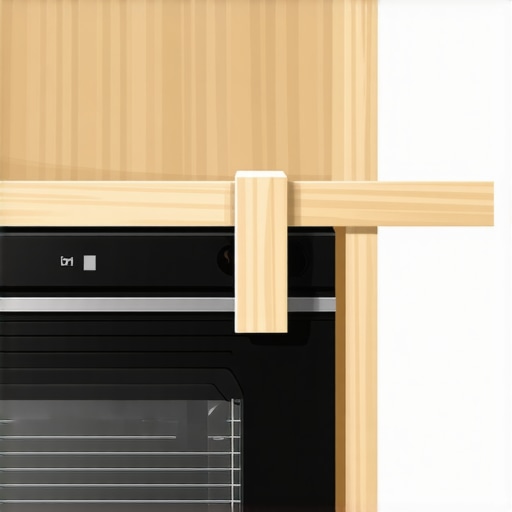
The Right Way to Sink Your Mounting Screws
Now, let us talk about the actual anchor part. Most ovens have pre-drilled holes in the side trim or the bottom frame. When you ensure reliable appliance installation in 2025, you must pre-drill your pilot holes into the cabinet frame. I once made the mistake of driving the screw home without a pilot hole on an expensive walnut cabinet. The wood split with a crack that sounded like a gunshot, and it cost me half my profit to hire a finisher to hide the damage. Just like finding the proper height for your wall-mounted microwave installation, the placement here is about balance and structural integrity. If you are struggling to get the unit positioned safely before the final screw, do not be afraid to look for fast trustworthy appliance installation near you to help with the heavy lift. You only get one shot at those screw holes before the cabinet face is permanently marred. Make sure the screws are long enough to bite into the solid wood framing, not just the thin decorative trim.While solid anchoring prevents the physical thunk I mentioned earlier, there is a dangerous misconception that secure means hermetically sealed into the cabinet. We often mistake a seamless, gap-free look for high-quality craftsmanship. In reality, that perfect fit might be the reason your oven’s brain is slowly frying. Everyone tells you to make it flush, but in my experience, a zero-clearance install without a ventilation strategy is a disaster waiting to happen. Most modern ovens are designed with specific air-intake paths, and when you choke those off to satisfy an aesthetic goal, you are inviting thermal runaway. This is exactly why your convection fan is rattling at high temperatures—the internal components are expanding beyond their design limits.
What happens when the aesthetic overrides the engineering?
When you suffocate a high-heat appliance, the first thing to go is the control board. According to a study by the Association of Home Appliance Manufacturers (AHAM), electronic failures are significantly higher in units where cabinet temperatures exceed 150 degrees Fahrenheit. If you can’t feel air moving through the bottom vent or the trim, you’ve essentially built a kiln. This leads to the signs of a failing range control board, which can cost more to fix than the oven is worth. 
Does your warranty actually protect against a bad install?
The biggest myth in the DIY world is that a warranty is a universal safety net. It isn’t. Many homeowners assume that if they buy the coverage, they are safe from any failure. However, you need to read the fine print that voids your fridge protection plan or your oven service agreement. If an inspector determines that the failure was caused by environmental factors—meaning you didn’t leave the proper clearance required by the manual—your claim will be rejected. These are the specific wear and tear clauses that might void your warranty and leave you footing a massive bill for a new logic board. Don’t assume scheduling your appliance repair for same-day service in 2025 means the technician will ignore your installation errors to help you out. They are often required to document the installation environment before they can even order a part. Have you ever fallen into this trap or had a technician point out an install error you didn’t see coming? Let me know in the comments.
The One Screw That Won’t Snap Under Pressure
I have a box in my truck labeled ‘The Life Savers.’ Inside aren’t candies; they are GRK Cabinet Screws. If you are still using the zinc-plated wood screws that came in the box with your oven, you are asking for trouble. Those factory screws often lack the shear strength required to handle the constant expansion and contraction of a 500-degree metal box. I use the GRK R4 because they have a self-tapping tip and a built-in washer head that distributes the load without splitting the wood. When you ensure reliable appliance installation in 2025, you want hardware that is rated for structural use, not just decorative trim. I once saw a heavy double-oven shear its mounting screws right off because the homeowner used drywall screws—the oven literally leaned out of the wall like it was trying to escape. If you’re doing this yourself, spend the extra ten dollars on structural fasteners. It’s the cheapest insurance policy you’ll ever buy.
How do I keep this oven running like day one for the next decade?
Maintenance isn’t just about cleaning up spilled lasagna; it is about monitoring the thermal envelope. Every six months, I recommend a ‘gasket stress test.’ Close a dollar bill in the oven door at various points around the seal. If you can pull it out with no resistance, your gasket is failing, and your cabinet is soaking up that extra heat. This is a primary reason why your oven temperature is suddenly inaccurate. According to the International Association of Certified Home Inspectors (InterNACHI), a failing door seal can increase energy consumption by up to 20% and eventually cook the very control board you just worked so hard to protect. If you notice a gap, don’t wait for a total failure; look into warranty-backed appliance services you can rely on to get a factory-spec replacement seal installed before the heat warps your cabinetry. 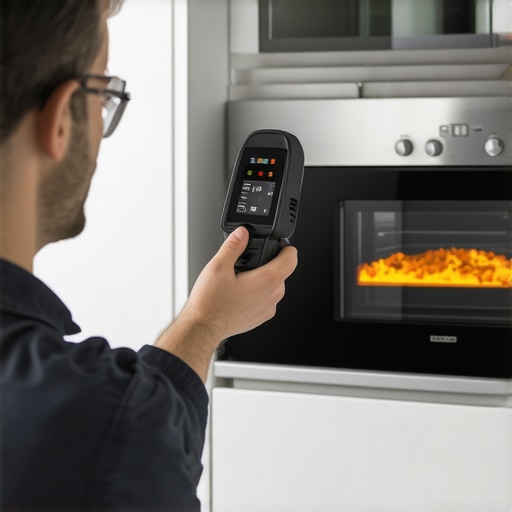
Predictive Diagnostics are the New Normal
Looking ahead, the days of ‘guessing’ why an oven is clicking are numbered. We are moving toward a world where your oven will ping your phone to tell you the heating element is at 90% of its lifecycle before it actually snaps. This shift toward predictive maintenance means that scheduling your appliance repair for same-day service in 2025 will be based on data, not just an emergency breakdown. If your unit has Wi-Fi capabilities, keep the firmware updated. These updates often include tweaks to the cooling fan algorithms that can extend the life of your sensors by years. If you want to be truly pro-active, grab a cheap infrared thermometer and map the ‘hot spots’ on your cabinet face during a self-clean cycle. If any spot exceeds 140 degrees, you need to revisit your bracing and ventilation gaps immediately. Try this tonight: run your oven for 30 minutes at 400 degrees and feel the wood trim around the screws. If it’s too hot to keep your hand on, you’ve got a ventilation issue that needs fixing today.
The Lessons Only a Cracked Cabinet Taught Me
I’ve spent years fixing mistakes that could have been avoided with ten minutes of patience. First, never assume the cabinet is square just because the house is new; modern builds settle faster than you’d think. Second, always double-check the depth of your junction box before you lift. If that box is too shallow, your oven will never sit flush, and you’ll end up needing an expert guide to appliance repair and installation today just to move the wiring. Finally, remember that the trim is decorative—never hang the weight of the unit on the decorative flange; that is a quick way to a costly replacement.
My Field-Tested Toolkit for a Flawless Install
To ensure reliable appliance installation in 2025, you need more than a basic screwdriver. I swear by the GRK R4 screws I mentioned earlier because they don’t snap when the metal expands under heat. I also recommend keeping a digital torpedo level in your pocket; it’s significantly more accurate for those tight cabinet spaces than a traditional bubble level. Most importantly, keep the document most people forget before calling service—the original installation manual—handy inside a kitchen drawer. It saves hours of guesswork for future technicians.
#IMAGE_PLACEHOLDER_E#
Your Kitchen Deserves This Level of Care
Taking the time to anchor your oven properly isn’t just a weekend project; it’s an investment in your home’s safety. When you know that unit is rock-solid and properly ventilated, you can focus on the cooking rather than the equipment. If you ever feel overwhelmed by the mechanical requirements, remember that warranty-backed appliance services you can rely on are always an option to verify your work. You’ve got the knowledge now—go ahead and turn that kitchen into the professional-grade space it was meant to be. Have you ever felt a wall oven shift while you were using it, or did you catch a bad installation error before it became a problem? Let me know your stories in the comments below!