
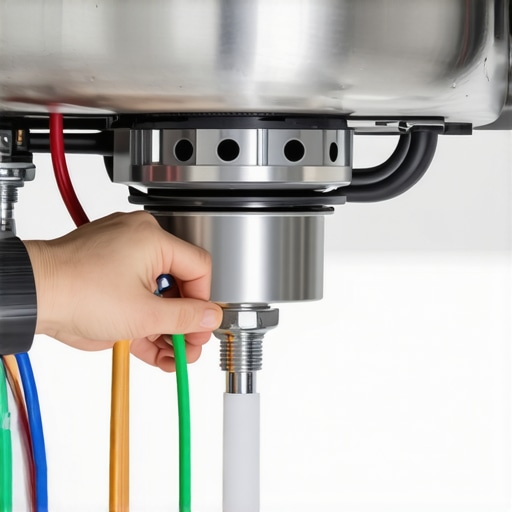
I still remember the metallic zing that raced up my arm three years ago while I was trying to ‘quickly’ swap out my old sink unit. It was a Tuesday night, I was tired, and I figured that the green grounding screw was more of a suggestion than a requirement. I was dead wrong. That one mistake didn’t just give me a nasty jolt; it ended up tripping the breaker every time the dishwasher drained. I had to call in for same day appliance repair just to figure out why my kitchen was suddenly a hazard zone. Today, I am going to make sure you do not repeat my amateur blunders. We are going deep into the one step that most DIYers overlook because they are too focused on the plumbing side of the job. If you are currently staring at a unit that is humming but not turning, you might already be facing electrical gremlins. Let’s fix that right now. Have you ever felt a tiny, unexplained static pop when touching your stainless steel sink?
Stop Shrugging Off That Green Screw
The green screw on the bottom of your disposal is your home’s primary defense against a stray current turning your sink into a live wire. When I first started out, I thought grounding was just an extra precaution for ‘old houses’ with wonky wiring. The truth is much more serious. According to the National Electrical Code (NEC) Article 250, all kitchen appliances must be effectively grounded to provide a low-impedance path for fault current, which prevents the metal casing from becoming energized. If you skip this, you are effectively using your body as the path to the floor. Whether you are doing this yourself or looking for fast trustworthy appliance installation near you, the electrical integrity is what keeps your family safe during the morning rush.
Is a missing ground wire really going to fry your kitchen?
Skepticism is common here because the disposal will often ‘work’ without a ground—until it doesn’t. A missing ground doesn’t just invite shocks; it leaves the motor vulnerable to surges that can shorten its lifespan significantly. I have seen brand-new units burn out in months simply because static electricity had nowhere to go. If you are following an expert guide to appliance repair and installation today, you will notice that the wiring is always the first thing a pro checks. I once ignored a loose copper wire and ended up with a small puff of smoke that smelled like burning rubber and regret. Do not be that person. Proper grounding ensures that if a wire inside the motor casing frays or touches the side, the power is immediately cut at the breaker rather than staying live in the metal housing. It is the difference between a minor annoyance and a major emergency.
Get the Wiring Right Before Mounting the Unit
When I was helping my neighbor Dave replace his 15-year-old disposal, we found a mess of brittle, blackened wires that looked more like charcoal than copper. The unit hadn’t been grounded properly, and years of vibration had nearly shaken the wire nuts loose. This is why you should always handle the electrical setup on your workbench or kitchen floor before the disposal is actually hanging under the sink. It is much easier to see what you are doing when you aren’t craning your neck in a dark cabinet. First, remove the small metal plate on the bottom of the disposal. You will see a black wire, a white wire, and that famous green grounding screw. If you are coming from a background of high-voltage DIY, you might find similarities in how to properly ground your new induction cooktop 2, where the grounding principle remains the same: give the electricity a path of least resistance.
The Secret of the Strain Relief Nut
Most DIY kits don’t include a strain relief connector, and skipping it is a recipe for disaster. This little metal clamp acts as a seatbelt for your power cord. Without it, the sharp edges of the disposal’s metal housing can eventually saw through the wire insulation as the motor vibrates. I once saw a disposal that had literally ‘eaten’ through its own power cord because the installer skipped this $2 part. Slide the connector into the hole, tighten the nut, and then thread your cord through it. This ensures that even if you accidentally yank the cord while reaching for the dish soap, the electrical connections inside remain untouched. If you are unsure about the hardware, checking an expert guide to appliance repair and installation today can help you identify the specific clamp size for your model. 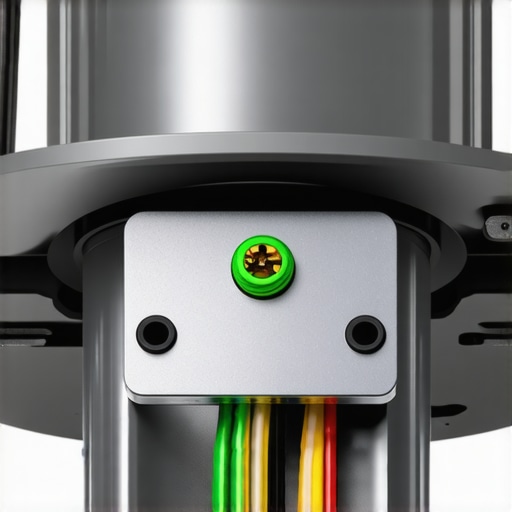
Loop the Ground and Secure the Leads
Now for the core task. Take your green (ground) wire and wrap it clockwise around the green screw. Why clockwise? Because as you tighten the screw, it will pull the wire tighter into the loop rather than spitting it out. I learned this the hard way during a fast trustworthy appliance installation near you project where a counter-clockwise loop caused a loose connection that flickered every time the motor kicked in. Once the ground is cinched down, use high-quality wire nuts to connect the black ‘hot’ wire to the disposal’s black lead and the white ‘neutral’ wire to the white lead.
Avoid This Common Wiring Mistake
One of the biggest errors I see is leaving too much exposed copper outside the wire nut. This can lead to a short circuit if the wires touch the metal casing. It is the same kind of the wiring mistake killing your smart home thermostat in many modern houses. Give the wires a firm tug after twisting the nut on; if they slip, you need to re-strip and re-twist. Proper tension is the difference between a unit that lasts a decade and one that requires warranty backed appliance services you can rely on within the first month. Once the wires are secure, tuck them neatly into the housing, making sure they aren’t pinched by the metal cover plate when you screw it back on. This setup keeps the electrical components isolated from the inevitable moisture found in a kitchen environment.Most people assume that once the motor hums, the job is done. But here is where the ‘experts’ and the weekend warriors diverge. You see, the common wisdom is that ‘same-day service’ is a race against the clock to get your sink drain working again. In my experience, the speed of the repair is actually secondary to the integrity of the installation environment. If a technician rushes in for scheduling your appliance repair for same-day service in 2025 but fails to check your home’s existing circuit load, you are just waiting for the next failure.
Your Warranty Is More Fragile Than You Think
The biggest ‘oops’ factor I encounter isn’t a mechanical failure; it is the ‘DIY Warranty Void.’ Most manufacturers specify that any electrical damage resulting from improper grounding or ‘unprofessional’ installation is grounds for immediate claim denial. I have sat on the phone with homeowners who were stunned to find that the reason your warranty claim was denied was simply a lack of a $2 strain relief nut. They saved twenty dollars doing it themselves but lost a four-hundred-dollar coverage plan. To stay safe, you must learn how to document a dead-on-arrival appliance for a full-refund, which includes taking photos of your wiring before you ever close that bottom plate. 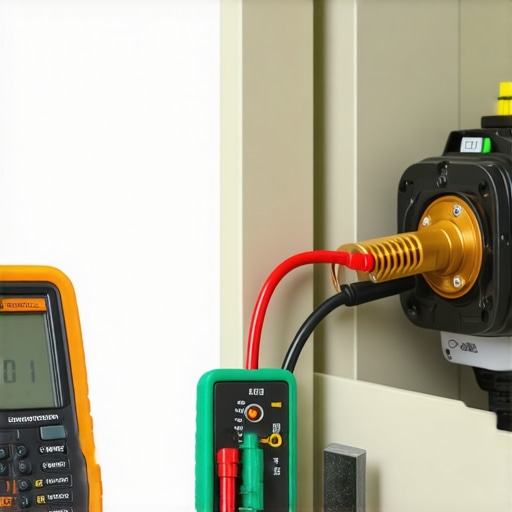
Does your kitchen’s GFCI circuit actually support a high-torque disposal?
This is a nuance even some pros miss. Modern high-horsepower disposals can create a ‘leakage current’ that causes high-sensitivity GFCI outlets to trip unnecessarily. According to the Electrical Safety Foundation International (ESFI), nearly 15% of kitchen electrical fires are related to improper circuit loading or aging protection devices. If you are struggling with a unit that keeps cutting out, you might need to maximize your appliance warranty during emergency repairs by having an electrician verify the breaker type. Simply swapping the disposal won’t fix a core electrical incompatibility.
Stop Trusting the Factory Wire Nuts
Here is a contrarian take: throw away the cheap plastic wire nuts that come in the box. I always use professional-grade, winged nuts with a silicone sealant for under-sink work. Why? Because the vibration of a disposal is essentially a small earthquake happening under your sink every day. Over five years, that vibration can loosen a standard nut just enough to cause arcing. This is why how to ensure reliable appliance installation in 2025 focuses so heavily on mechanical fasteners. I’ve seen ‘tight’ wires practically fall out when touched because they weren’t twisted properly from the start. Have you ever fallen into this trap? Let me know in the comments. If you are feeling overwhelmed by the technicalities, it is always safer to seek warranty backed appliance services you can rely on rather than risking your home’s safety. Proper grounding isn’t just about the green screw; it’s about the peace of mind that comes with knowing the job was done to code.To wrap your head around a truly professional setup, you need to look past the hardware and start looking at your toolkit. I never crawl under a sink without my Fluke non-contact voltage tester and a pair of Knipex wire strippers. Why? Because being ‘pretty sure’ the power is off is how I got that metallic zing years ago. If you want to follow an expert guide to appliance repair and installation today, you have to treat the electrical phase with the respect it deserves. Precision tools ensure that you aren’t nicking the copper strands, which is a leading cause of heat buildup and eventual wire failure.
Don’t Even Start Without a Non-Contact Voltage Tester
Before you even touch a screwdriver, you need to verify that the circuit is dead. Even if the switch is off, I’ve seen ‘phantom voltage’ from poorly shielded adjacent wires. A high-quality tester is the only thing standing between you and a trip to the emergency room. When you are looking for what to expect from same-day appliance repair experts, watch if they pull out a tester first; if they don’t, they are cutting corners with your safety. 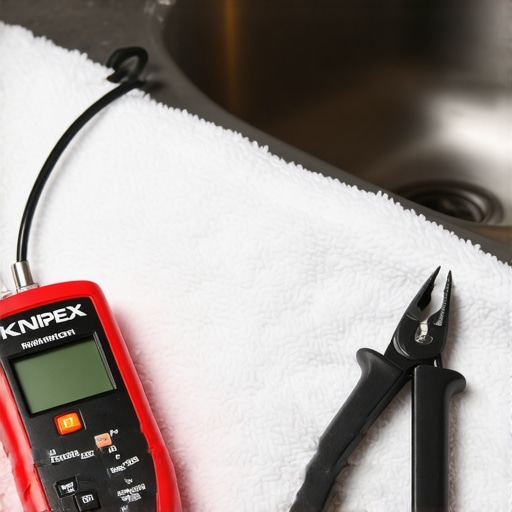
Stop the Vibrations Before They Loosen Your Wires
The International Association of Electrical Inspectors (IAEI) often highlights that ‘terminal torque’—the physical tightness of a connection—is critical in high-vibration environments. A disposal is basically a 1/2-horsepower earthquake. I personally use ‘winged’ wire nuts that allow me to get significantly more leverage than the standard smooth ones. This mechanical advantage ensures the copper is mashed together so tightly that vibration cannot introduce air gaps. If an air gap forms, you get arcing; if you get arcing, you get a unit that is humming but not turning because the voltage drop is too high for the motor to kick over.
How do I maintain my disposal’s electrical health over time?
Maintenance isn’t just about grinding up lemon peels to make the sink smell good. Every six months, I recommend a quick ‘visual and tug’ test. Ensure there is no green corrosion appearing on the bottom plate, which indicates a slow leak is reaching the electrical housing. You should also how to prove periodic maintenance to keep your warranty valid by keeping a simple log of these checks. Looking ahead to 2025 and beyond, I predict we will see smart disposals with integrated moisture sensors that automatically kill the power if a internal seal fails—preventing the motor from frying. For now, you are the sensor. If you notice any flickering in your kitchen lights when the disposal starts, it’s a sign of a loose neutral wire or an overloaded circuit. Do not wait for a smell of ozone; reach out for scheduling your appliance repair for same-day service in 2025 to have a pro verify the circuit integrity. If you’re serious about your home’s safety, I challenge you to open that bottom plate today and check for the strain relief nut we discussed earlier. If it’s missing, you are living on borrowed time. Ensuring a how to ensure reliable appliance installation in 2025 means doing the small things right the first time. If you find a mess of charred wires, stop everything and maximize your appliance warranty during emergency repairs by calling in a certified technician who can document the fault correctly for a potential claim.
Lessons I Learned the Hard Way Under the Kitchen Sink
When I look back at my early DIY attempts, I realize that the biggest risks weren’t the ones I saw coming; they were the invisible ones. After years of tinkering and helping others fix their mistakes, a few truths have become crystal clear. First, the factory-supplied wire nuts are almost never enough for a high-vibration environment. I always swap them for professional-grade winged connectors to ensure the copper stays locked tight. Second, that tiny green screw is more than just a fastener; it is your literal lifeline. I’ve seen too many cases where a missing ground lead to static buildup that fried the control board, which is often the reason your warranty claim was denied. Lastly, speed is the enemy of safety. Taking an extra five minutes to verify your wiring with an expert guide to appliance repair and installation today will save you hours of troubleshooting later.
My Personal Toolkit for Electrical Success
To get results that match how to ensure reliable appliance installation in 2025 standards, you need the right gear. I never start a job without my Fluke non-contact voltage tester; it’s the only way to be 100% sure the circuit is dead before I touch a wire. I also swear by Knipex wire strippers because they don’t nick the copper strands, which prevents future heat-related failures. For the connections themselves, I use silicone-filled wire nuts to protect against the inevitable moisture found in cabinet bases. These tools don’t just make the job easier; they provide the precision required for warranty backed appliance services you can rely on.
Your Path to a Professional-Grade Kitchen
Wiring a disposal might feel like a minor task, but it is the foundation of a safe, functional kitchen. By taking the time to loop your ground wire correctly and securing your leads with a strain relief nut, you are doing more than just fixing a sink—you are protecting your home. If you ever feel like you are in over your head, don’t hesitate to reach out for maximize your appliance warranty during emergency repairs to have a certified technician double-check your work. You’ve got the knowledge now, so go ahead and close that bottom plate with confidence. Have you ever discovered a ‘scary’ wiring surprise under your sink left by a previous owner? Let me know in the comments below!