
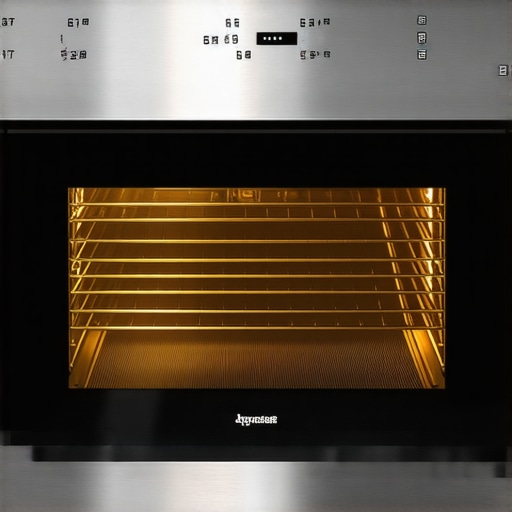
Imagine walking into your dark kitchen at 2 AM for a glass of water, only to be greeted by an eerie, amber glow radiating from your stove. The door is shut. The oven is off. Yet, there it is—that stubborn little bulb beaming like a spotlight. It’s enough to make you think your house is haunted or, worse, that you’re looking at a massive repair bill. I’ve been there, and I know exactly how frustrating it is to jiggle the handle twenty times hoping for a miracle. Today, we are going to stop the guesswork and pinpoint why that light won’t quit, from simple mechanical hiccups to the more technical glitches that require a bit more elbow grease.
Check the Latch Before You Panic
Usually, when an appliance acts up, our brains jump straight to the worst-case scenario. I remember once spending three hours tearing apart a control panel because I was convinced the motherboard had fried, only to realize that the ‘Light’ button was just slightly wedged under the plastic trim. Talk about a facepalm moment. Before you assume you need an expert guide to appliance repair, take a close look at the door switch. This tiny plunger is the gatekeeper of your oven’s interior lighting. If it’s coated in years of grease or if the door hinge is slightly misaligned, the switch never gets depressed fully. It’s a common culprit that often mimics the signs of a failing range control board without actually being a fatal blow to your wallet.
Is my control board actually toast?
It is the question everyone dreads. You might worry that a light that stays on is just the first domino to fall before the whole unit dies. While it’s true that a shorted relay on the control board can keep the circuit closed, it’s rarely the end of the world. In fact, if you’re worried about costs, you should look into the warranty loophole that could save you hundreds before you start shopping for a replacement. Surprisingly, a constantly lit bulb can actually generate enough heat to slightly throw off sensitive sensors, which is often why your oven temperature is suddenly inaccurate. According to data from the Association of Home Appliance Manufacturers, even small electrical inconsistencies can lead to premature wear on incandescent components. Have you ever found yourself staring at that stubborn light in the middle of the night, wondering if you’re losing your mind? If so, don’t reach for the screwdriver just yet. Let’s walk through the steps to see if this is a five-minute fix or a job for the pros.
Start With the Tiny Plunger That Controls Everything
If you’ve ever looked at a door switch, you know it’s just a simple spring-loaded button. Think of it as the ‘on-off’ toggle for your oven’s interior. When the door closes, it pushes the plunger in, breaking the circuit and killing the light. But over years of Sunday roasts and Tuesday night pizzas, grease vaporizes and then solidifies right on that switch. I remember helping a neighbor with her GE range last year. We were certain the board was gone because the light wouldn’t quit. I finally took a toothpick and scraped away a literal crust of carbonized bacon fat from the switch housing. One ‘click’ later, the light went out. It’s a messy job, but checking for mechanical obstructions should be your absolute first step. If the door isn’t hitting the switch squarely, you might even find that why your dishwasher latch is not engaging properly shares the same root cause—misalignment. Often, simply tightening the hinges or cleaning the plunger housing solves the ‘haunted’ light issue without a single tool. 
When the Problem Lives Inside the Control Board
If the switch clicks freely and isn’t gunked up with kitchen debris, but that amber glow persists, we have to look deeper. On your oven’s control board, there is a small component called a relay. Think of this relay like an automated light switch. Sometimes, these relays ‘weld’ themselves shut due to a power surge or simple old age. If this happens, power flows to the bulb 24/7. This is often a precursor to more serious issues, such as the control board solder joint that kills your range. To test this, you’ll need to access the back of the unit. I usually recommend people check their paperwork before doing this; you can maximize your appliance warranty during emergency repairs if you identify a board failure early. If the relay is stuck, it’s like a light switch that has been physically glued in the ‘on’ position—no amount of door-jiggling will fix it.
The Click Test and How to Use Your Multimeter Safely
Before you go surgical, unplug the unit. Safety isn’t optional when you’re messing with 240-volt appliances. Once the power is killed, you can perform a continuity test on the door switch itself using a multimeter. If the meter shows continuity when the plunger is pressed, the switch is defective and needs a five-dollar replacement. It’s a similar diagnostic process to the refrigerator thermostat test every diy-er should know. If the switch tests fine, the relay on the board is your culprit. I once saw a light that stayed on because a mouse had chewed through the insulation and bridged the light circuit directly to a hot wire behind the insulation. It was a rare, bizarre case, but it proves that a visual inspection of the wiring harness is vital. If you find yourself staring at a maze of wires and feeling overwhelmed, this is the perfect time to consult an expert guide to appliance repair or call for professional backup. Sometimes, knowing when to stop is just as important as knowing how to start.Most people assume that if the light is on, the fix is either a simple switch or a full board replacement. But here is the secret nuance I have seen time and again: it is often a subtle grounding issue. I have encountered cases where a poorly grounded circuit allows a ‘ghost’ voltage to keep the bulb filament glowing dimly, even when the relay is technically open. This is especially common in modern ‘smart’ ranges that are sensitive to electrical noise. If you have just installed your unit and notice this, you might need to double-check how to properly ground your new induction cooktop or range to ensure the electronics are not being haunted by stray current. 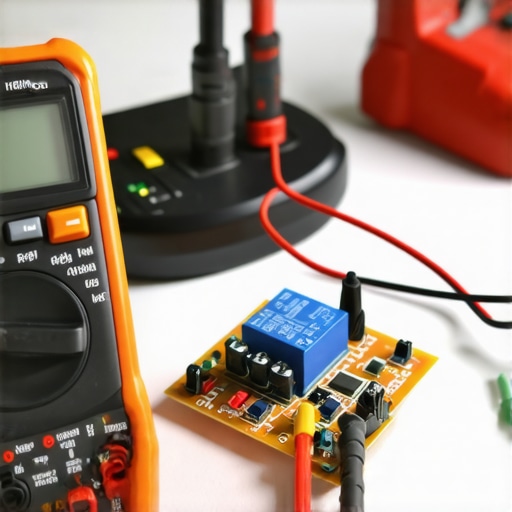
Why does my oven light flicker before staying on permanently?
This specific behavior is a classic sign of a failing relay. Relays are mechanical switches inside the control board; as they reach the end of their life, they often ‘chatter’ or arc internally before finally welding their contacts shut. It is a sophisticated failure mode that many beginners miss because the light still works—it just won’t stop working. If you catch this flickering early, you can often save yourself from a total board failure. If you wait until the light is permanently stuck, you are likely looking at a much higher repair bill. This is exactly why I recommend scheduling your appliance repair for same-day service in 2025 the moment you notice electrical ‘stuttering.’
Avoid the Contact Cleaner Trap
One massive mistake I see homeowners make is the ‘cleaning’ myth. People think that spraying standard WD-40 or generic contact cleaner directly into the door switch plunger will fix a sticky light. In reality, these chemicals can degrade the plastic housing or attract even more kitchen grease, creating a potential fire hazard inside the frame. Instead of a quick fix, you might end up needing an expert guide to appliance repair to replace a melted switch assembly. Have you ever tried to ‘clean’ an electrical part only to have it fail completely a week later? Let me know in the comments. When you do decide to bring in a professional, always keep the maintenance receipt you must save for future claims. Even when seeking affordable same-day appliance fixes with warranty benefits, that paper trail is your only defense if a part fails again. According to a study by the Association of Home Appliance Manufacturers (AHAM), over 25% of control board issues are exacerbated by improper consumer ‘fixes’ before a technician arrives. Don’t be part of that statistic; diagnose carefully and know when to step back.While cleaning the switch is a great first step, if you really want to move from guessing to knowing, you need a decent digital multimeter. I personally swear by my Fluke 117 because of its LoZ mode. This feature is a lifesaver when you are dealing with the ghost voltages I mentioned earlier—it prevents those false readings that make you think a circuit is live when it’s actually just stray induction. If you’re serious about DIY, don’t buy the cheapest five-dollar meter at the bin. You want something that can handle 240 volts safely. When you get into the guts of your range, you are essentially following an expert guide to appliance repair, so you might as well use the gear the pros use.
Proper Installation Prevents Future Ghost Lights
I have lost count of how many times a simple light issue was actually caused by a poor physical setup. If your range isn’t perfectly level, the heavy oven door can hang at a slight angle, meaning it doesn’t hit that light plunger squarely every time. This is why I always emphasize that you ensure reliable appliance installation in 2025 by checking the frame’s squareness. Even something as simple as the anti-tip bracket every range installation needs can play a role in keeping the chassis stable. According to the NFPA 70 National Electrical Code, major cooking appliances require a dedicated circuit to prevent voltage drops that can lead to relay chatter and premature board failure. If your lights are flickering, check your breaker panel before you tear the door apart. 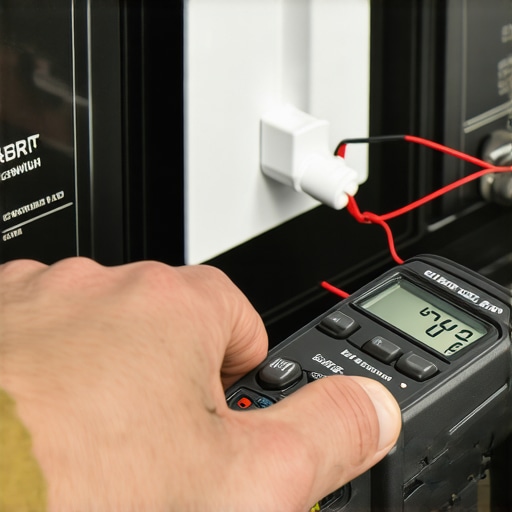
How do I keep my oven’s electrical system healthy for a decade?
Maintenance isn’t just about cleaning spills; it’s about electrical hygiene. Every six months, I recommend a quick visual check of the door gasket and the switch housing. If you see any signs of heat discoloration or ‘char’ near the light socket, that’s a sign of high resistance. You should also properly ground your new induction cooktop or range during the initial setup to ensure those sensitive control board relays don’t get fried by static discharge. If the light starts acting up, don’t wait. Scheduling your appliance repair for same-day service in 2025 is the best way to prevent a five-dollar switch from becoming a five-hundred-dollar control board replacement.
Smart Sensors Will Spot Your Failures Before You Do
Looking ahead, I predict that within the next few years, we won’t even be diagnosing these issues manually. New ‘Matter-enabled’ smart ranges are starting to include current-sensing technology that monitors the amperage of individual bulbs and heating elements. Your phone will likely ping you with a notification saying ‘Relay R1 is sticking’ before you even notice the light is on. Until then, we rely on the tools in our belt. Go ahead and try the Flashlight Test tonight: shine a light through the crack of the door while it’s closed. If you see the plunger isn’t fully depressed, you’ve found your culprit. If it is pressed and the light is still on, it’s time to test that relay. Don’t be afraid to dig in, but know when to call for affordable same-day appliance fixes with warranty benefits if the multimeter readings start getting weird.
Lessons From the Control Board Grave
After years of tinkering with stubborn ranges, I’ve realized that the ‘click’ of a door switch can be a total lie. I once spent forty minutes debugging a circuit only to find the switch was clicking but the internal metal contact had literally snapped off inside. It’s a humble reminder to always trust your meter over your ears. Furthermore, if you decide to call in a pro for a same-day appliance repair, always have your model number ready. I’ve seen people lose hours of time because they didn’t have that little sticker info handy, which can lead to parts being ordered incorrectly. Lastly, don’t let a simple fix turn into a legal headache; knowing the reason your warranty claim was denied for others can help you avoid making the same documentation mistakes when filing for a replacement board. #IMAGE_PLACEHOLDER_E#
My Pro Repair Toolkit
You don’t need a van full of gear to fix a ‘haunted’ oven, but you do need the right stuff. First and foremost, a reliable multimeter like a Fluke with a low-impedance mode is non-negotiable for filtering out ‘ghost’ voltages. Secondly, keep a small torpedo level in your kitchen drawer; ensuring your range is balanced is a huge part of how to ensure reliable appliance installation in 2025 and prevents mechanical door misalignment. Finally, I always keep a digital folder of my receipts and manuals. It makes it much easier to follow the top tips for same-day service warranty coverage if you can prove your maintenance history at a moment’s notice.
Are You Ready to Turn Off the Lights?
Dealing with an appliance that seems to have a mind of its own can be draining, but most of the time, the fix is right in front of you. Whether it’s a quick scrub of a greasy plunger or a slightly more involved relay swap, taking the first step is the hardest part of any appliance repair. Don’t let a small light bulb win the battle for your sleep or your utility bill. If you ever feel like you’re in over your head, an expert guide to appliance repair is always there to walk you through the finish line. You’ve got the knowledge, now go get that kitchen back to normal. Have you ever had a light that refused to turn off even after you unplugged the machine? Let me know in the comments below!