

I stood there at 2 AM, squinting in the harsh, flickering light of the open freezer, wondering why my kitchen floor felt damp and why my midnight snack was encased in a tomb of frost. There was a thick, crunchy layer of snow hugging the rubber gasket, making the door groan every time I pried it open. For weeks, I’d been telling myself it was just high humidity or maybe I’d left the door ajar for a second too long, but when I saw my electricity bill, the denial melted away. My freezer was basically trying to cool the entire neighborhood. It was a classic case of a failing seal, and I’m going to show you how to stop the frost before it ruins your grocery budget. We aren’t just talking about a little ice; we’re talking about saving your appliance from an early grave. Today, I’ll walk you through the simple fixes I wish I’d known before I almost broke my freezer trying to ‘fix’ it with a hair dryer and a prayer. I promise, by the time we’re done, your freezer will actually stay shut and your ice cream will be perfectly scoopable again.
Stop the Glacier Before It Eats Your Kitchen
I’ll be honest: my first attempt at fixing this was a total catastrophe. I thought I could just scrape the ice away with a heavy metal spatula and call it a day. Within minutes, I had gouged the rubber and made the leak ten times worse—I practically invited the humidity inside. That’s when I learned that why your freezer is frosting up around the door isn’t usually about the internal temperature settings; it’s almost always about the integrity of that thin, often-ignored rubber strip. When that seal fails, warm, moist air rushes in, hits the sub-zero interior, and transforms instantly into that annoying, snowy mess. According to the U.S. Department of Energy, even a small gap in your freezer gasket can force the compressor to run constantly, which significantly shortens the life of your appliance and adds hundreds to your yearly power bill. I spent three frustrating days chipping away at ice that shouldn’t have been there because I ignored the signs of a worn-out seal. If you’re seeing the freezer ice build-up that is killing your efficiency, you need to act before your compressor burns out entirely. It’s one of those affordable same-day appliance fixes that actually pays for itself in a single month of energy savings. Have you ever noticed that your freezer door doesn’t have that satisfying ‘suction’ feel when you close it anymore? Tell me in the comments if yours is staying shut or fighting you back; I’ve been there, and I know how frustrating it is.
Is a simple rubber strip really worth the repair drama?
It’s incredibly easy to look at a piece of flexible rubber and think it can’t possibly be the cause of your massive ice problem. I used to think the same thing until I realized that a faulty gasket is essentially like leaving your front door wide open in the middle of a blizzard while the heater is blasting. The skepticism is natural—how can such a cheap part cause such a massive headache? But once you see the frost start to creep toward your frozen goods and notice your milk isn’t as cold as it should be, the stakes become clear. If you’re not sure where to start, looking into an expert guide to appliance repair and installation today can help you decide if you can handle the gasket swap yourself or if you need professional help. One trick I learned is the ‘dollar bill test’—close the door on a dollar; if it pulls out without resistance, your gasket is dead. I learned the hard way that a little preventative maintenance, like cleaning the seal with warm soapy water, is a whole lot cheaper than a new freezer. We are going to make sure your kitchen stays a kitchen and doesn’t turn into a walk-in cooler for the local wildlife.
Don’t Buy New Parts Until You Try This 5-Minute Scrub
Before you go tearing off that rubber strip like a madman, you need to realize that sometimes the seal isn’t broken—it’s just filthy. I remember a humid Tuesday when I was ready to throw my whole fridge in the trash because of the ‘ice mountains’ forming near the hinges. It turned out to be a glob of spilled grape jelly from three months prior that had hardened and was propping the seal open by just a millimeter. Think of your gasket like a Ziploc bag; even a tiny crumb in the track prevents that airtight click. Take a microfiber cloth with warm, soapy water and run it deep into the folds of the rubber. You might be shocked at the gunk that’s been preventing a proper vacuum. If your seal is clean but still leaking, it might just be stiff. I’ve found that rubbing a very thin layer of petroleum jelly along the hinge side of the gasket helps it slide into place rather than folding over on itself when you close the door. 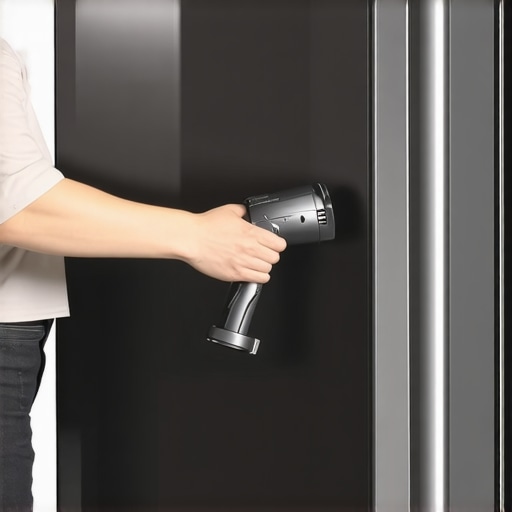
Can You Resuscitate a Dead Rubber Seal?
If the cleaning didn’t work, your gasket might have developed a ‘memory’ of being misshapen. Rubber gets brittle over time, especially in a cold environment. I once spent an hour with a handheld hairdryer—on the LOW setting, mind you—slowly warming up a flattened section of the seal. As the rubber gets warm, it becomes pliable again. You can actually pull and massage it back into its original shape so it meets the freezer frame. If you do this right, you’ll hear that satisfying *whoosh* of air being sucked out when you close the door. It’s one of those expert guide to appliance repair and installation today tricks that saves you a fortune on service calls. But be careful: if you get too aggressive with the heat, you’ll melt the plastic liner of your door, and then you’re looking at affordable same-day appliance fixes because you’ve turned a minor leak into a structural disaster.
Swap Out the Old Rubber Before Your Compressor Quits
When you see visible cracks or the rubber feels as hard as a hockey puck, the DIY resuscitation phase is over. You need a replacement. I once tried to ‘patch’ a crack with electrical tape—don’t do that. It lasted exactly four hours before the cold made the adhesive fail and the tape got sucked into the freezer, stuck to a bag of frozen peas. To do it right, you need the specific model number from the sticker inside your fridge. Most modern gaskets just push into a groove, but older ones are held by screws hidden behind the flap. When I did my first full swap, I made the mistake of not letting the new gasket ‘relax’ first. They usually come folded in a box, which makes them look like a tangled mess of spaghetti. Lay the new one in a bathtub of warm water for 20 minutes before installing. This makes the rubber supple and easy to press into the channel. If you’re worried about the complexity, looking for warranty-backed appliance services you can rely on is a smart move to ensure the seal is airtight. A failed seal is often why your refrigerator compressor is running 24 hours a day, and stopping that cycle is the only way to save your motor from burning out. Make sure the magnetic strip inside the new gasket is actually grabbing the metal frame all the way around; if it isn’t, use that hairdryer trick one last time to pull the new rubber toward the metal.So you’ve scrubbed the seal, you’ve tried the hairdryer, and yet the frost is winning. Now you’re thinking about calling in the pros. I’ve seen so many homeowners get burned because they didn’t understand the fine print of the repair industry. Let’s dig deeper into the mechanics of professional service. Everyone loves the sound of same-day appliance repair quick solutions with warranty support, but here is the cold truth: ‘same-day’ usually refers to the arrival of the technician for a diagnostic, not necessarily the completion of the repair. In my experience, a technician who promises a guaranteed fix without seeing the machine is usually cutting corners. The real value is in diagnostic accuracy, not speed. If you’re looking for top tips for same-day service warranty coverage, remember that parts are the ultimate bottleneck. Modern supply chains mean your specific gasket might be three states away, even if the tech is in your driveway right now.
The Warranty Trap That Turns a Free Part into a $300 Bill
One of the biggest ‘oops’ factors I see is homeowners celebrating a ‘covered’ part while ignoring the hidden labor costs. Many manufacturer warranties cover the physical component but leave you holding the bag for the $150-per-hour labor rate and travel fees. It is a classic mistake that can make a ‘free’ repair more expensive than a flat-rate private service. If you don’t know the reason your warranty claim was denied, it’s often because you didn’t use a specifically ‘certified’ partner or you lost the maintenance receipt you must save for future claims. Documentation is your only real shield against these corporate loopholes. 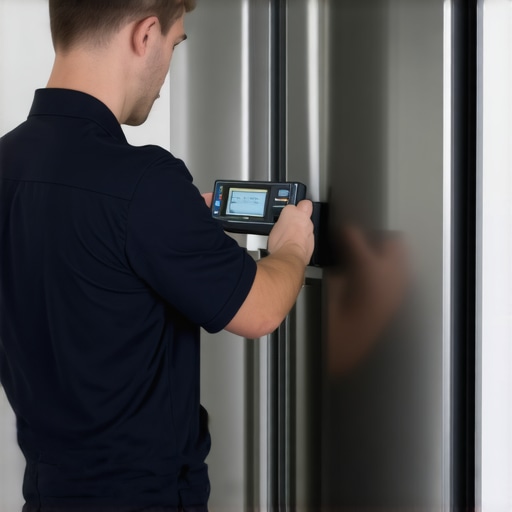
Why does your service technician keep checking your floor’s level instead of the seal?
Here is a nuance most DIYers miss: your freezer seal might be perfect, but your kitchen floor might be crooked. The Association of Home Appliance Manufacturers (AHAM) notes that structural misalignment is a leading cause of door-gap frost in modern units. If the cabinet is tilted even half a degree, the heavy door will sag over time, pulling the gasket away from the metal frame at the top corner. When I consult an expert guide to appliance repair and installation today, the first thing I check is the level, not the screwdriver. If the fridge isn’t perfectly plumb, no amount of new rubber will stop that warm air from rushing in. This is the difference between a ‘quick fix’ and a permanent solution. Have you ever fallen into the trap of replacing parts when the real issue was just a few turns of a leveling leg? Let me know in the comments.I eventually stopped guessing and started measuring. If you’re serious about never seeing a glacier in your freezer again, you need to grab a digital probe thermometer. I don’t mean the cheap plastic ones you hang on a rack; I mean a high-accuracy infrared or probe model. By checking the temperature of the actual rubber every few months, you can catch a failing seal weeks before the first snowflake appears. It’s part of a broader expert guide to appliance repair and installation today that I follow religiously now. I also keep a set of automotive feeler gauges in my kitchen drawer. Why? Because if I can slide a 0.015-inch gauge between the seal and the frame, I know I have a problem that the ‘dollar bill test’ might miss. 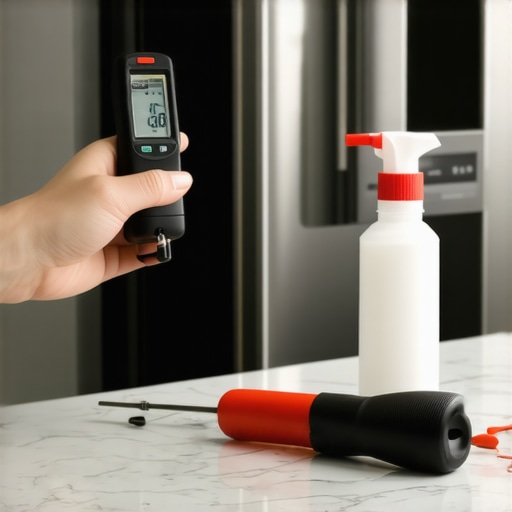
Stop the Dryness Before the Cracks Appear
To keep your results permanent, you have to treat your freezer like a high-performance machine. I’ve started a quarterly ‘seal hydration’ routine where I use a food-grade silicone lubricant. This keeps the rubber from drying out and cracking, especially in dry winter climates. If you combine this with the refrigerator coil trick that slashes your electric bill, you’re basically making your appliance immortal. But remember, the best maintenance in the world won’t save you if the initial setup was botched. Always look for how to ensure reliable appliance installation in 2025 to make sure the unit was leveled and braced correctly from day one. As noted in the Whirlpool Technical Education manuals, a variance of even 2 degrees in surface temperature across the gasket can indicate a micro-tear that’s invisible to the eye.
How do I keep my freezer seal from failing again?
The secret is consistency and the right documentation. If you find yourself in over your head, don’t just call the first number on Google. Seek out warranty-backed appliance services you can rely on to protect your investment. I’ve seen too many people lose their coverage because they didn’t keep the maintenance receipt you must save for future claims, giving the company a perfect excuse to say ‘neglect.’ This is actually the reason your warranty claim was denied for my neighbor last year—don’t let it be yours.
Smart Sensors Are the Future of Your Kitchen
Looking ahead, I suspect we’ll soon see ‘Smart Gaskets’ equipped with embedded sensors that alert your phone the second a vacuum seal is lost. This trend toward preventative diagnostics is already happening with water leak sensors and smart thermostats. Until the manufacturers catch up, you are the sensor. My big challenge for you this weekend: perform the ‘Flashlight Test.’ Put a bright LED flashlight inside your freezer at night, turn off the kitchen lights, and look for any glow escaping the door. If you see light, you have work to do. By catching these gaps early, you can avoid the need for same-day appliance repair quick solutions with warranty support entirely.
Three Lies I Believed About What Makes an Airtight Seal
I used to think that as long as the door felt “heavy,” the seal was fine. That was my first big mistake. A heavy door often means the hinges are binding or the unit is tilted, which actually pulls the gasket away from the frame. Another shocker? I thought a brand-new gasket would be a magic fix, but without a bit of heat and patience during installation, a new rubber strip can have more gaps than the old one. Finally, I learned that ignoring the little things—like a single grain of rice in the track—is the fastest way to kill a compressor. It’s the microscopic gaps that do the most damage over time.
The Survival Kit for a Frost-Free Kitchen
If you want to keep your appliances running for decades, you need more than just a screwdriver. I always keep food-grade silicone lubricant nearby to prevent the rubber from becoming brittle; it’s a tiny investment that prevents huge headaches. For those times when the frost is winning, I rely on my digital probe thermometer to find the exact “hot spots” where air is leaking. If you find yourself in a situation where the DIY route feels too risky, it’s vital to know what to expect from same-day appliance repair experts before they arrive. It is the best way to learn how to spot a shady appliance repair quote before you sign any contracts. I also highly recommend keeping a dedicated folder for your paperwork; the document most people forget before calling service is usually the very one that proves you’ve kept up with maintenance. #IMAGE_PLACEHOLDER_E#
Take Back Control of Your Kitchen’s Energy Bill
Stopping the ice from taking over isn’t just about saving your frozen pizzas; it’s about reclaiming the efficiency of your home. Whether you’re mastering how to ensure reliable appliance installation in 2025 or simply scrubbing down a sticky gasket, every small action extends the life of your machine. Don’t let a small leak turn into a financial drain. By understanding exactly why your freezer is frosting up around the door, you’ve already done the hardest part. You’re no longer just a bystander in your own kitchen; you’re the one in charge. If things get truly hairy, remember to maximize your appliance warranty during emergency repairs by having your service history ready. You’ve got this!
Have you ever found a “mystery item” causing your freezer door to stay open? Let me know in the comments below!