
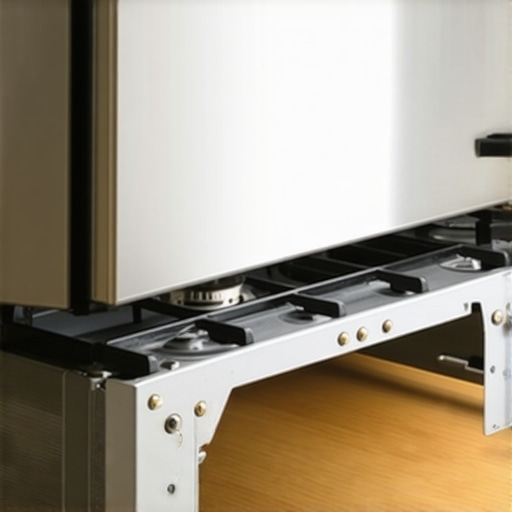
I remember the exact moment I realized I’d made a massive mistake. It was three years ago, right before a big family dinner. I had just finished sliding my shiny new gas range into place. It looked perfect. I felt like a DIY king. Then, I opened the heavy oven door to check on a 20-pound turkey. As I pulled the rack out, the entire appliance groaned and started to tilt forward. My heart stopped. If that oven had tipped, it wouldn’t have just been a ruined dinner—it would have been a catastrophe. I had ignored that little L-shaped piece of metal left in the box because I thought I knew better. I didn’t.
Stop Your Oven From Toppling Over
Installing a range seems straightforward. Plug it in, level it, and start cooking. But many people—myself included—look at the anti-tip bracket and think it’s optional fluff. It isn’t. According to the Consumer Product Safety Commission, thousands of injuries occur every year because of tipping appliances, particularly affecting small children who might climb on an open oven door. I learned the hard way that ensuring reliable appliance installation in 2025 requires more than just brute strength; it requires following safety protocols to the letter. Today, we are going to fix that. I’m going to show you why that bracket is your best friend and how to install it so you can cook with peace of mind.
Is this bracket really necessary for my heavy stove?
You might think your stove is too heavy to move. You’re wrong. The leverage created by an open door and a heavy pot is immense. Early in my DIY journey, I made the classic blunder of the wrong way to level a professional kitchen range by ignoring the rear foot engagement with the floor bracket. I thought the weight of the unit was enough. It wasn’t. Now, I never consider a job done until that bracket is bolted down. If you’re feeling overwhelmed, you can always check out an expert guide to appliance repair and installation to see how the pros handle it. Have you ever felt your stove wobble when you opened the door? It’s a terrifying sensation, isn’t it? Let’s make sure it never happens again.
Getting Your Placement Perfect Before You Drill
The biggest mistake people make with anti-tip brackets is thinking they can just eyeball the location. Think of the bracket like a lock and key; if the ‘key’ (your stove leg) doesn’t perfectly slide into the ‘lock’ (the floor bracket), the whole system is useless. Every new range comes with a paper template for a reason. You need to lay this flat on the floor, tucked right against the back wall and the side cabinet. I once tried to skip the template because I thought I could calculate the offset in my head. I ended up with three extra holes in my oak flooring and a bracket that didn’t even touch the leveling leg. It was a mess. Now, I always tape the template down to ensure it doesn’t move while I mark my pilot holes. If your floor isn’t level, you might also need the one screwdriver turn that levels a rattling washer or appliance to get the heights just right before the final push.
Drill Your Pilot Holes With Confidence
Once your marks are set, you have to commit to the floor or the wall. If you have concrete floors, you’ll need a masonry bit and plastic anchors. For wood floors, a simple wood bit is fine. The goal is to get that bracket so solid it feels like part of the house. I compare it to a seatbelt; you hope you never need it to catch you, but when it does, it needs to hold several hundred pounds of force. If you are dealing with a complex floor plan or an island installation, checking a expert guide to appliance repair and installation can give you the specific torque specs for different materials. 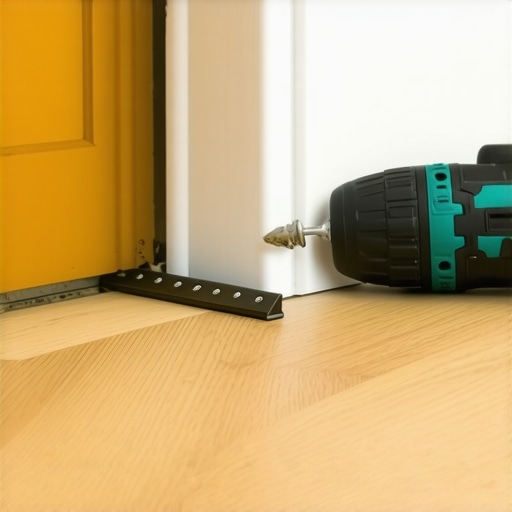
Slide the Range Into the Safety Zone
Now comes the moment of truth. You need to slide the range back so the rear leveling leg slides directly under the bracket’s lip. This is easier said than done, especially if you’re working on a floor that scratches easily. I usually put a tiny bit of dish soap on the floor where the front legs slide to make it glide smoother, though you should be careful not to create a slip hazard. As you push the unit back, you should feel a slight resistance or a ‘thud’ as the leg engages. If it feels like it’s just hitting the wall, stop. You might be hitting the gas line or the electrical outlet. I’ve seen people force it and end up needing the urgent fix for a gas stove that wont stop clicking because they crushed a wire. Take your time.
Test Your Work Without Destroying the Kitchen
The final step is the most nerve-wracking: the tip test. You don’t want to actually flip the stove, but you do need to verify engagement. Gently pull on the top rear of the range while the oven door is slightly open. If it lifts more than an inch, the leg missed the bracket. This usually happens because the leveling leg was screwed in too high or too low. It’s a bit like the wrong way to level a professional kitchen range where you focus only on the front and forget the back. Adjust the leg height, slide it back, and test again. This process is the core of ensuring reliable appliance installation in 2025. Once it holds, you can breathe that sigh of relief I missed out on three years ago. If you ever run into a situation where the bracket itself is bent or missing, don’t just ‘make do’—reach out to fast trustworthy appliance installation near you to get the specific OEM part for your model number. It is always better to wait a day for a part than to risk a kitchen disaster.
Once you’ve successfully anchored your range and tested the anti-tip bracket, you might think the hardest part of owning a high-end appliance is over. It isn’t. Let’s dig deeper into the world of service and longevity. Most homeowners believe that ‘same-day service’ is a guarantee of a finished job, but in my years of dealing with technicians and manufacturers, that is a common misconception. Everyone says speed is the priority, but in my experience, a ‘same-day completion’ often leads to corner-cutting. What you should actually be looking for is a same-day diagnosis. If a technician claims they can fix any issue without seeing the unit first, they are likely using generic parts that could compromise your system’s integrity.
The Same-Day Service Myth You Keep Falling For
The rush to get your kitchen back to normal often leads to the biggest mistakes in appliance care. When you are scheduling your appliance repair for same-day service in 2025, the nuance lies in the preparation. A truly elite service provider won’t promise a fix in an hour; they will promise an expert eyes-on evaluation. Many people fall into the trap of demanding an immediate solution, which often means the technician might bypass the diagnostic protocols required to maximize your appliance warranty during emergency repairs. I’ve seen countless neighbors accept a ‘quick fix’ only to have the same component fail three weeks later because the root cause—like a voltage spike or a clogged vent—was never addressed. Have you ever fallen into this trap? Let me know in the comments.
Will Your DIY Adjustment Kill the Warranty Coverage?
This is where things get tricky for the DIY enthusiast. You might feel confident swapping a sensor or tightening a gas valve, but you need to be aware of the Magnuson-Moss Warranty Act. While this federal law generally prevents manufacturers from voiding a warranty just because you used a third-party part, it does not protect you if your specific DIY ‘fix’ caused the failure. If you misalign a component while ensuring reliable appliance installation in 2025, the manufacturer has every right to deny your claim. I once saw a homeowner lose a $400 control board replacement claim because they used the wrong gauge of wire during a ‘minor’ adjustment. It is a heartbreaking and expensive lesson to learn.
Stop Losing Money to Denied Claims
The most frustrating ‘oops’ factor I encounter isn’t a mechanical failure—it’s a paperwork failure. We often focus so much on the hardware that we forget the legal side of appliance ownership. You must treat your appliance like a car; every service call and every DIY maintenance check needs a paper trail. If you cannot produce the maintenance receipt you must save for future claims, you are essentially handing the warranty company an excuse to say no. Most people completely overlook the document most people forget before calling service, which is the original installation sign-off. Without it, proving that the unit was installed to code from day one becomes a nightmare. 
Ultimately, professional-grade results come from professional-grade habits. Whether you are dealing with a wobbling stove or a dead compressor, the goal is long-term reliability. If you ever find yourself staring at a complex error code and feeling that familiar DIY itch, stop and ask yourself if the risk to your coverage is worth the reward of a quick fix. Sometimes, the smartest move is calling in fast trustworthy appliance installation near you to ensure the job is logged correctly in the manufacturer’s database. It might cost a bit more today, but it protects your investment for the next decade.
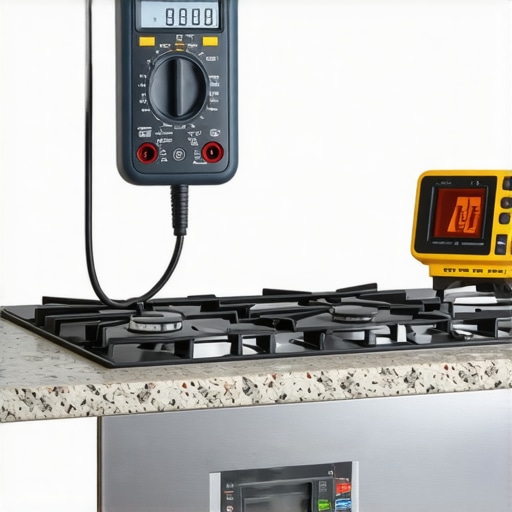
I’ve spent thousands of dollars on technicians before realizing that most of my issues could have been caught with a $20 multimeter and fifteen minutes of patience. If you suspect the control board solder joint that kills your range, a quick continuity check is your only real defense. I don’t just recommend a multimeter because it’s a ‘handy tool’; I use it because it removes the guesswork that often leads to buying expensive parts you don’t actually need. When I first started, I was terrified of electrical components, but following an expert guide to appliance repair and installation taught me that electricity isn’t magic—it’s just logic. If the power goes in but doesn’t come out, that’s where your problem lies.
The Essential Diagnostic Kit I Actually Carry
Beyond the basic screwdriver, I’ve added a thermal imaging camera to my arsenal. It sounds overkill until you use it to find a failing door seal or a hot spot on a circuit board that’s about to pop. These tools allow you to see the ‘invisible’ failures before they become emergencies. For example, if you notice why your refrigerator compressor is running 24 hours a day, a thermal scan of the coils might reveal a blockage or a failing fan that you’d never spot with the naked eye. This proactive approach is the difference between a $50 part and a $2,000 replacement unit. I always keep my diagnostic results clipped to the maintenance receipt you must save for future claims to prove I’ve been diligent.
How do I maintain my appliance efficiency over several years?
Longevity is a game of friction and heat. To keep things running smoothly, you need to attack the hidden dust. I swear by the refrigerator coil trick that slashes your electric bill, which involves using a narrow vacuum attachment to pull debris from under the unit twice a year. According to the Association of Home Appliance Manufacturers (AHAM), maintaining clean condenser coils can prevent energy consumption spikes of up to 30%. In the laundry room, the maintenance move that extends your washer life for years is as simple as running a monthly drum-clean cycle with a specialized descaler. We are also moving into an era of digital upkeep; you must stay on top of the firmware update that keeps your smart washer from crashing. Just like your phone, your modern oven or washer needs its software patched to prevent logic errors.
Looking ahead, the trend is shifting toward ‘Predictive Maintenance.’ Within the next few years, I expect most high-end appliances to feature built-in vibration sensors and AI-driven diagnostics that will text your phone before a bearing fails or a pump clogs. This will make the frantic search for same-day service a thing of the past because you’ll know the failure is coming three weeks in advance. For now, my best advice is to get hands-on. Tonight, I want you to pull your fridge out and check the resistance on your heating element if you have a multimeter, or at the very least, vacuum those coils. It is the single most effective way to protect your investment right now.
Truths I Discovered While Staring at Broken Control Boards
After years of tinkering, I’ve realized that the most expensive repairs often start as the smallest oversights. One major thing I’ve learned is that a repair is only as good as the diagnostic. If you are looking for top tips for same-day service warranty coverage, start by documenting the error code yourself before the tech even arrives. This prevents them from ‘guessing’ on your dime. I also realized that the reason your warranty claim was denied usually comes down to one missing receipt or a single photo. Keep a digital folder for every appliance in your home. Finally, never underestimate the power of a simple reset. Sometimes the software just needs a fresh start, and that can save you a $150 service call.
The Minimalist Toolkit for Modern Homeowners
You don’t need a professional workshop to maintain your home, but you do need the right ‘detectives.’ I never start a repair without my trusty multimeter; it is the only way to be 100% sure a part is actually dead. I also recommend keeping a narrow vacuum attachment specifically for those hard-to-reach condenser coils. If you ever feel like you’re being overcharged, knowing how to spot a shady appliance repair quote is a tool in itself that every homeowner should master. #IMAGE_PLACEHOLDER_E# For the big jobs that involve gas lines or heavy lifting, I always keep a link to fast trustworthy appliance installation near you ready to go, because knowing your limits is part of being a pro.
Step Into a Safer and Smarter Kitchen
Installing a bracket or cleaning a coil might feel like a chore, but it’s actually a form of insurance. By taking these small steps, you are ensuring reliable appliance installation in 2025 and protecting your family from avoidable accidents. You have the knowledge now to look past the marketing ‘myths’ and see the actual mechanics of your home. Don’t be afraid to get your hands a little dirty—the peace of mind is worth every second of effort.
Have you ever found a missing safety bracket or a loose screw after a professional installation? Let me know your experiences in the comments below!