
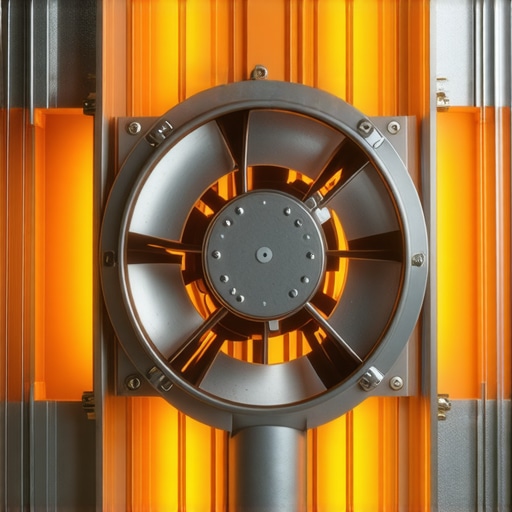
It was a Tuesday evening, and I had a tray of sourdough bread ready for a 450-degree blast. The moment the oven reached temp, a sound like a woodchipper in a library erupted from the back wall. It wasn’t just a vibration; it was a rhythmic, metallic screaming that made me want to move houses. I stood there, oven mitts on, staring at the digital display, wondering if the whole thing was about to explode. If you’ve ever felt that pit in your stomach when your appliance starts “singing” the song of its people at the worst possible time, you aren’t alone. Today, we are going to silence that racket for good.
Stop the Racket Before You Lose Your Sanity
I’ve spent years tinkering with ranges, and let me tell you, a rattling convection fan at high heat is a very specific brand of torture. The weirdest part? It often sounds perfectly fine at 325°F for a batch of cookies. But crank it up for a roast, and suddenly it’s a heavy metal concert. This happens because of thermal expansion—the metal blade or the motor shaft actually grows slightly as it gets hotter, causing it to strike the housing or the cover. I’ll be honest, early in my DIY days, I made the boneheaded mistake of spraying “all-purpose” lubricant back there thinking it would quiet things down. All I did was create a smoke screen that smelled like a garage fire. Don’t be like me. Instead of panic-buying a new unit, you need to look at the mounting and the clearance. Sometimes it’s as simple as a loose nut, much like why your oven makes popping sounds during the expansion phase. We’re going to walk through exactly how to diagnose if the blade is warped or if the motor bearings are waving the white flag.
Is this just a sign I need a whole new oven?
It’s the question everyone asks when they hear a mechanical failure: “Is it even worth fixing?” I get it. You don’t want to dump money into a sinking ship. But a fan assembly is a fraction of the cost of a new range. Even if you’re dealing with signs of a failing range control board, many of these parts are swappable in under an hour. According to materials science data from Engineering ToolBox, common stainless steels can expand significantly at temperatures above 400°F, which is often enough to turn a 1mm clearance into a 0mm collision. Before you call for affordable same-day appliance fixes, you need to know what you’re looking at. Have you ever noticed your fan only starts acting up once the preheat cycle is finished? Drop a comment below if your oven sounds like a percussion section—I want to hear how loud it actually gets. We’re going to dive into the physical adjustments you can make right now to stop the noise. It might be the single component responsible for those temperature swings and the noise all at once.
Kill the Power and Pull the Panel
Before you even think about touching a screwdriver, you have to cut the power. I’m not just talking about turning the knob to “off.” Pull that range away from the wall and yank the plug. If you have a built-in unit, flip the breaker. Dealing with high-voltage heating elements is no joke, and a rogue fan start-up while your fingers are near the blades is a recipe for a bad day. Once it’s dead, remove the racks. You’ll see a metal plate at the back of the oven—that’s the shroud. Usually, it’s held in by four or five screws. Here’s a tip from my own workshop: these screws are often baked in with years of chicken fat. If they don’t budge, don’t strip them. Use a bit of degreaser on the heads first. I once spent an hour drilling out a stripped screw because I was too impatient to clean the gunk off the head before turning the driver. 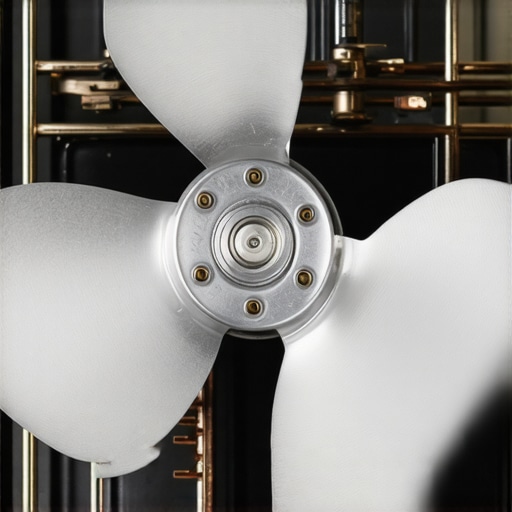
Tighten the Nut That’s Causing the Racket
Once the shroud is off, you’ll see the fan blade. Grab it (gently) and see if it wiggles on the shaft. If it has play, the center nut has vibrated loose. This is the most common culprit for that high-heat screaming. Because of the thermal expansion I mentioned earlier, a slightly loose nut becomes a vibrating nightmare when things get hot. Here is the trick: many of these nuts are reverse-threaded. That means “lefty-tighty, righty-loosey.” If you try to tighten it the normal way, you’ll just snap the motor shaft. This simple mechanical check is part of any expert guide to appliance repair and installation today.
Check for a Warped Fan Blade
If the nut is tight but the noise persists, look at the blades themselves. Over time, the constant heating and cooling can cause the thin metal to warp. Spin the blade with your hand. Does it wobble like a bent bicycle wheel? If it does, it’s hitting the back of the oven wall. You can sometimes gently—and I mean gently—bend it back into alignment, but usually, a warped blade needs a swap. It’s a cheap part, often cheaper than the shipping cost. If you’re worried about the accuracy of your bake while the fan is acting up, check out why your oven temperature is suddenly inaccurate, as airflow is everything.
When the Motor Bearings Give Up
If the blade is straight and the nut is tight, but the fan makes a dry, grinding sound even when cold, the bearings inside the motor are shot. This isn’t something you can oil. These are sealed units. At this point, you are looking at a full motor replacement. If your unit is still under its first year, maximize your appliance warranty during emergency repairs before you start tearing the motor out yourself. Replacing a motor involves going through the back of the range, which is more involved but still a solid DIY project. If you feel overwhelmed, remember that affordable same-day appliance fixes are always an option if you need the oven back in action for a big dinner.
Let’s dig deeper into why simply replacing a part isn’t always the end of the story. There is a common belief in the DIY community that if a part is broken, you swap it and the job is done. But in my experience, the most expensive mistake you can make isn’t the repair itself; it’s failing to diagnose the environment that killed the part in the first place. If your convection fan motor burned out, was it just age, or is your oven’s venting blocked? If you don’t fix the airflow, your brand-new motor will be screaming again in six months. This is where expert guide to appliance repair and installation today logic becomes critical. You have to look at the system as a whole, not just the single failing component.
Why Do Modern Convection Fans Fail So Much Faster Than the Old Ones?
It’s a question that plagues many high-end kitchen owners. The answer lies in the precision of modern electronics. Older ovens used heavy-duty, high-torque motors with massive clearances. Modern units use high-efficiency motors that are much more sensitive to minor imbalances. According to data from the National Association of Service Managers, nearly 30% of appliance service calls stem from installation errors or environmental factors rather than internal component defects. This means that even the best affordable same-day appliance fixes won’t stick if the range isn’t level or the cabinet clearance is too tight. If your range isn’t balanced, that fan shaft is under constant lateral stress, leading to premature bearing failure. Have you ever fallen into this trap of replacing the same part twice? Let me know in the comments, because I’ve been there too.
Don’t Let the Warranty Fine Print Burn You
Here is a contrarian take: sometimes, calling for a warranty repair is actually more risky than fixing it yourself, especially if you aren’t prepared. Most people think a warranty is a blanket of protection, but the reason your warranty claim was denied often comes down to a lack of maintenance records. If a tech finds years of grease buildup inside the fan shroud, the manufacturer may label it ‘consumer neglect’ and hand you a bill for the house call. Before you even pick up the phone, you must find the document most people forget before calling service—your original purchase receipt and any records of professional installation. 
The Critical Paper Trail Most Homeowners Ignore
The biggest “oops” factor I see involves the paperwork. When you are scheduling your appliance repair for same-day service in 2025, the dispatcher is going to ask for your full model and serial number. If you give them the number from the manual, you might be wrong. Manuals are often generic to a whole series of ovens. You need the number from the actual metal tag located on the oven frame. If the tech arrives with the wrong fan motor because you read the wrong number, you’re still paying for that trip. You should also check the fine print that voids your protection plan, as many of these clauses are identical across kitchen appliances. Whether it’s a fan, a heating element, or the control board solder joint that kills your range, knowing how to navigate the service side is just as important as knowing how to use a wrench. By mastering these nuances, you ensure that once your oven is silent, it stays that way for years.
I’ve learned the hard way that a standard toolkit just doesn’t cut it when you’re deep inside a range chassis. If you want to avoid a return of the metallic screaming, you need to treat this like a precision engine. One tool I never start without is a 1/4-inch magnetic nut driver with a flexible shaft extension. It’s the difference between a ten-minute job and losing a screw into the insulation abyss. When I’m reinstalling that reverse-threaded nut, I always apply a tiny drop of high-temperature threadlocker. Without it, the constant vibration of the fan motor can eventually back that nut off again, leading to another frantic search for fast trustworthy appliance installation near you just to fix a loose bolt. 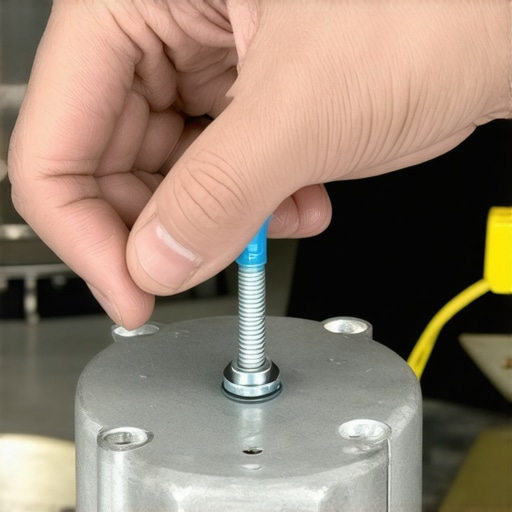
How do I keep my convection fan from screaming again?
The secret to long-term results is clean airflow. Every six months, take five minutes to vacuum the rear vents of your range. Dust and pet hair are the silent killers of fan bearings because they cause the motor to run hotter than designed. This is a logic very similar to the maintenance move that extends your washer life for years—it’s all about heat management. According to the Whirlpool Job Aid for Electric Ranges (W10615170B), the drive motor assembly is rated for specific thermal thresholds that are easily exceeded if the rear intake is obstructed. If you’ve already had a pro out for a fix, make sure you keep the maintenance receipt you must save for future claims in a dedicated folder. This proves you haven’t neglected the machine if a larger failure happens down the road.
Your Smartphone is Actually a High-End Diagnostic Tool
Before you put the back panel back on, use your phone to record a slow-motion video of the fan spinning. This allows you to see tiny wobbles that the human eye misses at full speed. It’s a trick I use to verify that how to ensure reliable appliance installation in 2025 standards are met before I slide the unit back into place. I predict that within five years, most high-end ranges will include internal vibration sensors that alert your phone before a bearing even starts to squeak. We are moving toward a world where your oven tells you it needs a drop of oil weeks before you hear a sound. For now, we rely on our own ears and warranty-backed appliance services you can rely on to keep the kitchen running smoothly. I challenge you to pull your oven out this weekend and just check the dust levels on that back intake—you might be surprised how much gunk is choking your convection system.
Lessons I Learned the Hard Way Under a Range Hood
Fixing my own convection fan taught me that the loudest noise isn’t always the biggest problem. One thing I realized is that gravity is a quiet enemy; if your oven isn’t perfectly flat, the fan motor has to fight a constant lateral pull that shreds the bearings over time. Checking for the wrong way to level a professional kitchen range is actually the first step I take now before even opening the shroud. I also learned that heat acts like a magnifying glass for small mistakes. A nut that feels ‘tight enough’ at room temperature will often vibrate loose the moment the metal expands at 400 degrees. Finally, I’ve realized that sometimes the best tool isn’t a wrench, but a camera. Taking a photo of the wiring and the blade orientation before disassembly has saved me from hours of second-guessing during the reinstallation phase.
The Tools That Saved My Sanity and My Wallet
You don’t need a professional workshop to handle these fixes, but a few specific items make a world of difference. I never start an oven repair without a 1/4-inch magnetic nut driver with a flexible shaft. Those shroud screws are often tucked into awkward corners where a straight driver simply won’t reach. I also swear by high-temperature threadlocker; applying just a drop to the fan nut ensures that the ‘reverse-threaded’ logic stays put despite the constant thermal cycling. For those debating long-term coverage, I always weigh whether a manufacturer extended plan is actually worth the monthly cost versus buying my own replacement motors. Lastly, I rely on the manufacturer’s job aids—these technical documents provide the exact torque specs and clearance measurements that generic manuals leave out.
Reclaim Your Kitchen From the Racket
Walking into your kitchen shouldn’t feel like entering a construction zone. By taking the time to diagnose the expansion gaps and ensuring your motor is properly seated, you can return to the joy of baking without the metallic soundtrack. Whether you choose to handle the replacement yourself using an expert guide to appliance repair and installation today or decide to call for professional help, the most important step is simply not ignoring the sound. A quiet oven is a safe and efficient oven. If you ever feel like the repair is getting beyond your comfort level, don’t hesitate to contact us for advice or professional support. You’ve got this—now go get that oven back to its silent, sourdough-ready self. Have you ever tried to fix a noise only to find a completely different part was the culprit? Let me know your craziest repair stories in the comments below!