
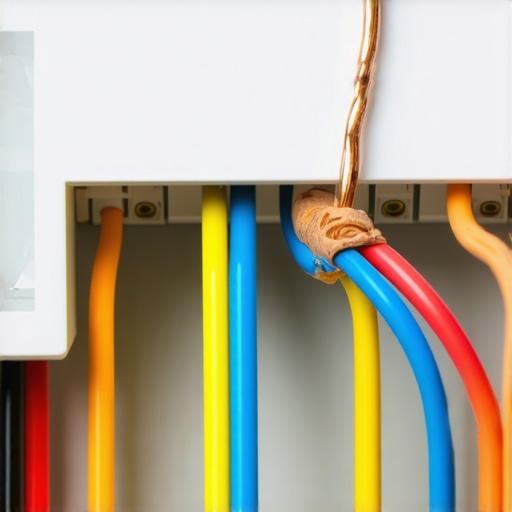
I’ll never forget the sub-zero Tuesday night when I decided to be the tech hero of the household. It was 11:00 PM, my breath was visible in the living room, and my wife was giving me that look—the one that says I should have called a pro hours ago. I had the latest, sleekest smart thermostat in my hand, but the screen was as dark as my basement. I’d followed the manual to a T, or so I thought. I’ve been there, staring at a cluster of copper and plastic, wondering why my 15-minute install turned into a midnight crisis. [image] The culprit is almost always that one specific wire that people either don’t have or don’t connect properly. Today, we are going to fix that once and for all. I am going to show you how to identify this phantom wire and ensure your system actually stays powered up without blowing a fuse. Have you ever opened your old thermostat wall plate only to find a bundle of wires that look like a bowl of multi-colored spaghetti?
That Hidden Blue Wire Will Make or Break Your HVAC
When I first started tinkering with home automation, I made a classic rookie move. I assumed that because my old thermostat didn’t use a C-wire, my new one didn’t need it either. I tried to use a power-stealing trick I read about on a forum. It worked for two days, and then my furnace started making a rhythmic clicking sound that haunted my dreams. I’d basically starved the control board of power. If you’re seeing weird behavior, you might have the same wiring mistake killing your smart home thermostat that I did. The C-wire, or common wire, provides a continuous 24V return path from the furnace. Without it, your smart features like Wi-Fi and the backlit screen are basically trying to run on fumes. If you’re already in over your head, don’t sweat it; you can always look for an expert guide to appliance repair and installation today to get a professional to jump in before you fry a sensitive motherboard.
Is This Extra C-Wire Actually Necessary for Your Home?
You might be skeptical. After all, the box says it works with most homes. But most is a dangerous word in the world of HVAC. According to research from Parks Associates, nearly 25 percent of smart thermostat owners struggle with power-related connectivity issues due to improper initial wiring. I found this out the hard way when I realized my 1980s ranch house was in that unlucky group. Skipping this wire leads to short-cycling, where your AC or heater turns on and off rapidly, which is a fast track to needing same-day appliance repair. I once saw a friend’s smart thermostat literally pulse like a strobe light because it was trying to charge its internal battery by stealing power from the heating circuit. It’s not just annoying; it’s an electrical hazard. We’re going to look at the real solutions, whether that’s pulling a new wire or using an adapter, so you can avoid the wiring mistake killing your smart home thermostat and keep your comfort guaranteed. Trust me, your future self and your electric bill will thank you for doing this right the first time.
You have the old mounting plate off, and you are staring at the copper ends. Think of your HVAC system as a high-end stereo and the thermostat as the remote that never needs batteries because it is plugged into the wall. That plug is your C-wire. If you do not see a blue or black wire labeled ‘C,’ do not panic yet. In my second DIY attempt, I spent twenty minutes cursing a four-wire bundle only to realize the fifth wire was tucked six inches back into the drywall, wrapped in electrical tape like a forgotten relic. Digging that out felt like winning the lottery, and it meant I could proceed with a fast-trustworthy-appliance-installation-near-you without calling in reinforcements.
Locate the Hidden Power Source Behind the Wall
Gently pull the wire bundle further out from the wall. Often, HVAC installers use a standard five-strand wire even if the original thermostat only needed four. If you find a spare wire that is not connected to anything, that is your golden ticket. However, just because it is there doesn’t mean it is live. I once hooked up a ‘spare’ blue wire only to have the screen stay dead. I had forgotten that the other end of that wire was dangling uselessly inside my furnace cabinet. To avoid the frustration, you must verify the connection at the source. If you are worried about the age of your system, checking for warranty-backed-appliance-services-you-can-rely-on can give you peace of mind before you start poking around the motherboard.
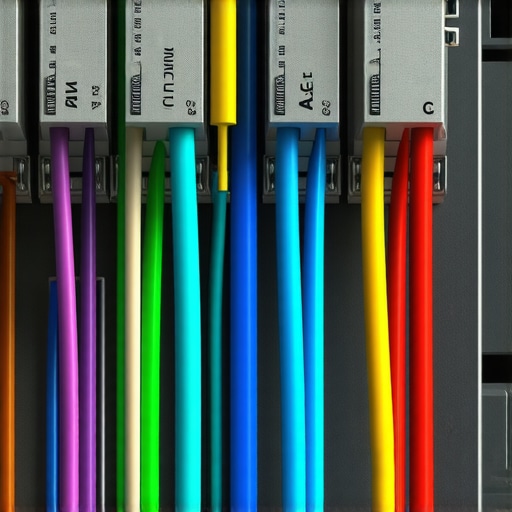
Trace the Wire Back to the Furnace Control Board
This is where things get real. You need to head to your furnace or air handler and remove the service panel. Look for the control board—it looks like a green computer chip with a row of small screws labeled R, W, Y, G, and C. If that blue wire you found at the wall is not screwed into the ‘C’ terminal here, your thermostat will never wake up. Think of it like a circuit that needs to be completed; without that return path, the electricity has nowhere to go. I remember sweating under a headlamp in a cramped crawlspace trying to tighten that tiny screw. Once it was secure, the thermostat lit up instantly. This step is vital to how-to-calibrate-your-smart-thermostat-for-better-efficiency because a solid power connection ensures the sensors provide accurate readings.
The Workaround for Homes Without a Common Wire
If you have checked the wall and the furnace and there is absolutely no fifth wire, you are not defeated. You can use a Power Extender Kit (PEK) or a C-wire adapter. These devices are essentially signal splitters. They allow your existing wires to do double duty, carrying both the fan signal and the constant power signal. Installing one of these saved me from fishing 40 feet of new wire through a finished ceiling in my sister’s 1940s colonial. It’s a 15-minute fix that prevents the wiring mistake killing your smart home thermostat. If the thought of opening your furnace makes your heart race, it might be time to look into what-to-expect-from-same-day-appliance-repair-experts to have a pro handle the jumper wires for you. Getting the power right is the difference between a smart home and a very expensive piece of plastic on your wall.
Most DIYers think that once the lights come on, the job is done. But here is the contrarian truth: just because it’s powered doesn’t mean it’s performing. We are often told that these devices are ‘plug and play,’ yet I’ve found that the biggest lie in home automation is ‘universal compatibility.’ In my experience, manufacturers use that term loosely. They don’t account for the age of your transformer or the existing electrical load on your furnace’s control board. If your system was installed before 2010, that shiny new screen might be pulling just enough current to cause a voltage drop, leading to erratic behavior in your blower motor. If you start hearing a hum that wasn’t there before, it is time to check out same-day appliance repair quick solutions with warranty support to ensure you haven’t overtaxed the hardware.
Stop Believing the Universal Compatibility Myth
The ‘Oops’ factor usually hits about three weeks after installation. You’ll notice your house feels slightly warmer or cooler than the set point. This happens because most people skip the calibration phase. You cannot simply trust the factory settings. I always recommend using a secondary, independent thermometer to verify the reading. This is a critical part of how to calibrate your smart thermostat for better efficiency. A one-degree variance might not seem like much, but over a season, it can increase your energy consumption by up to 3%. Furthermore, if you’ve recently upgraded your air filter to a high-MERV pleated version, you might be accidentally suffocating your system. Research by the Air-Conditioning, Heating, and Refrigeration Institute (AHRI) suggests that improper static pressure—often caused by ‘better’ filters—can lead to premature motor failure, regardless of how smart your thermostat is.
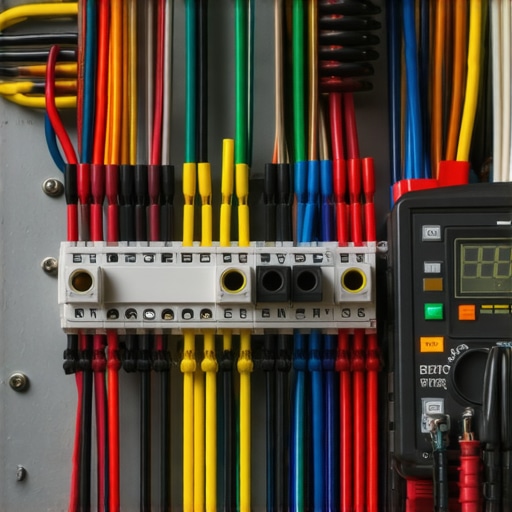
Is Your New Thermostat Slowly Frying Your Old Control Board?
This is the question that keeps HVAC techs busy. When you add a Wi-Fi-enabled device to a system designed for a simple bimetallic switch, you are changing the impedance of the circuit. Many older transformers are only rated for 40VA. If you have a zone controller, a smart thermostat, and maybe an electronic air cleaner, you are redlining that transformer. This leads to the wiring mistake killing your smart home thermostat and potentially your entire furnace. Before you declare victory, check the VA rating on your transformer. If it is hot to the touch, you need an upgrade. Dealing with these nuances is why expert guide to appliance repair and installation today resources are so valuable; they help you look beyond the wires and into the load dynamics.
Don’t Let Your Warranty Die Before Your HVAC Does
One of the most frustrating things I see is a homeowner losing out on a major repair because they didn’t document their DIY work. If you open up your furnace to install a C-wire or a power kit, you must be meticulous. Many manufacturers will look for any excuse to deny a claim, and an ‘unauthorized modification’ to the control board is a favorite. To protect yourself, always follow maximize your appliance warranty during emergency repairs protocols, which include taking photos of the original wiring before you touch a single screw. If you ever find yourself in a dispute, knowing the reason your warranty claim was denied often boils down to a lack of maintenance records or proof of proper installation. Have you ever fallen into this trap or discovered a ‘hidden’ issue weeks after a DIY project? Let me know in the comments. Keeping a simple log of what you changed and when can save you thousands when you need warranty backed appliance services you can rely on down the road.
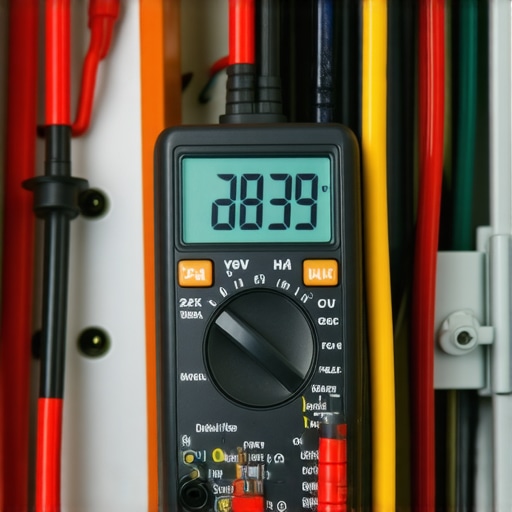
I used to think a tool bag was just for professionals until I realized that having the right gear is what keeps me from calling for emergency help on a Sunday afternoon. If you are serious about your DIY setup, you need more than just a screwdriver. I personally never start a project without my Klein Tools CL390 multimeter. Why? Because ‘feeling’ if a wire is live or assuming it’s 24V is a great way to fry a $300 control board. Measuring the actual output of your transformer tells you if your system can handle the extra load of a Wi-Fi-enabled screen. If your voltage dips when the AC kicks on, you are heading for a world of hurt. If you’ve already seen some flickering, it might be worth scheduling your appliance repair for same-day service in 2025 to get a professional diagnostic before the peak summer heat hits.
Grab These Tools Before You Touch Your HVAC
Beyond the multimeter, I always keep a bottle of distilled vinegar and a flexible brush in my maintenance kit. It sounds low-tech, but the number one reason smart thermostats ‘fail’ is actually the HVAC system shutting down due to a clogged condensate overflow switch. Most homeowners blame the thermostat when the screen goes black, but it’s often just the safety switch doing its job. You should know how to flush your condensate line with vinegar safely to prevent algae buildup from triggering these shutdowns. This simple five-minute task twice a year can save you from the stress of searching for expert-guide-to-appliance-repair-and-installation-today resources at 2:00 AM.
How do I keep this system running for a decade?
Consistency is the secret sauce. I’ve started treating my HVAC like my car—it needs a regular tune-up. One of the most critical components to watch is the run capacitor. According to technical documentation from the Air Conditioning Contractors of America (ACCA), specifically their Manual J and Maintenance standards, a weak capacitor is the leading cause of compressor failure. I check mine every spring. If you see the top of that silver cylinder bulging even slightly, you are looking at one of the 5 signs your hvac capacitor is about to fail. Replacing it now costs twenty dollars; replacing the compressor later costs thousands. This is the kind of proactive maintenance that helps you maximize your appliance warranty during emergency repairs, because you can prove you weren’t negligent.
The Future of Home Comfort is Predictive
We are moving toward an era where your thermostat won’t just tell you the temperature; it will tell you when your blower motor is pulling too many amps before it actually burns out. I’m already seeing ‘smart’ sensors that attach to the vibration-heavy parts of your furnace to alert you of mechanical wear. This shift toward predictive maintenance means that affordable same-day appliance fixes with warranty benefits will become the standard, as technicians will arrive with the exact part they know is failing. Until then, you are the primary sensor. Keep a paper trail of every filter change and cleaning. I cannot stress enough how important the maintenance receipt you must save for future claims is when a manufacturer tries to dodge a warranty payout. My advanced tip for today? Go to your furnace, find the transformer, and read the VA rating. If it is 40VA and you have more than two smart devices connected to it, consider upgrading to a 50VA or 75VA model this weekend to ensure your system never starves for power.
Hard-Earned Lessons from My Midnight HVAC Crisis
After years of trial and error, I’ve realized that the biggest hurdle isn’t the software—it’s the physical connection. I learned that ‘power-stealing’ thermostats are basically the roommates of the electrical world; they take what they need without asking, eventually causing your furnace to act out. I also discovered that your drywall is a master of disguise. That missing wire is almost always there, buried just deep enough to make you doubt yourself. Most importantly, I’ve seen that the maintenance receipt you must save for future claims is the only thing standing between you and a denied warranty when a DIY project goes sideways. Trusting your gut is good, but trusting your multimeter is better for a long-term result.
The Toolkit That Actually Keeps Your System Alive
I don’t believe in buying every gadget on the shelf, but there are a few non-negotiables for a reliable setup. First, a dedicated HVAC multimeter is essential for verifying that 24V constant power. I also swear by 75VA transformers; if you are adding multiple smart zones, the factory 40VA unit just won’t cut it. For those who want a deep dive into efficiency, I highly recommend the ACCA (Air Conditioning Contractors of America) manuals—they are the gold standard for airflow science. If you ever feel like you’re in over your head, don’t hesitate to consult an expert guide to appliance repair and installation today to ensure your home stays safe during the process.
Take Charge of Your Home Comfort Right Now
Installing a smart device should be a victory, not a source of stress. By taking the time to verify your C-wire and checking your transformer load, you aren’t just installing a gadget—you are upgrading your home’s infrastructure. You have the tools and the knowledge to avoid the common wiring mistake killing your smart home thermostat and enjoy a system that runs flawlessly for years. If you want the peace of mind that comes with professional oversight, look into fast trustworthy appliance installation near you to get it done right the first time. Your journey to a more efficient home starts with that one blue wire. Have you ever found a mysterious ‘extra’ wire behind your thermostat wall, or did you have to use a power adapter? Let me know in the comments below!