
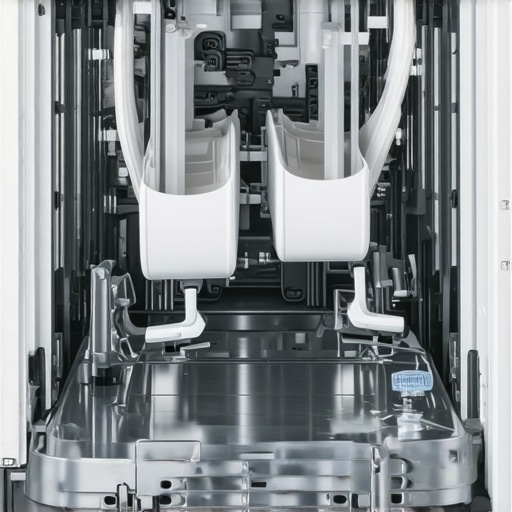
I remember the exact moment I realized my dishwasher wasn’t working. I had just finished cooking a big family dinner, loaded the dishes, and pressed start, only to hear silence instead of the usual whirl and spray. Minutes later, I peeked inside, and nope—no water was being sprayed, just silent emptiness. That lightbulb moment hit hard. I knew I couldn’t ignore it anymore. Dishwashers are such a vital part of our daily routine; when they fail, it throws a wrench into everything and leaves us washing by hand, which nobody wants.
The Frustration of a Silent Dishwasher That Won’t Spray Water
Are You Wasting Time and Money on the Wrong Fix?
Initially, I thought maybe it was just a clogged filter or a simple reset. But after some digging, I discovered many homeowners face this exact issue—one that’s often as straightforward as a clogged pump or a faulty float switch. I was guilty of making a rookie mistake early on: blindly replacing parts without proper diagnosis. That’s why I want to share what I learned so you won’t waste your time and money like I did. Fixing a dishwasher that won’t spray water isn’t magic, but it does require a bit of know-how, which I’ll walk you through step by step. If you’re tired of your dishwasher sitting silent while your dishes pile up, this guide will help you diagnose the root cause and get things flowing again. For more reliable appliance advice, check out our expert guide to appliance repair and installation.
The Biggest Skepticism: Is DIY Fixing Worth It?
Look, I get it. The idea of tinkering with a dishwasher can be intimidating—sometimes it feels like you need a degree in mechanical engineering. I’ll admit, my first attempt was a disaster, and I nearly called in a professional. But I learned that with some patience and the right guidance, you can spot simple problems early on—like a loose hose clamp or a clogged filter—that are surprisingly easy to fix. The key is knowing where to look and what signs indicate a deeper issue. Trust me, a little knowledge goes a long way, and you don’t have to be an expert to get it right. Plus, according to a recent report, doing basic repairs yourself can save hundreds of dollars and reduce turnaround time — much faster than waiting for a technician to arrive. Ready to troubleshoot your dishwasher and bring back that spray? Let’s dive into the common causes and quick fixes.
Check the Water Supply Line
Begin by ensuring the water inlet valve feeding your dishwasher is fully open. Sometimes, accidental bumps or maintenance can partially close it, restricting water flow. Turn off the water supply under the sink, disconnect the hose, and inspect for clogs or kinks. When I faced this issue, I found a crushed hose that limited water flow, and fixing it immediately restored proper spray. After confirming it’s open, reconnect and test the dishwasher.
Inspect and Clean the Filter and Spray Arms
Clogged filters or spray arms are common culprits. Remove the filter at the base of the dishwasher and clean out any debris or mineral buildup. Next, unscrew the spray arms and rinse them thoroughly. Remember, debris stuck in the holes can prevent proper water distribution. I once spent 15 minutes soaking and brushing the spray arms, which drastically improved water spray during my next run.
Test the Water Inlet Valve and Float Switch
The inlet valve controls water entry; if faulty, it won’t open. Use a multimeter to check its electrical continuity or listen for a humming sound when the dishwasher fills. If defective, replacing the valve is straightforward but requires turning off power and water. Also, verify the float switch isn’t stuck or dirty—this component prevents overflows but can sometimes falsely signal the dishwasher to stop filling. Clear any obstructions and ensure it moves freely.
Examine the Drain System and Pump
A clogged drain or malfunctioning pump can cause water to stagnate or not circulate. Remove the bottom panel and inspect for debris or blockages in the drain hose. Clear any obstructions and check that the pump impeller spins freely. I once had to remove a small piece of broken glass from the impeller, which freed up the pump and restored water flow. Confirm all connections are secure before testing.
Reset or Replace Faulty Components
If all else checks out, reset the dishwasher by unplugging it for 5 minutes or pressing the reset button, if available. If the spray water still doesn’t work, consider replacing components like the motor or circulation pump. For reliable repairs, consulting specifications or videos matched to your dishwasher model helps ensure the correct part and procedure.
Consult Professional Services if Needed
Sometimes, issues like wiring faults or internal control board failures require expert attention. Remember, quick and trustworthy service can save time and prevent further damage. For immediate assistance, look into options for same-day repairs from experienced technicians—check https://discountappliancehub.com/same-day-appliance-repair-quick-solutions-with-warranty-support to see how they can help. Proper diagnosis and timely repair keep your dishwasher running efficiently without the headache of trial-and-error.
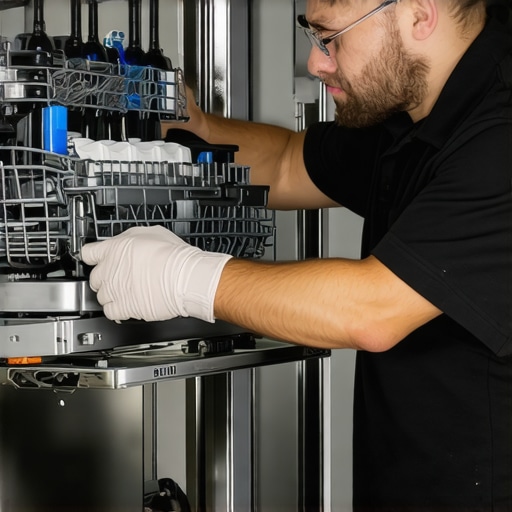 Many homeowners operate under the misconception that appliance repair is straightforward and that a quick fix is always the right fix. While it’s tempting to rely on generic tips or stare at the problem with a DIY mindset, there’s a hidden nuance often overlooked: the importance of understanding the appliance’s internal systems and how they interact. For instance, many assume that replacing a faulty component like a water inlet valve will permanently solve issues, but in reality, improper diagnosis can lead to recurring problems and unnecessary costs. To truly master appliance repair, one must differentiate between symptoms and root causes, a process that seasoned professionals excel at due to their experience and deep understanding of appliance mechanics.
Investing in Quality Equipment Makes All the Difference
As a homeowner or professional technician, having the right tools is essential for efficient and reliable appliance repairs. I personally rely on a high-quality digital multimeter from Fluke because it provides precise readings and durability in demanding environments. For example, when diagnosing a faulty control board, this multimeter allows me to accurately test voltage and continuity without second-guessing, reducing repair time and preventing unnecessary parts replacements.
Why I Recommend a Digital Thermal Camera for Troubleshooting
Using a thermal camera, such as the FLIR E8, helps me identify hidden hot spots or cold areas in appliances like refrigerators or ovens. This non-invasive method saves time by pinpointing electrical faults or insulation issues that might not be visible otherwise. Incorporating thermal imaging into your toolkit can elevate your diagnostic capabilities and improve overall repair quality.
Maintaining Your Tools for Peak Performance
Regular calibration and cleaning are critical. I set aside time monthly to verify my multimeter’s accuracy using certified calibration standards, following manufacturer instructions. Additionally, I keep my screwdrivers and pliers clean and stored in a dry environment to prevent rust. Proper maintenance ensures longevity and consistent performance, reducing unexpected tool failures during crucial repairs.
Software and Apps That Streamline Repairs
Mobile apps like Appliance Repair Technician can provide instant access to wiring diagrams, troubleshooting guides, and maintenance logs. I find them invaluable for quick references, especially when working on unfamiliar models. Staying organized with digital records also helps track which parts have been replaced and plan preventive maintenance, ultimately extending the lifespan of appliances.
Preparing for Scalability and Future Trends
The trend toward smart appliances suggests that integrating diagnostic platforms like Wi-Fi-enabled multimeters will become standard. Looking ahead, I predict that augmented reality (AR) tools combined with diagnostic apps could further enhance repair accuracy. Embracing these innovations now ensures you’re ready for upcoming shifts in appliance maintenance.
How do I maintain my repair tools over time?
Consistent care involves proper calibration, cleaning, and safe storage. Keep batteries fresh and ensure all digital devices are updated with the latest firmware. Investing in quality tools not only improves repair success rates but also provides peace of mind, knowing your equipment will perform reliably when needed most. To learn more about reliable appliance repair strategies, visit our expert guide to appliance repair and installation. Don’t hesitate—try out a thermal camera on your next troubleshooting session; it can reveal issues invisible to the naked eye, saving you time and money.
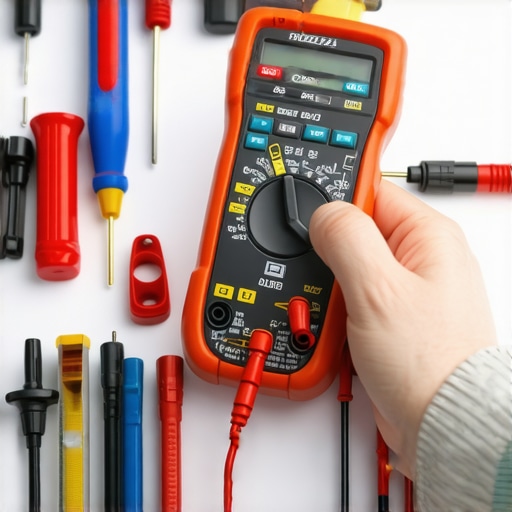
Prompt:Close-up of a technician’s hand using a professional digital multimeter to test an appliance’s electrical component, with a background of various repair tools, high detail, sharp focus, natural lighting.
Alt text: A technician testing an appliance circuit with a digital multimeter in a well-lit workshop.
Lessons Only the Pros Usually Discover About Dishwasher Repairs
- One of the biggest surprises I learned was that many seemingly complex dishwasher issues boil down to simple fixes like a stuck float switch or a clogged filter. Recognizing these common culprits early can save you hours and hefty bills.
- I once replaced a pump without diagnosing the underlying problem, only to find it failed again shortly after. That taught me the importance of root cause analysis—connect the dots before swapping parts.
- Patience beats impatience when troubleshooting. Rushing to replace components without thorough testing often extends the repair process and drains your resources. Take the time to methodically inspect each part.
- Investing in high-quality diagnostic tools like a multimeter and thermal camera transformed my repair approach. They turned guessing into certainty and increased my success rate.
- Good repair habits, including proper cleaning and regular maintenance, extend your appliance’s life and keep it running smoothly. Small preventive steps can prevent big headaches down the line.
Tools and Resources That Make Repair Easier for You
- The expert guide to appliance repair and installation has been a game-changer for me. It demystifies complex issues and offers step-by-step instructions tailored to your specific appliance model.
- For diagnostics, I personally trust a Fluke digital multimeter because of its accuracy and durability. It helps me verify electrical components quickly and confidently.
- Using a thermal camera like the FLIR E8 has revealed hidden electrical faults lurking beneath the surface, saving me time and preventing costly mistakes.
- Staying organized with repair logs and access to wiring diagrams via mobile apps streamlines the troubleshooting process and ensures I don’t miss any critical details during repairs.
Your Next Step Toward Smarter Repairs
The path to mastering dishwasher repair begins with curiosity and a willingness to learn. With the right tools, reliable resources, and a patient mindset, you can confidently tackle issues like a silent dishwasher that won’t spray water. Remember, each repair builds your skills and confidence—so don’t be afraid to get started. For more guidance on trustworthy appliance fixes, I highly recommend checking out our overview of same-day appliance repair experts. Now, tell me—what’s the most frustrating appliance problem you’ve ever faced, and how did you overcome it? Drop your stories below.