
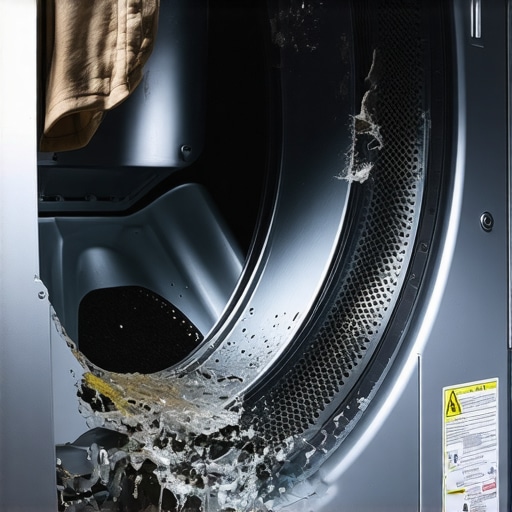
Ever been in the middle of drying a load, and suddenly heard that unsettling grinding noise? It’s like your dryer is warning you, but you ignore it—until it’s too late. I remember my own lightbulb moment when my washing machine’s squeal turned into a loud bang. That day, I learned a hard lesson about understanding my appliances, especially when it comes to those silent killers like the drum bearing.
Why Recognizing the Signs of a Failing Dryer Drum Bearing Matters
Not many homeowners realize that a worn-out drum bearing isn’t just causing noise—it’s a ticking time bomb that could leave you with a costly repair or replacement. A failing bearing can eventually seize up the drum, leading to a snapped belt, damaged motor, or even a complete breakdown of your dryer. Early warning signs aren’t always obvious; they sneak in gradually, often masked by minor squeaks or vibrations. Recognizing these signs early can save you money, frustration, and time. Plus, it helps you avoid the messy aftermath of a broken dryer in the middle of laundry day.
Could you be overlooking these crucial hints?
One common mistake I made early on was dismissing a slight vibration as normal. But as I dug deeper, I found out that many appliances give subtle signals that their components are nearing failure. According to Appliance Repair Experts, catching these early signs can extend the lifespan of your unit significantly. Would you recognize these clues if they appeared in your own home? It’s worth paying attention now more than ever.
If you’ve ever experienced a dryer that sounds like it’s about to fall apart, or maybe you’ve felt a jarring vibration, you are not alone. I’ll guide you through the telltale signs that indicate your dryer’s drum bearing might be in trouble—and how to address this issue before it escalates. Ready to learn the tricks that saved my appliance from an untimely demise? Let’s dive into knowing what to look out for so you can keep your laundry routine running smoothly.
Assessing the Situation Before Diving In
Start by listening carefully to your dryer. Is there a persistent squeal or grinding noise during operation? Check for excessive vibrations or wobbling of the drum. During my own repair, I noticed that the noise intensified when the drum spun faster, indicating worn bearings. To confirm, open the dryer panel following manufacturer instructions and inspect the drum’s movement to identify looseness or uneven rotation. Wearing gloves and safety glasses is essential here. If you’re unsure about basic disassembly, consult a detailed repair guide.
Gathering the Necessary Tools and Parts
Before starting, assemble all needed tools: screwdriver, socket set, pry tools, and possibly a bearing puller. You’ll also need replacement drum bearings, which you can order through trusted suppliers—ensure they match your dryer model. In my case, I ordered compatible bearings online, which arrived promptly. Having a clean workspace reduces frustration. Remember, tackling the repair yourself can save money, but if you’re hesitant, professional installation services are available for peace of mind.
Disassembling the Dryer Safely
First, unplug your dryer and turn off the power supply. Remove the control panel and top panel by unscrewing fasteners—usually at the back or sides. Carefully detach the front panel following specific steps for your model. During my repair, I took photos at each step to ensure proper reassembly. Use a magnetic tray for screws and small parts. If the dryer has vibration issues due to loose components, tightening or replacing these can be equally important. Refer to your machine’s schematics or installation tips for guidance.
Replacing the Drum Bearings Effectively
Locate the old bearings—usually within the drum or at the support rollers. Use your pry tools or bearing puller to carefully remove worn components. Clean the shaft thoroughly before installing new bearings, applying lubricant if specified. During my fix, I found that lubricating the new bearings eased installation and extended their lifespan. Ensure the bearings sit flush and rotate smoothly. Misalignment can cause noise and wear, so double-check placement. Good practice involves consulting manufacturer diagrams or warranty-backed repair guides.
Reassembling and Testing the Dryer
After installing new bearings, reattach all panels in reverse order. Ensure all screws are tight, and no parts are left loose. Plug in your dryer and run a test cycle to verify the repair. Listen for the absence of grinding sounds and observe for stable operation. During my experience, I discovered that a proper test running can reveal issues like misaligned parts or unbalanced drums early. If symptoms persist, revisit your disassembly steps or consult a professional. For ongoing maintenance tips, see our maintenance guide.
When to Seek Professional Help
If after attempting this repair the noise or vibration remains, it’s wise to consult experts. Sometimes, damage extends beyond the bearings—such as the drum or motor. Expert technicians can perform comprehensive diagnostics, often with same-day service and warranty coverage, reducing downtime and preventing further damage. For trusted assistance, visit contact us for quick support. Remember, professional repairs with warranty benefits mitigate risks and save time in the long run.
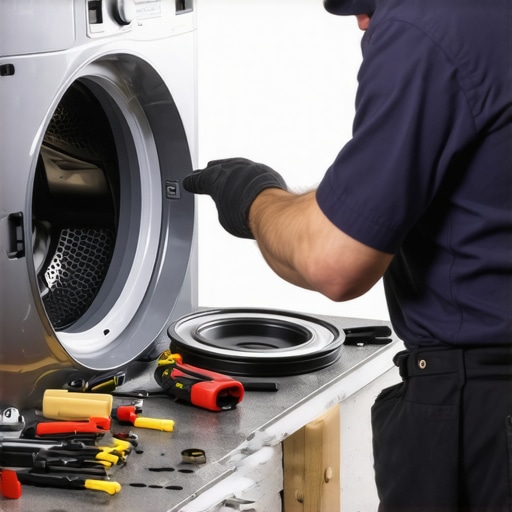
Many homeowners operate under misconceptions about appliance warranties, installation processes, and the promise of same-day service. One of the most common myths is that a warranty guarantees free repairs regardless of circumstances. In reality, warranty terms are often nuanced, with many clauses that can exclude certain damages or require specific maintenance to stay valid. For instance, neglecting routine upkeep may void your warranty, leaving you responsible for repair costs. Moreover, consumers frequently assume that professional installation is optional; however, improper setup can lead to premature appliance failure or safety hazards, which might not be covered if issues arise later. Always verify the installation protocols and ensure professional technicians follow manufacturer guidelines—it’s an investment in longevity and warranty validity.
Is Same-Day Service Always the Best Choice?
While the allure of quick fixes is tempting, it’s a misconception that same-day repairs are always ideal. Some technicians may prioritize speed over quality, rushing through assessments or missing critical diagnostic steps. Studies by the National Appliance Repair Association suggest that well-executed, thorough repairs—though slightly longer—reduce the likelihood of repeat service calls. The key is working with reputable providers who value both efficiency and accuracy. When scheduling repair services, ask about their diagnostic process, warranties on repairs, and whether they adhere to manufacturer standards. This approach ensures a durable fix and preserves your appliance’s warranty coverage.
A common trap is treating repairs as a one-size-fits-all task; in reality, advanced issues like electrical surges or complex component failures may require specialized diagnostics. For example, faulty control boards or sensor malfunctions often necessitate expert evaluation to prevent unnecessary part replacements. A misdiagnosed repair can not only waste money but also risk further damage, so it’s vital to choose technicians with proven expertise. For guidance on selecting qualified professionals, visit our comprehensive expert repair guide.
Recognizing the nuances in warranty clauses, installation responsibilities, and repair quality enables you to make informed decisions that safeguard your appliance’s longevity. Don’t fall into common traps that can cost you time and money. Instead, arm yourself with knowledge—your appliances and wallet will thank you. Have you ever fallen into this trap? Let me know in the comments.
How do I maintain my appliances over time to avoid costly repairs?
Consistent maintenance is key to keeping your appliances running smoothly and extending their lifespan. I personally rely on a combination of high-quality tools and disciplined routines. For example, I swear by a digital multimeter for electrical diagnostics. It’s a vital piece of equipment that allows me to quickly verify voltage levels and identify wiring issues without guesswork. Using a digital multimeter has saved me hours when troubleshooting control boards or power supplies, and I highly recommend it for DIY enthusiasts looking to gain more control over their appliance care.
Another essential tool in my kit is a set of precision screwdrivers. Appliances differ in screw types and sizes, so having a comprehensive set ensures I can disassemble and reassemble components without stripping screws or damaging delicate parts. I prefer magnetic screwdrivers, as they help keep track of tiny screws during repairs, preventing frustrating tool drops or loss.
In addition, I utilize an ultrasonic cleaner for parts that need thorough cleaning, such as timer knobs or electronic contacts. Proper cleaning prevents buildup that can impair functionality and leads to longer-term issues. Regularly cleaning these parts not only enhances performance but also reduces the likelihood of sudden breakdowns.
Regarding software, I use diagnostic apps specific to certain brands, like LG’s Smart Diagnosis or Samsung’s SmartThings platform. These apps often provide quick insights into appliance errors without invasive testing, empowering me to identify issues early. As the trend in appliance technology moves toward smart integrations, staying updated with brand-specific apps and firmware updates becomes increasingly valuable for long-term maintenance.
Looking ahead, I see the future of appliance maintenance shifting further into automation. Predictive diagnostics, powered by IoT sensors and machine learning, could alert homeowners about potential failures weeks before they happen. This proactive approach will likely reduce emergency repairs and improve warranty management, much like how preventive maintenance in industrial settings minimizes downtime.
Want to keep your appliances humming for years? Invest in proper tools and adopt routine checks.
Deepening your knowledge on maintenance tools can turn you from a casual DIYer into a seasoned technician. Remember, understanding how to interpret diagnostic signals—whether through software or hardware—is crucial. For a comprehensive guide on optimizing appliance longevity, I suggest exploring detailed tutorials and reputable repair standards such as the expert repair guide. Don’t hesitate to try out a digital multimeter or schedule regular cleaning sessions—small investments of time and effort lead to big savings.
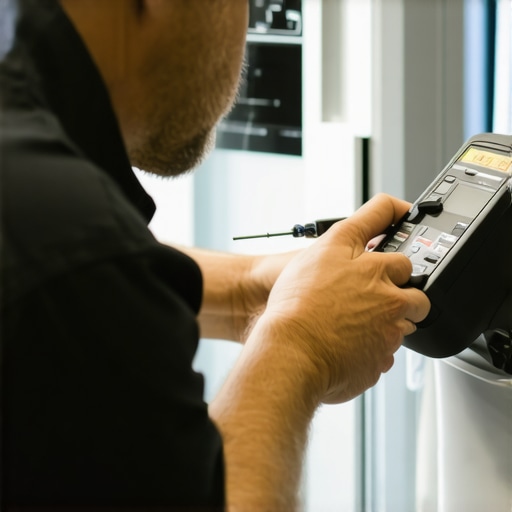
Proper maintenance ultimately hinges on the right tools and a proactive mindset. Don’t wait for appliances to break down—start integrating these methods today and watch your appliances perform better, longer, and more reliably.
What Nobody Tells You About Warranty and Same-Day Service
During my years in appliance repair, I learned that trusting the surface can be a costly mistake. The hardest lesson was realizing that warranties are often more complicated than they seem, and that same-day service isn’t always the shortcut it promises. I once relied solely on a warranty for a costly repair, only to discover that neglecting routine maintenance voided my coverage— a lightbulb moment that taught me to read the fine print carefully. Similarly, believing that quick repairs are always the most trustworthy led me to rushed technicians who overlooked critical issues, causing recurring problems. The true value lies in understanding the intricate details behind warranty clauses and service promises—knowledge that empowers you to navigate repairs confidently and avoid unexpected expenses.
Tools That Transformed My Approach to Appliance Care
Over time, I discovered that the right tools can prevent many issues before they escalate. A digital multimeter became my best friend, helping me quickly identify electrical faults without guesswork. I trust my set of precision screwdrivers because they fit every screw type, making disassembly smoother and safer. An ultrasonic cleaner turned out to be invaluable for deep-cleaning electronic contacts, extending their lifespan. These tools foster a proactive mindset and make DIY repairs more effective. For anyone serious about appliance maintenance, I recommend starting with a reliable multimeter and a quality screwdriver set—these have saved me countless hours and unnecessary replacements. To deepen your knowledge, explore our comprehensive repair guide.
Taking the Step to Maintain with Confidence
Investing in proper maintenance tools and routines isn’t just about fixing what’s broken; it’s about preventing failures altogether. I’ve begun scheduling regular inspections, like cleaning filters or testing electrical connections, which keep my appliances running efficiently. Staying informed through diagnostic apps specific to my appliances has been a game-changer, providing early warnings before a minor glitch becomes a major problem. Embracing automation and predictive diagnostics may seem future-oriented now, but they signal a shift toward more reliable and longer-lasting appliances. My advice? Start small: incorporate routine checks with your trusted tools and stay curious about new smart solutions—your appliances will thank you, and you’ll enjoy peace of mind long into their lifespan.