
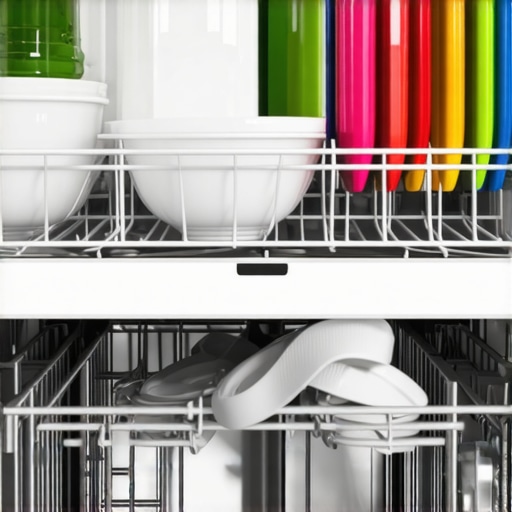
Ever stood in front of your dishwasher, looking at a rack full of dirty dishes—and realized, with a sinking feeling, that the top shelf is completely untouched? I’ve been there. One day, I opened my dishwasher and saw that my carefully stacked glasses and plates on the top rack were just as dirty as when I loaded them. It was frustrating, counterintuitive, and honestly, a bit embarrassing since I thought I’d bought a reliable appliance.
This common annoyance might seem minor, but it can disrupt your routine and leave you questioning whether your dishwasher is working as it should. I know I was pondering whether to call for repair or just live with less-than-clean dishes. That was my lightbulb moment: realizing there are simple, believable reasons behind this pesky issue, and, better yet, straightforward solutions.
Today, I’ll walk you through why your top rack isn’t getting the cleaning it deserves and share practical tips to fix it. No more guessing games or wasting money on unnecessary parts. We’ll identify the cause and get your dishwasher back to performing like new — because clean dishes shouldn’t be a luxury.
Why the Top Shelf Isn’t Getting Clean: The Hidden Causes
Many homeowners assume that if their dishwasher is running, it should wash all their dishes equally. But often, that’s not the case. Your dishwasher’s spray arms might be the usual culprit, or sometimes, something more subtle like improper loading or blocked filters is to blame. I recall early on, I overlooked the importance of cleaning the spray arms, which eventually led to clogs and uneven water flow. That simple mistake—ignoring neglected maintenance—cost me in dirty dishes.
If you’re frustrated with your dishes’ inconsistent cleanliness, it’s worth examining the spray arms, water pressure, and filters first. These components are vital, as they ensure the water reaches every corner of your dishwasher with enough force. A clogged spray arm or an obstructed filter can severely reduce water circulation, especially on the top shelf where water pressure can be weaker. And believe me, neglecting to clear debris and buildup can make all the difference.
Moreover, improper loading techniques can block jets or cause water to bypass certain areas. Ensuring your dishes don’t block the spray arms is a simple step that can restore proper water flow. Also, check if your water inlet valve is functioning correctly, as a sluggish supply can mean less robust cleaning.
To get a clear picture, start by inspecting the spray arms—remove them, clean out any debris, and reattach carefully. Next, examine filters for trapped gunk and clean as needed. Not taking these small but critical actions was my biggest early mistake—one that you can easily avoid. For more detailed guidance, you might want to see the expert advice on dishwasher maintenance.
Are you facing this problem right now? If so, don’t worry. We’re about to dig into exactly how you can troubleshoot these issues yourself and what professional solutions are available if needed. It’s time to reclaim that spotless shine and enjoy full performance from your dishwasher—no more cold surprises on your plates! Let’s get started.
Check and Clean the Spray Arms
Start by removing the spray arms from your dishwasher—usually, they twist or unclip easily. Use a small brush or toothpick to clear out any debris or mineral buildup in the tiny nozzles. I once had a stubborn spray arm that refused to detach; I gently used pliers wrapped in a cloth to avoid damage. After cleaning, reattach it securely. This step restores proper water flow and can dramatically improve cleaning results on the top shelf.
Inspect and Clear the Filters
Locate the filter assembly—usually at the bottom of the dishwasher. Remove it carefully and clean out any trapped food debris or lint using a brush and warm soapy water. I had a clogged filter that caused weaker water pressure; once cleaned, water sprayed more forcefully, and my dishes looked spotless again. Regular maintenance ensures the top rack gets soaked in enough rinse water.
Evaluate Loading Techniques
Proper loading is crucial to prevent blocking spray arms. Avoid stacking dishes too tightly, and make sure tall items don’t obstruct the spray jets. I learned this lesson after realizing my glasses were turning out dirty because they blocked the spray pattern—rearranging the load made a noticeable difference. Think of your dishwasher as a mini car wash; if the jets are blocked, they can’t reach all surfaces.
Test Water Pressure and Supply
Check that the water inlet valve is fully open and unobstructed. A partially closed valve can reduce water pressure, impacting cleaning on the top shelf. If your home’s main water pressure is weak overall, consider installing a pressure booster or consulting a plumber. Once I verified my inlet valve was fully open, cleaning the spray arms was more effective, resulting in cleaner dishes.
Perform a Maintenance Routine
Every few months, run an empty cycle with a dishwasher cleaner or a cup of vinegar to remove mineral deposits and grease buildup. This simple step can prevent clogs in spray nozzles and filters. I did this during my spring cleaning, and it restored my dishwasher’s performance, especially on the upper rack. Think of it as a spa day for your appliance—keeps it running smoothly.
Address Potential Mechanical Issues
If you’ve tried these steps and top shelf cleanliness remains poor, the spray motor or circulation pump may be faulty. This is akin to a car’s engine failing; professional repair may be necessary. For quick assistance, consider arranging a same-day appliance repair, which includes warranty-backed options to fix your dishwasher efficiently. Regular servicing can prevent these issues from escalating.
Secure Proper Loading and Maintenance
Finally, adopt good habits like avoiding overloading, regularly cleaning filters, and inspecting spray arms. If you suspect a mechanical fault beyond your scope, professional diagnostics can identify worn parts early. Remember, proactive maintenance extends your appliance’s lifespan and ensures your dishes come out spotless every time.
Many homeowners assume that hiring an appliance repair technician or subscribing to a warranty covers all bases, but the truth is that there are subtle nuances that often trip people up. One common misconception is that all repairs are equal and that you can rely solely on brand warranties without understanding their limitations. While warranties sound like a safety net, many overlook the fine print, which can exclude coverage for accidental damage or certain parts. For example, a study by the Consumer Reports indicates that nearly 60% of warranty claims are denied due to conditions specified in the fine print, reminding us to read carefully before believing in blanket coverage.
What advanced considerations should I be aware of when scheduling same-day appliance repair services?
Now, let’s explore some of these complexities so you can make smarter decisions. Many people jump into same-day repair options thinking it’s always the best choice, but without proper planning, this can lead to unnecessary expenses or subpar service quality. It’s essential to verify if the company has certified technicians and warranty-backed parts, which ensures the problem is not just fixed temporarily but addressed thoroughly. You can learn more about what to expect from *[same-day appliance repair experts](https://discountappliancehub.com/what-to-expect-from-same-day-appliance-repair-experts)* and how to maximize your warranty coverage for emergency repairs. Rushing into quick fixes without verifying these details might result in repeat breakdowns or lost warranties.
Another trap many fall into revolves around the installation process. Poorly installed appliances can cause long-term issues that aren’t immediately apparent. This is why professional installation services are critical—errors here can cost hundreds down the line. For tips on ensuring your installer is qualified and certified, check out *[how to ensure reliable appliance installation in 2025](https://discountappliancehub.com/how-to-ensure-reliable-appliance-installation-in-2025)*. Additionally, protect yourself from accidental damages during routine repairs by familiarizing with *[warranty-backed services you can rely on](https://discountappliancehub.com/warranty-backed-appliance-services-you-can-rely-on)*.
Avoid falling into the misconception that a quick repair always translates into a lasting fix. Many technicians might patch an issue temporarily just to meet a tight schedule, leading to recurring problems. This is why choosing a company that offers detailed diagnostics and comprehensive service plans is vital. For instance, *[schedule your appliance repair for same-day service in 2025](https://discountappliancehub.com/scheduling-your-appliance-repair-for-same-day-service-in-2025)* ensures you get long-term solutions rather than quick fixes.
Lastly, be skeptical of companies that push unnecessary parts or repairs—sometimes, these are upselling tactics. Always ask for a detailed estimate and verify if the replacement parts are genuine and warranty-backed. As we know, some inferior parts might void your warranty or cause further damage. For detailed insights, see *[the expert guide to appliance repair and installation today](https://discountappliancehub.com/expert-guide-to-appliance-repair-and-installation-today)*.
Understanding these nuanced aspects can save you money, stress, and future headaches. Remember, not every repair or warranty service is created equal. Always do your homework, verify credentials, and ask detailed questions. Have you ever fallen into this trap? Let me know in the comments.
Investment in Quality Tools for Long-Term Maintenance
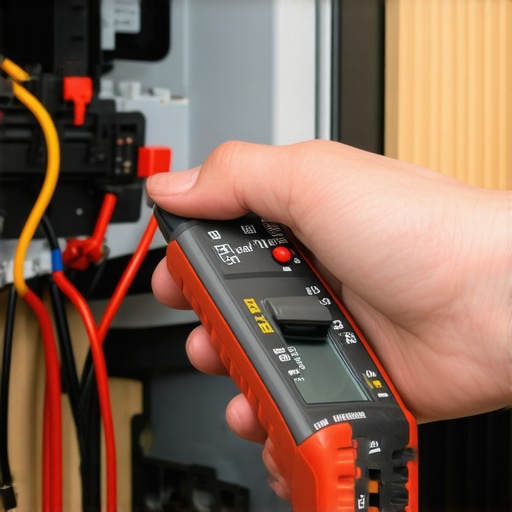
Having the right tools on hand is essential to maintaining your appliances effectively over time. I personally recommend investing in a high-quality multimeter, such as the Fluke 117, which allows you to diagnose electrical issues safely and accurately. A digital amp clamp is invaluable for checking current draw without disconnecting wires, preventing unnecessary dismantling and saving time. For physical inspections, a small inspection mirror and LED flashlight help you see into tight spaces and behind components. These tools have paid for themselves by enabling quick diagnostics, reducing repair costs, and avoiding unnecessary replacements.
Software Solutions to Enhance Diagnostic Accuracy
Modern appliances often include diagnostic modes accessible via keypad sequences or smartphone apps. For example, specific refrigerator models can be connected to apps that provide error codes, helping you pinpoint issues without a technician on-site. I regularly use diagnostic apps from reputable brands like Whirlpool’s Smart Diagnostic or LG’s SmartThinQ. These platforms enable remote troubleshooting, guide filters or parts replacement, and sometimes even schedule service calls automatically. Embracing these technologies ensures faster resolution and minimizes appliance downtime.
Routine Checks to Extend Appliance Lifespan
Establishing a regular maintenance schedule is vital. Simple actions like cleaning filters, inspecting hoses for wear, and checking for water leaks can prevent major breakdowns. Keep a log—either digitally or on paper—of maintenance dates, issues found, and repairs performed. Over time, this record helps identify recurring problems and plan preventative steps. I find that scheduling quarterly inspections, especially for complex units like dishwashers or HVAC systems, results in fewer emergencies and longer-lasting appliances.
Embracing Preventative Prevention through Educational Resources
Stay informed about your appliance models by reading manufacturers’ manuals and trending troubleshooting guides. Websites like the Expert Guide to Appliance Repair and Installation Today provide comprehensive, up-to-date techniques that empower homeowners. Knowing the signs of impending failure, such as strange noises or inconsistent performance, allows you to act proactively. Additionally, subscribing to newsletters or forums dedicated to appliance care can keep you ahead of common issues and solutions.
What’s the Best Way to Keep Your Appliances Going Strong?
Consistency is key—regular inspections combined with the right tools and knowledge safeguard your investment. For more specific advice on maintaining various units, consider consulting the top tips for same-day service and warranty coverage. Implementing these practices and utilizing professional resources when needed ensures your appliances serve you well for years to come. Don’t forget, an innovative approach like using a digital amp clamp for diagnosing electrical issues or leveraging smart diagnostic apps can make maintenance easier and more effective.
The Hardest Lesson I Learned About Dishwasher Troubleshooting
Early on, I believed that just running my dishwasher regularly would keep everything spotless. However, I discovered the importance of inspecting and cleaning spray arms and filters personally, realizing neglect here was the root of many issues. Skipping these maintenance steps cost me time and money, teaching me that proactive care beats reactive fixes every time.
Tools That Made My Appliance Repairs Easier
Investing in a quality multimeter, like the Fluke 117, provided me with precise electrical diagnostics, preventing unnecessary replacements. A small LED flashlight illuminated hidden spots, making inspections safer and more effective. These tools empowered me to perform routine checks confidently, saving resources and extending appliance life.
Your Next Step: Keep Your Dishwasher in Top Shape
Regular maintenance, mindful loading, and familiarizing yourself with diagnostic features can dramatically improve your dishwasher’s performance. Remember, small consistent efforts prevent big problems. If you’re ever in doubt, professional service backed by warranty coverage can give you peace of mind. Stay vigilant, stay proactive, and enjoy the satisfaction of knowing your appliances are well cared for.